Three veg-centric recipes you can harvest from your garden today
Kathy Slack’s debut cookbook takes you through a full year in her veg patch. Here’s what you should be cooking now

Your support helps us to tell the story
From reproductive rights to climate change to Big Tech, The Independent is on the ground when the story is developing. Whether it's investigating the financials of Elon Musk's pro-Trump PAC or producing our latest documentary, 'The A Word', which shines a light on the American women fighting for reproductive rights, we know how important it is to parse out the facts from the messaging.
At such a critical moment in US history, we need reporters on the ground. Your donation allows us to keep sending journalists to speak to both sides of the story.
The Independent is trusted by Americans across the entire political spectrum. And unlike many other quality news outlets, we choose not to lock Americans out of our reporting and analysis with paywalls. We believe quality journalism should be available to everyone, paid for by those who can afford it.
Your support makes all the difference.In the gardening calendar, the warmer days of early May mark the start of the main vegetable growing season and the time to get your favourite crops in the ground or into pots begins in earnest.
But it’s between late August and early September, when summer crops are in full swing and autumn’s bounty is just starting to arrive, that cook, food writer and vegetable grower Kathy Slack loves her garden the most. “There aren’t too many jobs to do apart from weeding and watering, and the harvests are spectacular,” she told The Independent.
Whether you’re a complete novice or you were born with green thumbs, her debut book From the Veg Patch takes you through a full year in her veg patch, celebrating her ten favourite things to grow and the most exciting ways to eat them.
Here are three recipes from the book for in-season beans, courgette and beetroot.
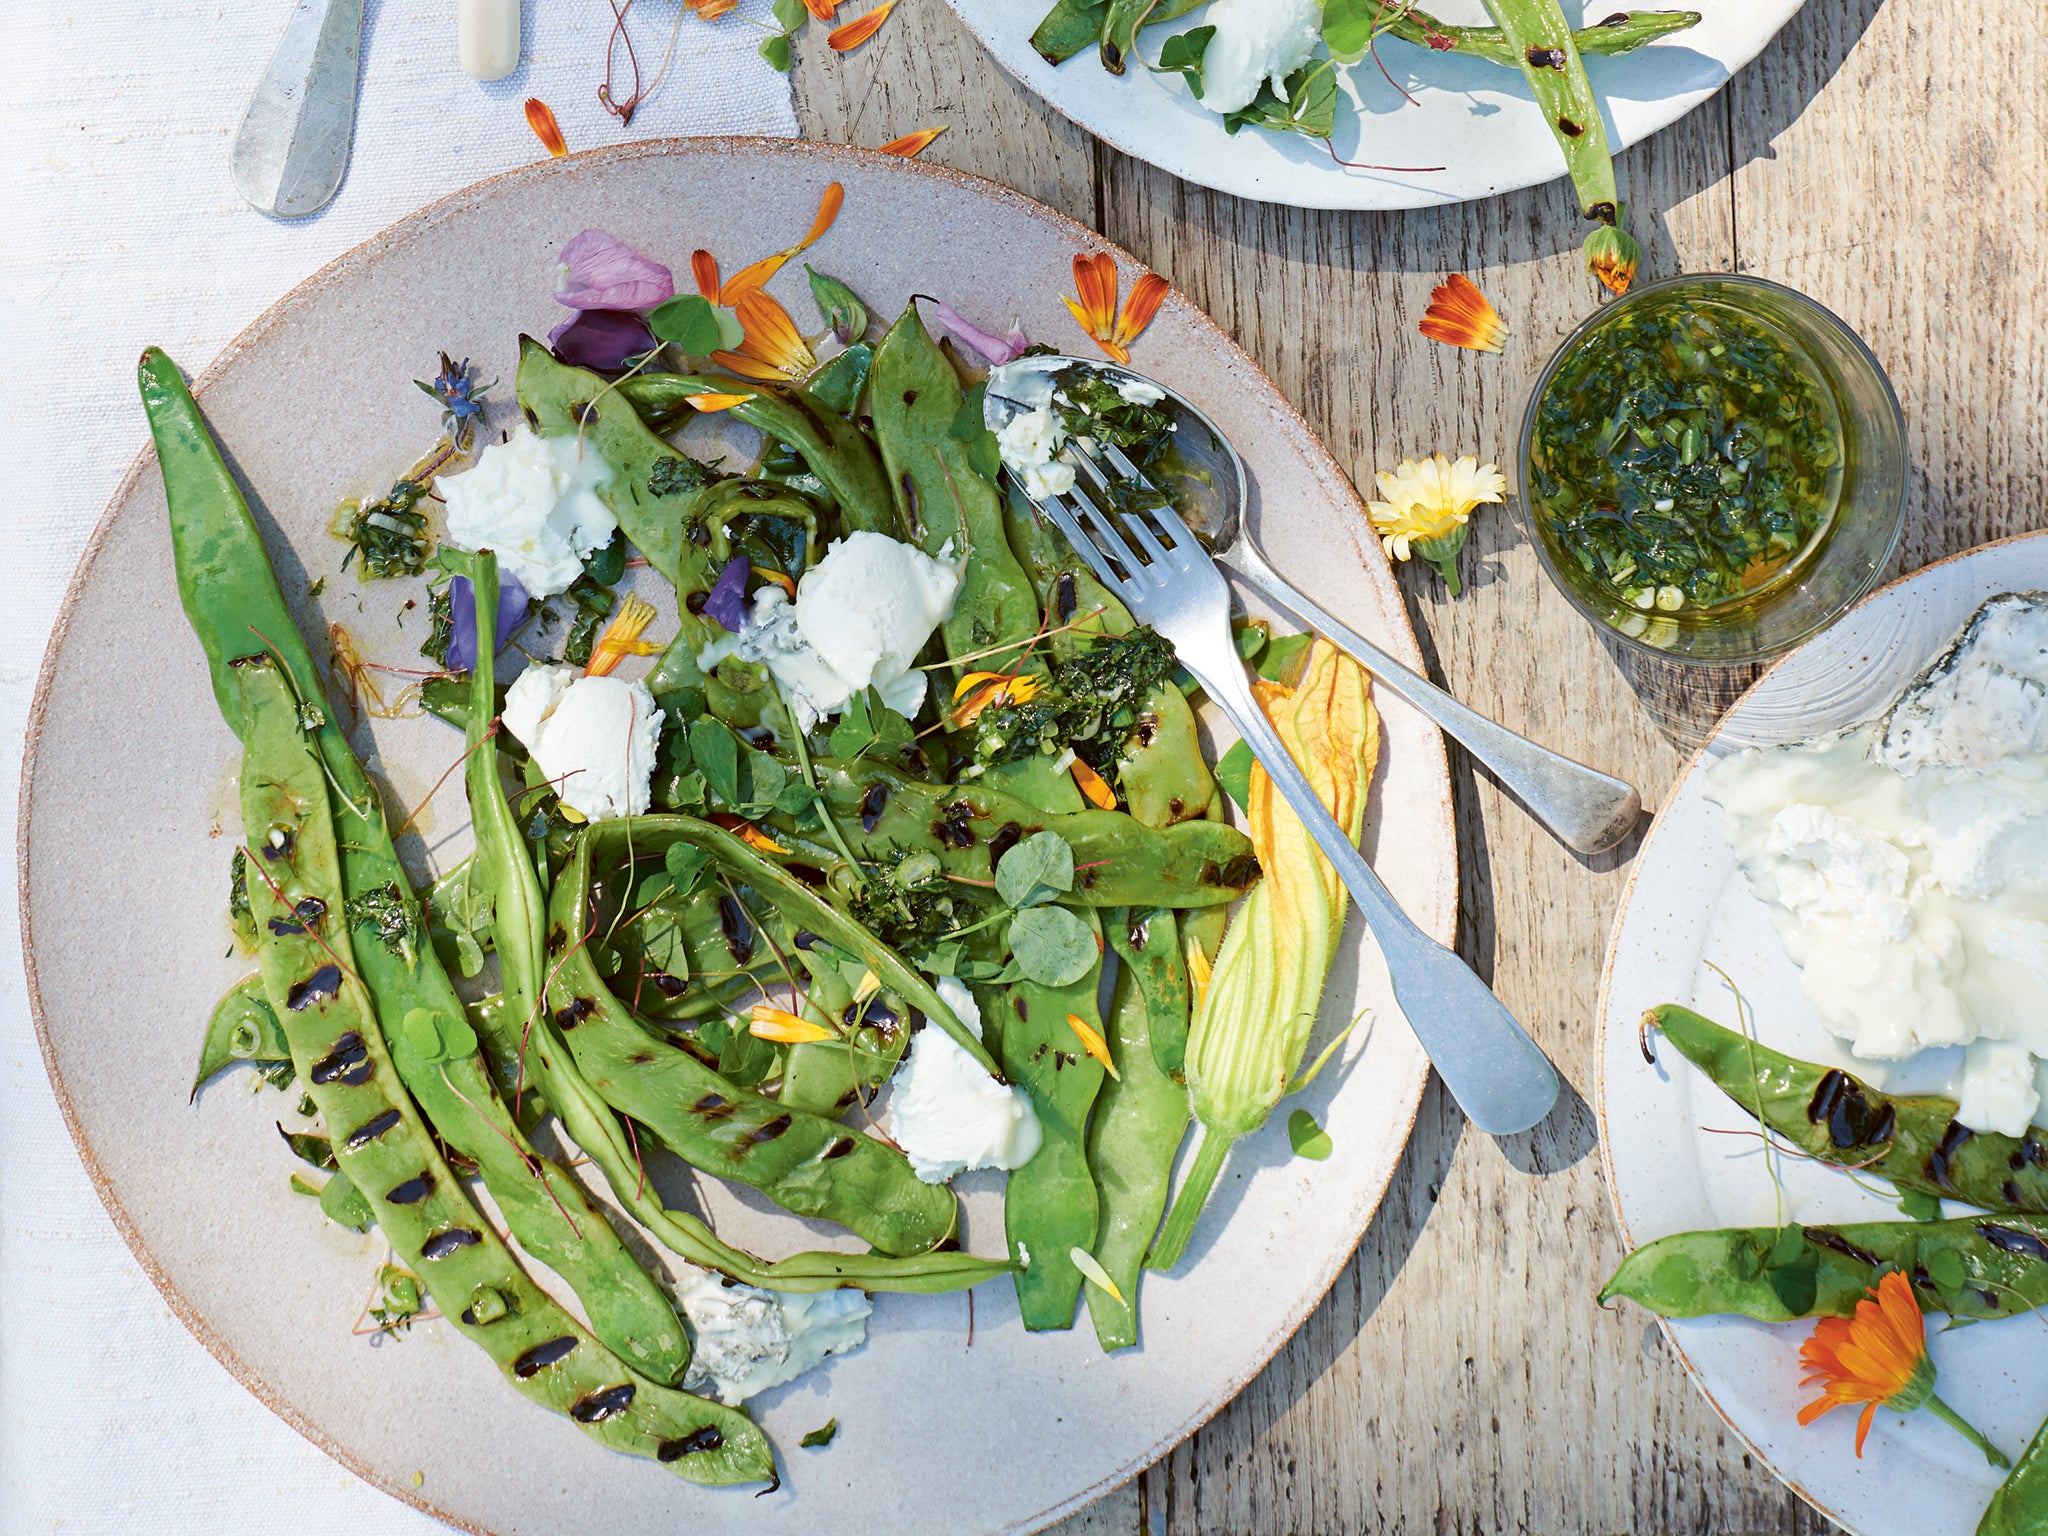
Griddled helda beans with goat’s cheese, herbs and flowers
Helda beans are like runner beans 2.0. They are flat and long like runners, but smooth-skinned and stringless – a runner bean after a facelift. They grow prolifically, reliably and untroubled by pests, but if you don’t grow your own, they are easy to get hold of in shops, often sold as flat beans or stringless beans.
The griddling of the beans can be done, excellently, on the grill of a barbecue over a medium-high direct heat or in a griddle pan.
I almost always serve this dish at barbecues, scattering generous handfuls of herbs (and edible flowers if I can find them) on top with crusty bread alongside. It’s a blousy, relaxed dish that has lazy summer lunch written all over it.
Serves: 4
Time: 15 minutes
Ingredients:
700g Helda beans, or other flat beans, such as young runner beans if you can’t find Helda, topped and tailed
6 tbsp extra virgin olive oil
½ tsp runny honey
1 tsp cider vinegar
2 spring onions, finely chopped
A small bunch of mixed green herbs (parsley, mint, dill, sorrel, chives, basil)
125g soft, creamy goat’s cheese
Edible flowers (chives, nasturtiums, pot marigolds), to finish (optional)
Method:
Set a griddle pan over a high heat and leave it to get really hot, or prepare your barbecue grill (see intro). Toss the beans in 2 tablespoons of the olive oil. Place them in the hot griddle pan or on the barbecue grill and cook for 2-3 minutes, then turn them over and cook for the same amount of time on the other side, so they become branded with dark char lines on both sides. Depending on the size of your griddle or barbecue, you may need to do this in batches to achieve uniform charring. Once cooked, transfer to a heatproof mixing bowl.
In a bowl, whisk together the remaining olive oil and the honey, vinegar and spring onions, along with a pinch of salt. Tear the herbs and add them too. Mix, then check the balance of flavours and adjust as needed. Pour the dressing over the warm beans and muddle everything together gently.
Arrange the dressed beans on a serving platter. Daub pieces of goat’s cheese on top, shower over a confetti of petals to finish, if using, and serve.
Courgette cake with lime buttercream

I will put plants in puddings given the merest hint of encouragement. And an abundance of courgettes, their bright, trumpet flowers winking at me like orange hazard lights in the veg beds, is all the invitation I need. This is a very simple cake, not nearly as odd as it sounds, and the answer to so many situations. Forget the buttercream and simply dust it with icing sugar for elevenses; or smooth out the buttercream icing and festoon it with flowers for a rustic celebration cake. The version below is somewhere in between the two.
Serves: 8–10
Time: 1¼ hours, plus cooling time
Ingredients:
For the cake:
2 eggs
120ml sunflower oil
175g soft light brown sugar
165g plain flour
½ tsp baking powder
1 tsp bicarbonate of soda
175g courgettes, trimmed
Courgette flowers, or any edible flowers, to finish (optional)
For the buttercream:
60g unsalted butter, softened 120g icing sugar
1 lime, zest and juice, plus extra zest to finish
Method:
Preheat the oven to 195C/175C fan/gas mark 5½ and line a 21cm round cake tin with baking parchment.
Beat the eggs and sunflower oil together in a jug until combined. This is your wet mix. In a large bowl, stir together the sugar, flour, baking powder and bicarbonate of soda. This is the dry mix. Add the wet mix to the dry mix and combine with a spatula or wooden spoon.
Grate the courgettes on the coarse side of a box grater, then squeeze out the excess water and add the courgette gratings to the mixture. Fold everything together.
Pour the batter into the prepared cake tin and level off the top. Bake for around 40-45 minutes, or until a skewer inserted in the centre comes out clean. Remove from the tin as soon as your fingers can manage it, then leave to cool completely on a wire rack.
Meanwhile, make the buttercream. Simply beat the butter and icing sugar together in a freestanding mixer until pale and fluffy. It will take several minutes. Add the lime zest, then gradually add the lime juice, beating well before adding the next drizzle of juice to prevent the mixture from curdling.
Once the cake is completely cooled (and it must be stone-cold, otherwise the buttercream will melt), place it on a cake stand or serving plate and slather the buttercream over the top. Finish with a grating of lime zest and a few edible flowers if you have them to hand. Courgette flowers would be especially neat. The cake will keep for 2–3 days at room temperature and another day longer, though less gracefully, if put in the fridge after that.
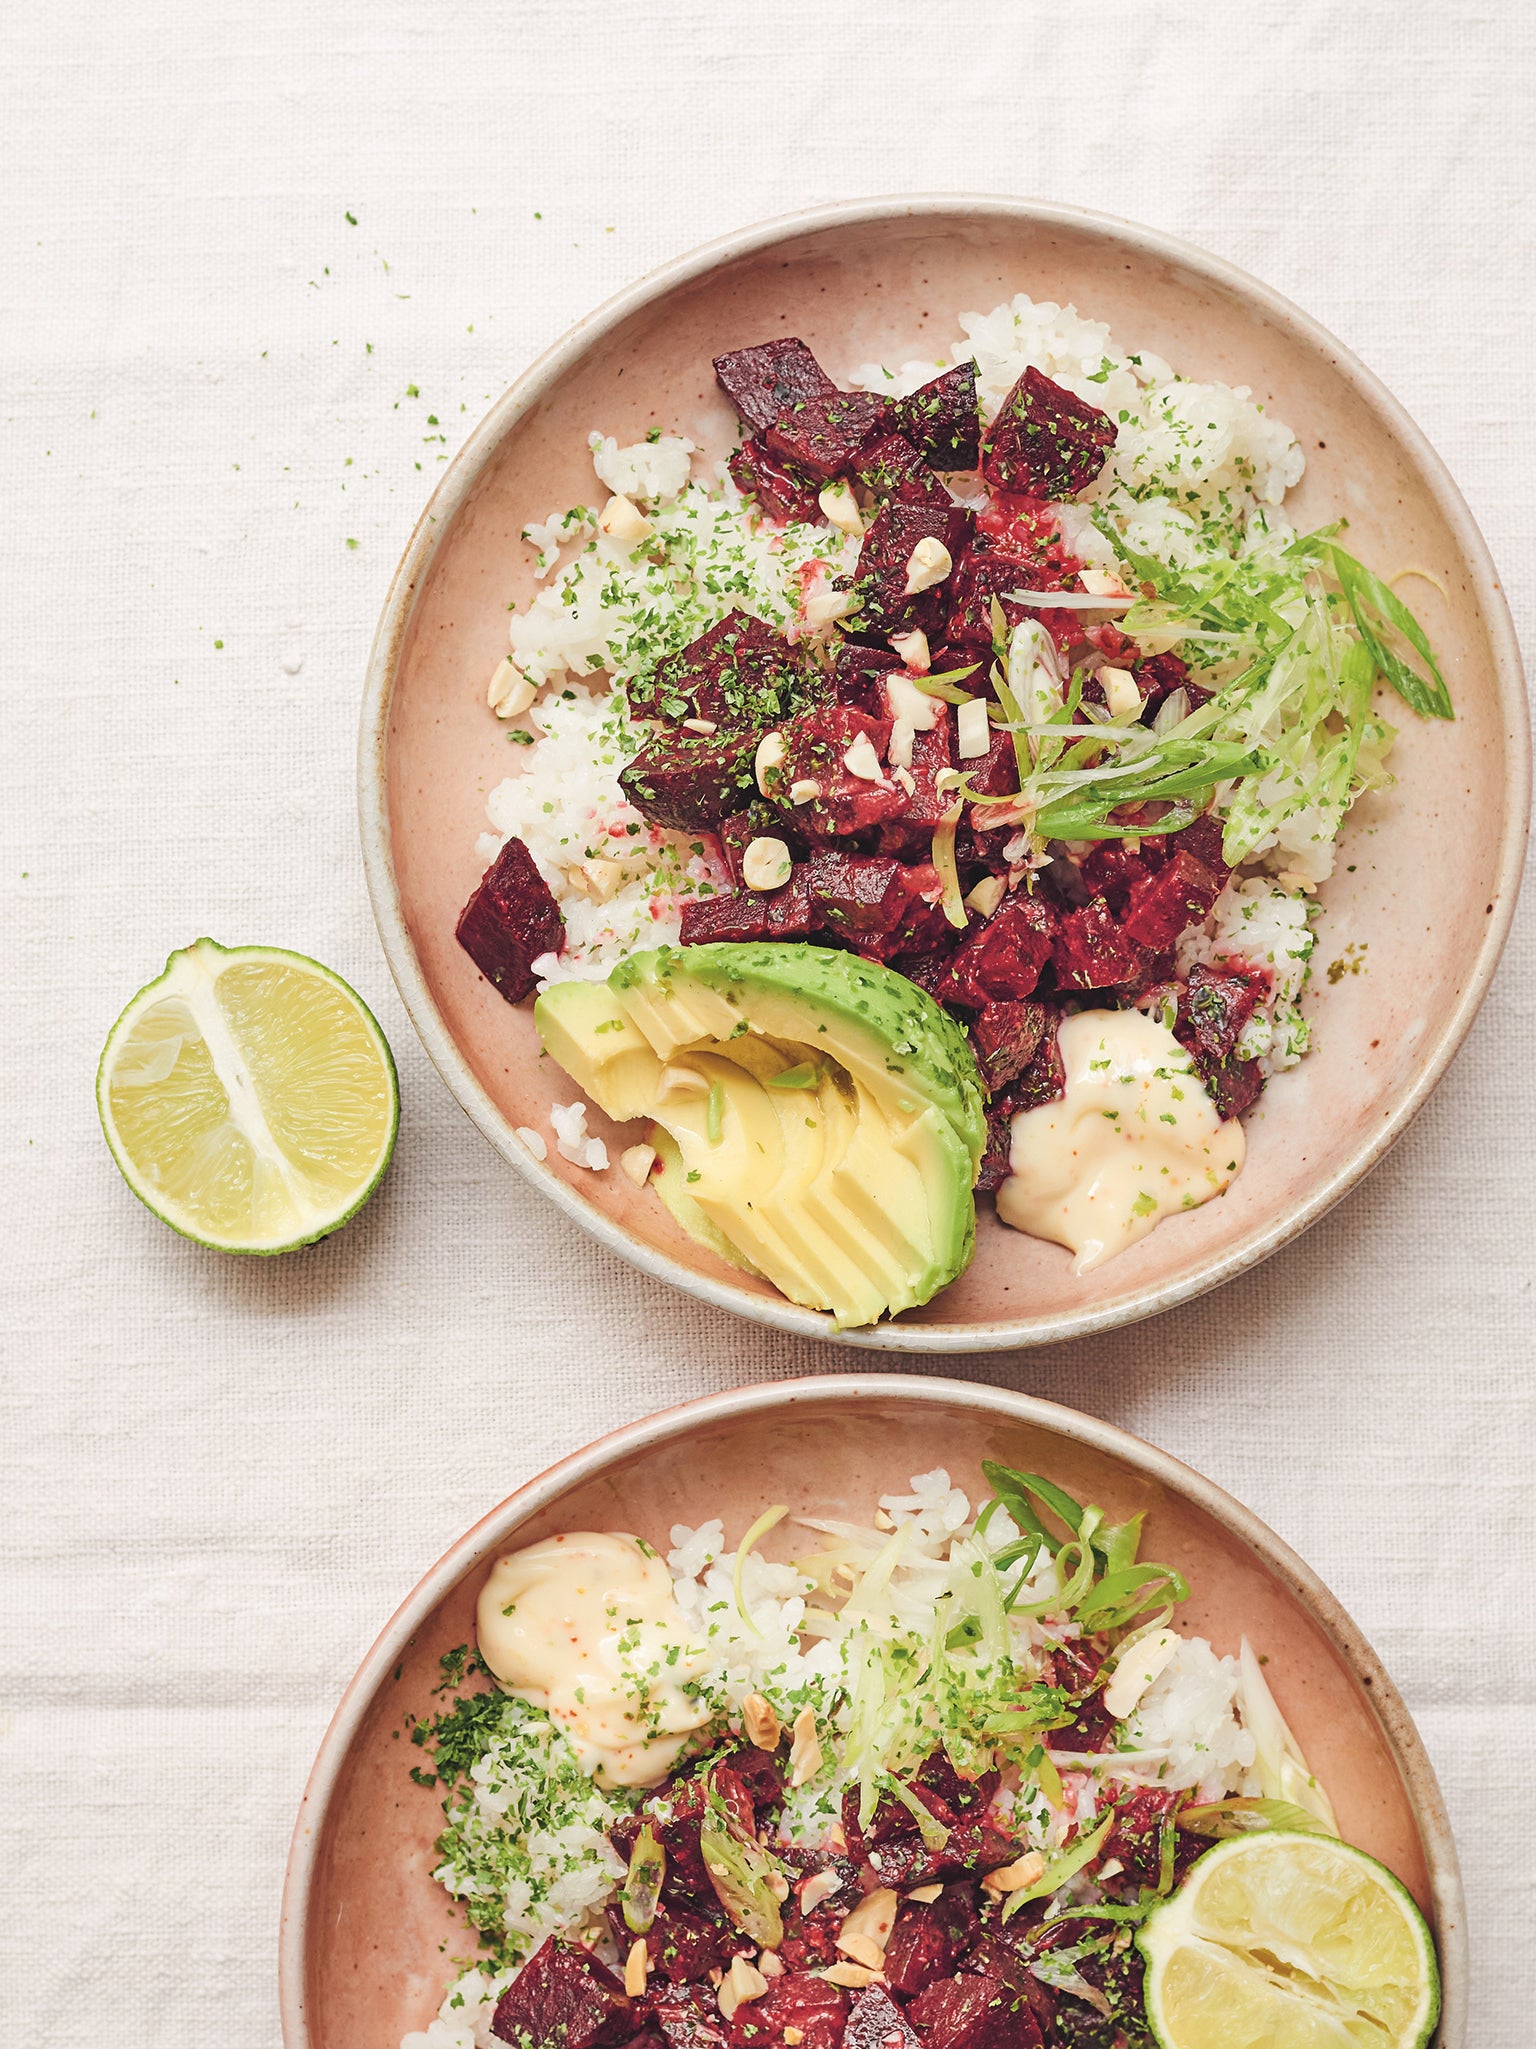
Miso roast beetroot poke bowl

Many ingredients, but not much bother. The only real effort is in the sushi rice, which has a reputation for being tricky, but this method, which I was taught at chef school, has never failed me. Once the rice and the beetroot are dressed (both of which can be done in advance), it’s really just a matter of adding the embellishments. And do bother with all the baubles – nori sprinkles, spring onions, peanuts, shichimi togarashi – they all help to bring out the earthy sweetness of the beets.
Serves: 2
Time: 1¾ hours
Ingredients:
450g whole, raw beetroots
175g sushi rice
1 tbsp mirin
1 tbsp Japanese brown rice vinegar
4 tbsp mayonnaise
1 tsp shichimi togarashi
1 avocado
½ lime
2 spring onions, sliced
30g unsalted peanuts, chopped 1 tsp nori sprinkles
For the miso dressing:
1 tsp grated fresh ginger
1 tsp dark brown muscovado sugar
2 tsp white miso paste
4 tsp lime juice
1 tsp mirin
2 tsp Japanese brown rice vinegar
2 tsp tamari or soy sauce
2 tsp sesame oil
2 tsp sunflower oil
Method:
Preheat the oven to 220C/200C fan/gas mark 7. Wrap each beetroot in foil, place them on a baking tray and roast for 1½-3 hours, depending on the size of your beetroots, or until they put up no resistance to a skewer inserted into their middles. Unwrap the parcels, then, once cool enough to handle, peel and chop into chunks. You can do this ahead of time or while you make the rest of the dish.
For the miso dressing, just mix everything together in a bowl and then pour it over the warm beetroot chunks.
Wash the sushi rice in a bowl of cold water. Drain in a sieve and repeat at least two more times until the washing water is clear. After the final drain, put the rice in a saucepan with 225ml water and a pinch of salt, clamp the lid on and bring to the boil. Once boiling, turn the heat right down and set a timer for 13 minutes. Do not lift the lid, though it’s very tempting, or you will lose the steam, which cooks the rice.
After 13 minutes, turn off the heat and leave to stand for 10 minutes. That lid will start to look really enticing, but stay strong until the 10 minutes is up, at which point you can remove the lid – hurray – and tip the rice onto a baking tray. Mix the mirin and brown rice vinegar together, then pour it over the hot rice and toss, spreading the rice out all over the tray as you do so. This helps it to cool quickly.
Mix the mayonnaise with the shichimi togarashi in a small bowl. Halve, stone, peel and slice the avocado and squeeze a splash of lime juice over to keep it from browning (keep some lime intact for serving).
To assemble, divide the rice between 2 bowls, then tumble the miso beetroot on top. Add half a sliced avocado to each bowl and dollop a spoonful of the mayonnaise on the side. Finish with the spring onions, peanuts and nori sprinkles, and offer a chunk of the remaining squeezed lime on the side.
‘From the Veg Patch’ by Kathy Slack (Ebury Press, £25; photography by Kathy Slack).
Join our commenting forum
Join thought-provoking conversations, follow other Independent readers and see their replies
0Comments