Thanksgiving: How to make a cake that looks like a turkey
Your support helps us to tell the story
From reproductive rights to climate change to Big Tech, The Independent is on the ground when the story is developing. Whether it's investigating the financials of Elon Musk's pro-Trump PAC or producing our latest documentary, 'The A Word', which shines a light on the American women fighting for reproductive rights, we know how important it is to parse out the facts from the messaging.
At such a critical moment in US history, we need reporters on the ground. Your donation allows us to keep sending journalists to speak to both sides of the story.
The Independent is trusted by Americans across the entire political spectrum. And unlike many other quality news outlets, we choose not to lock Americans out of our reporting and analysis with paywalls. We believe quality journalism should be available to everyone, paid for by those who can afford it.
Your support makes all the difference.With Thanksgiving just around the corner, there are a few precious days left to plan for the all-important dinner.
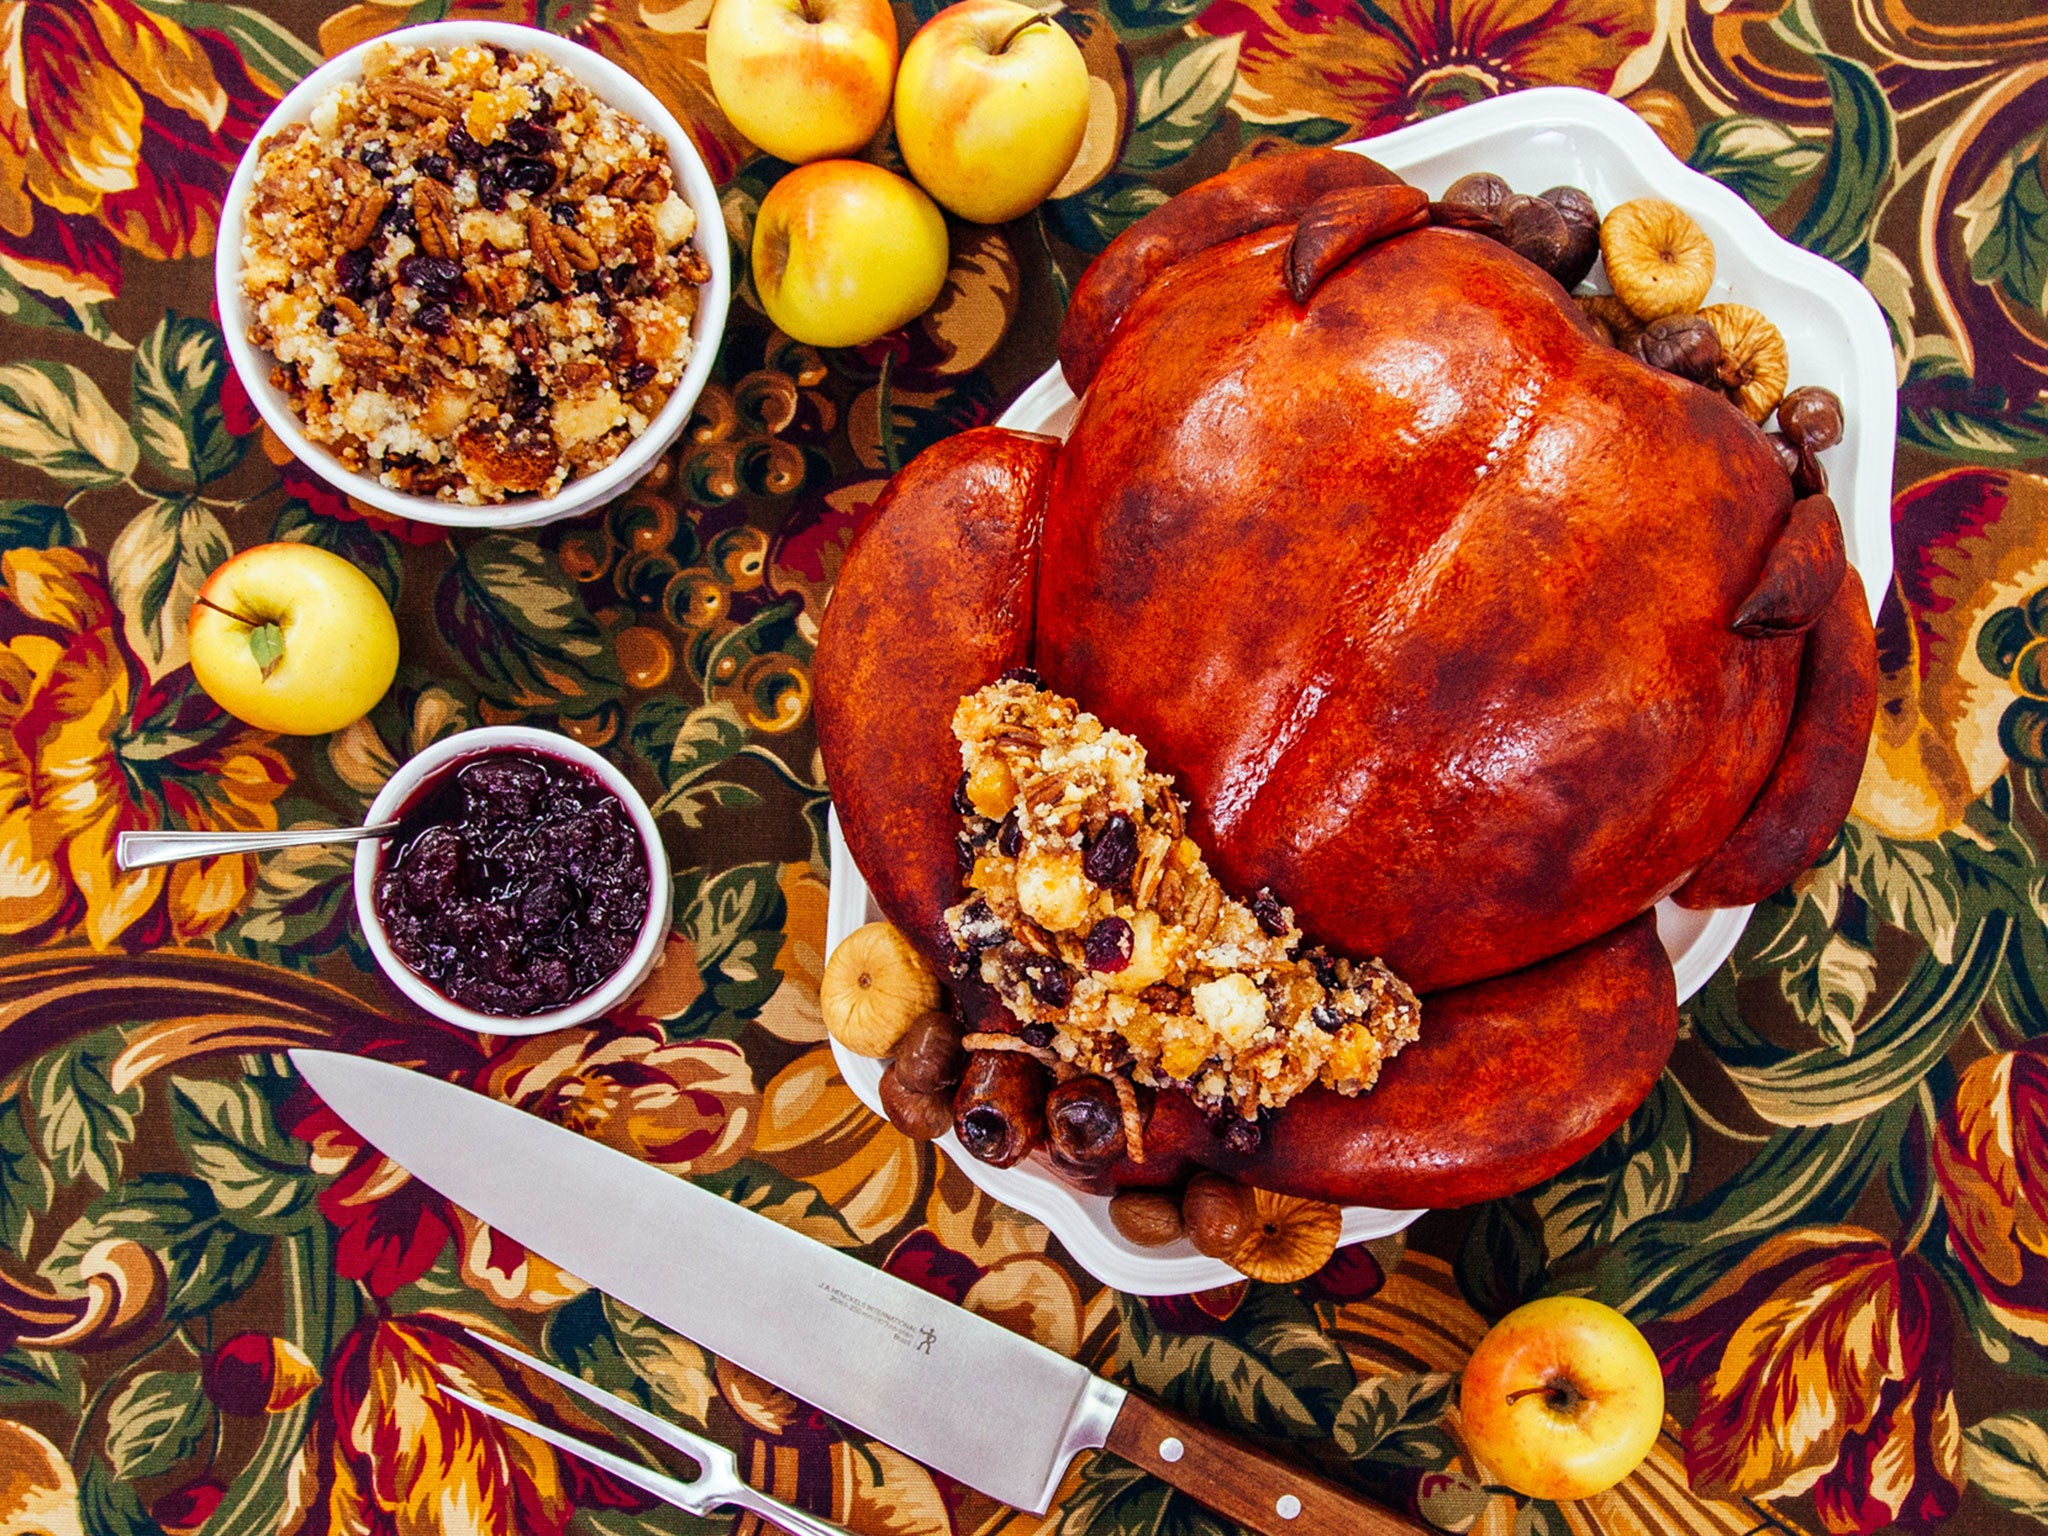
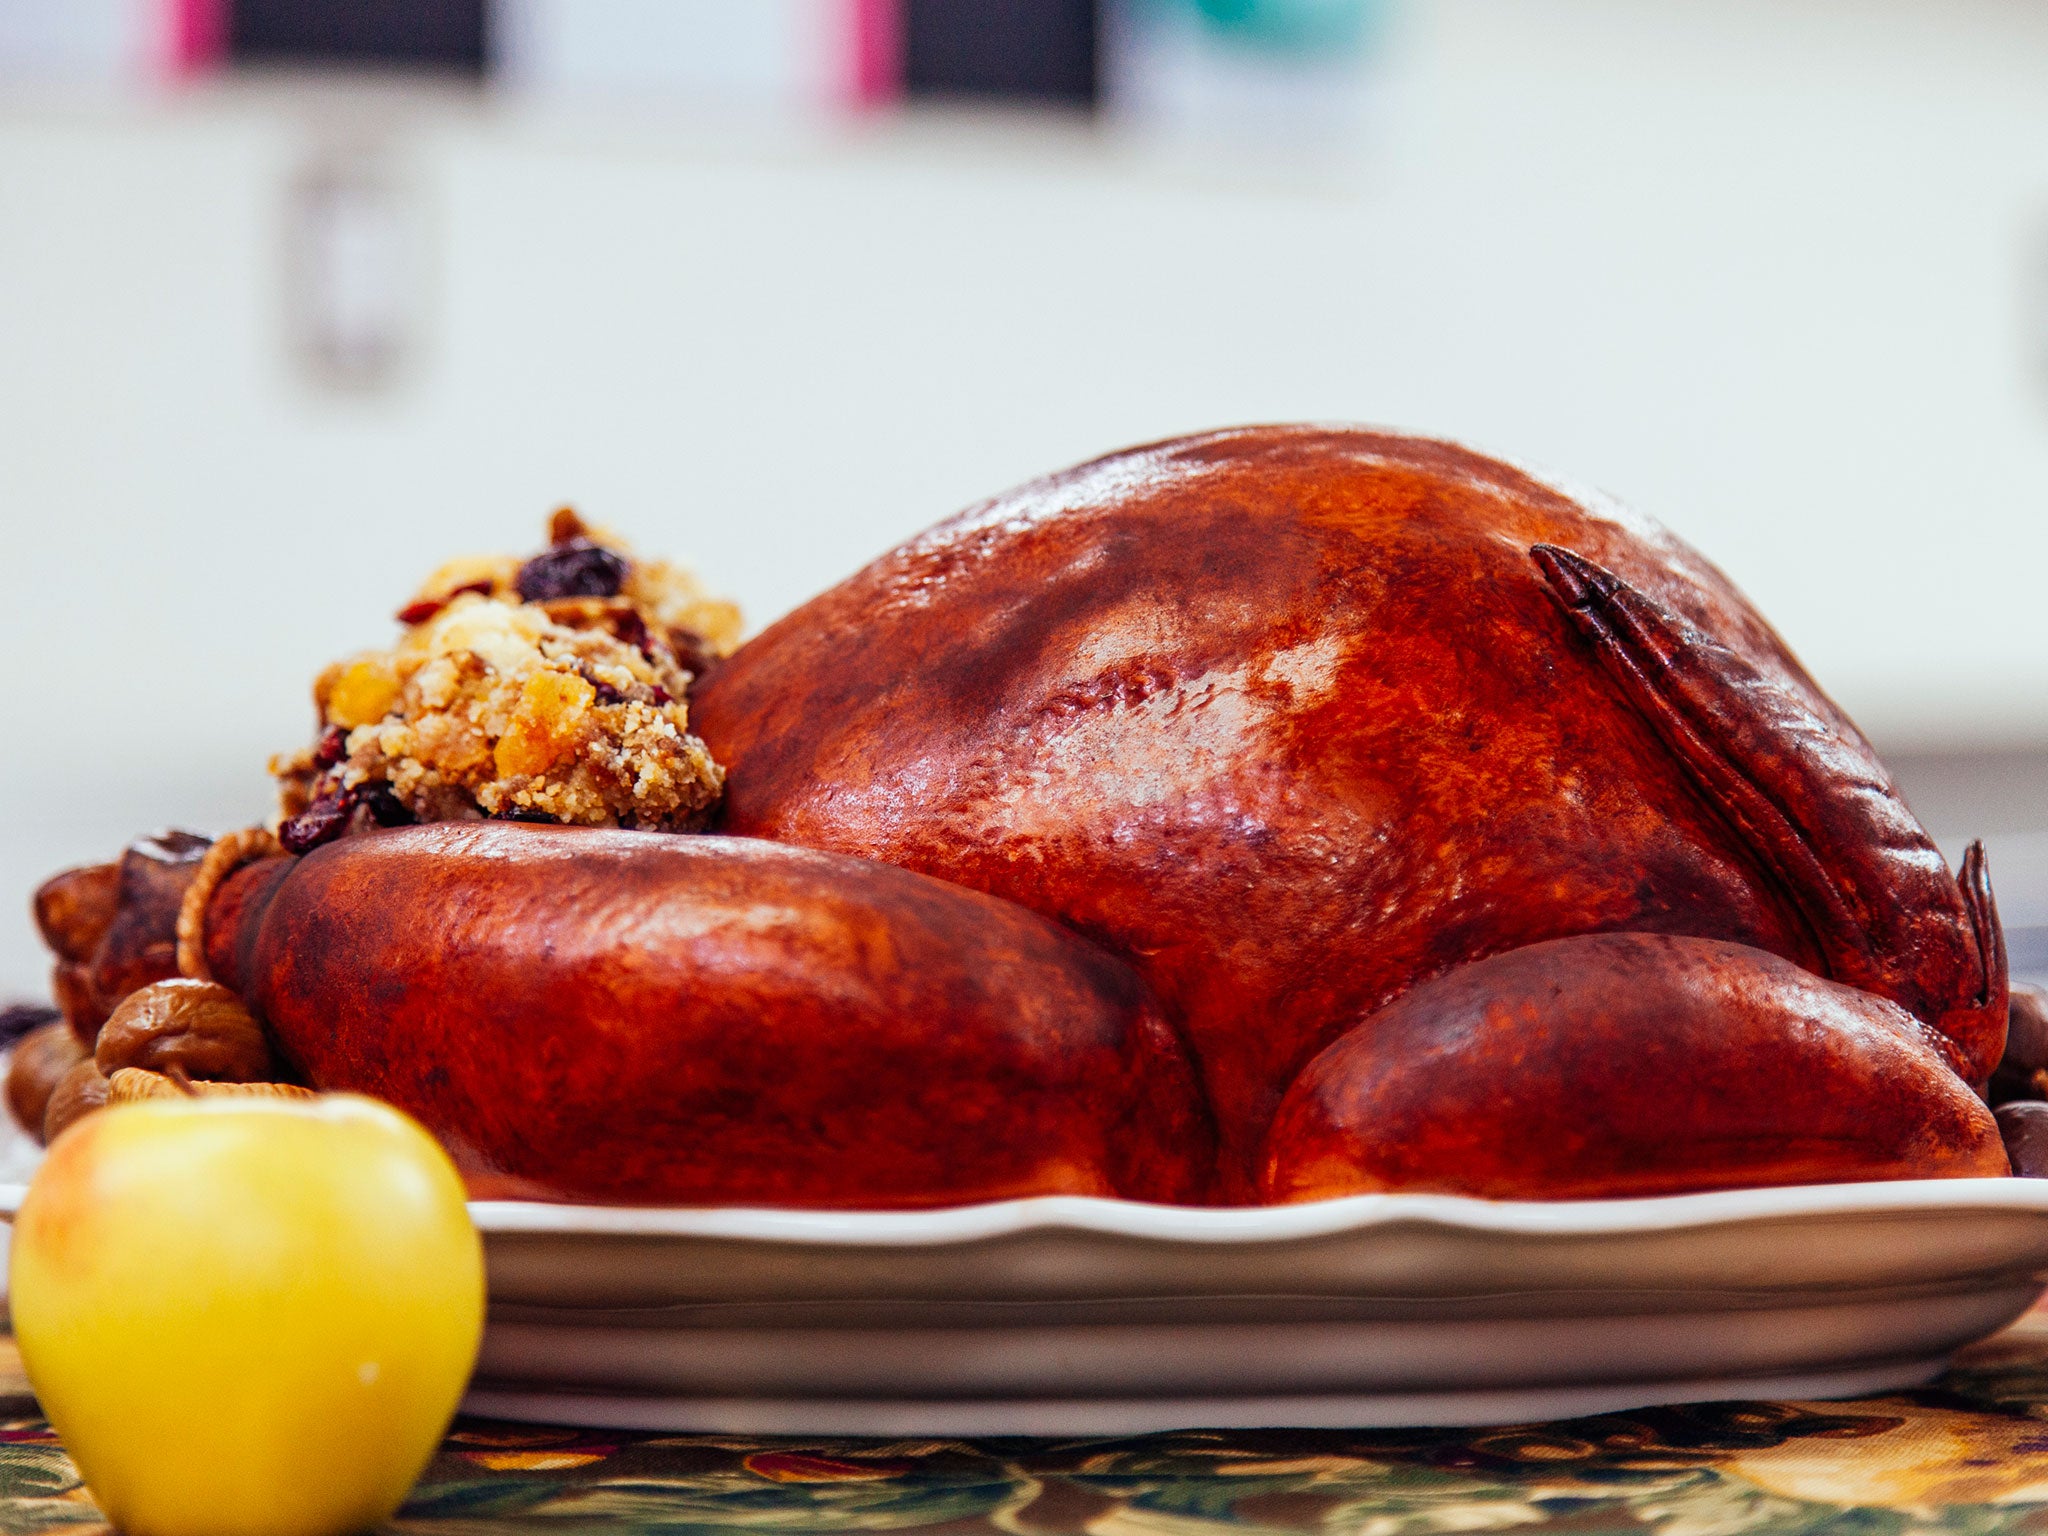
And while it wouldn't be Thanksgiving without turkey served with a dollop of cranberry sauce, greenbean casserole and roast potatoes, there's plenty of room to experiment - and this jaw-dropping cake by How to Cake It is just the thing.
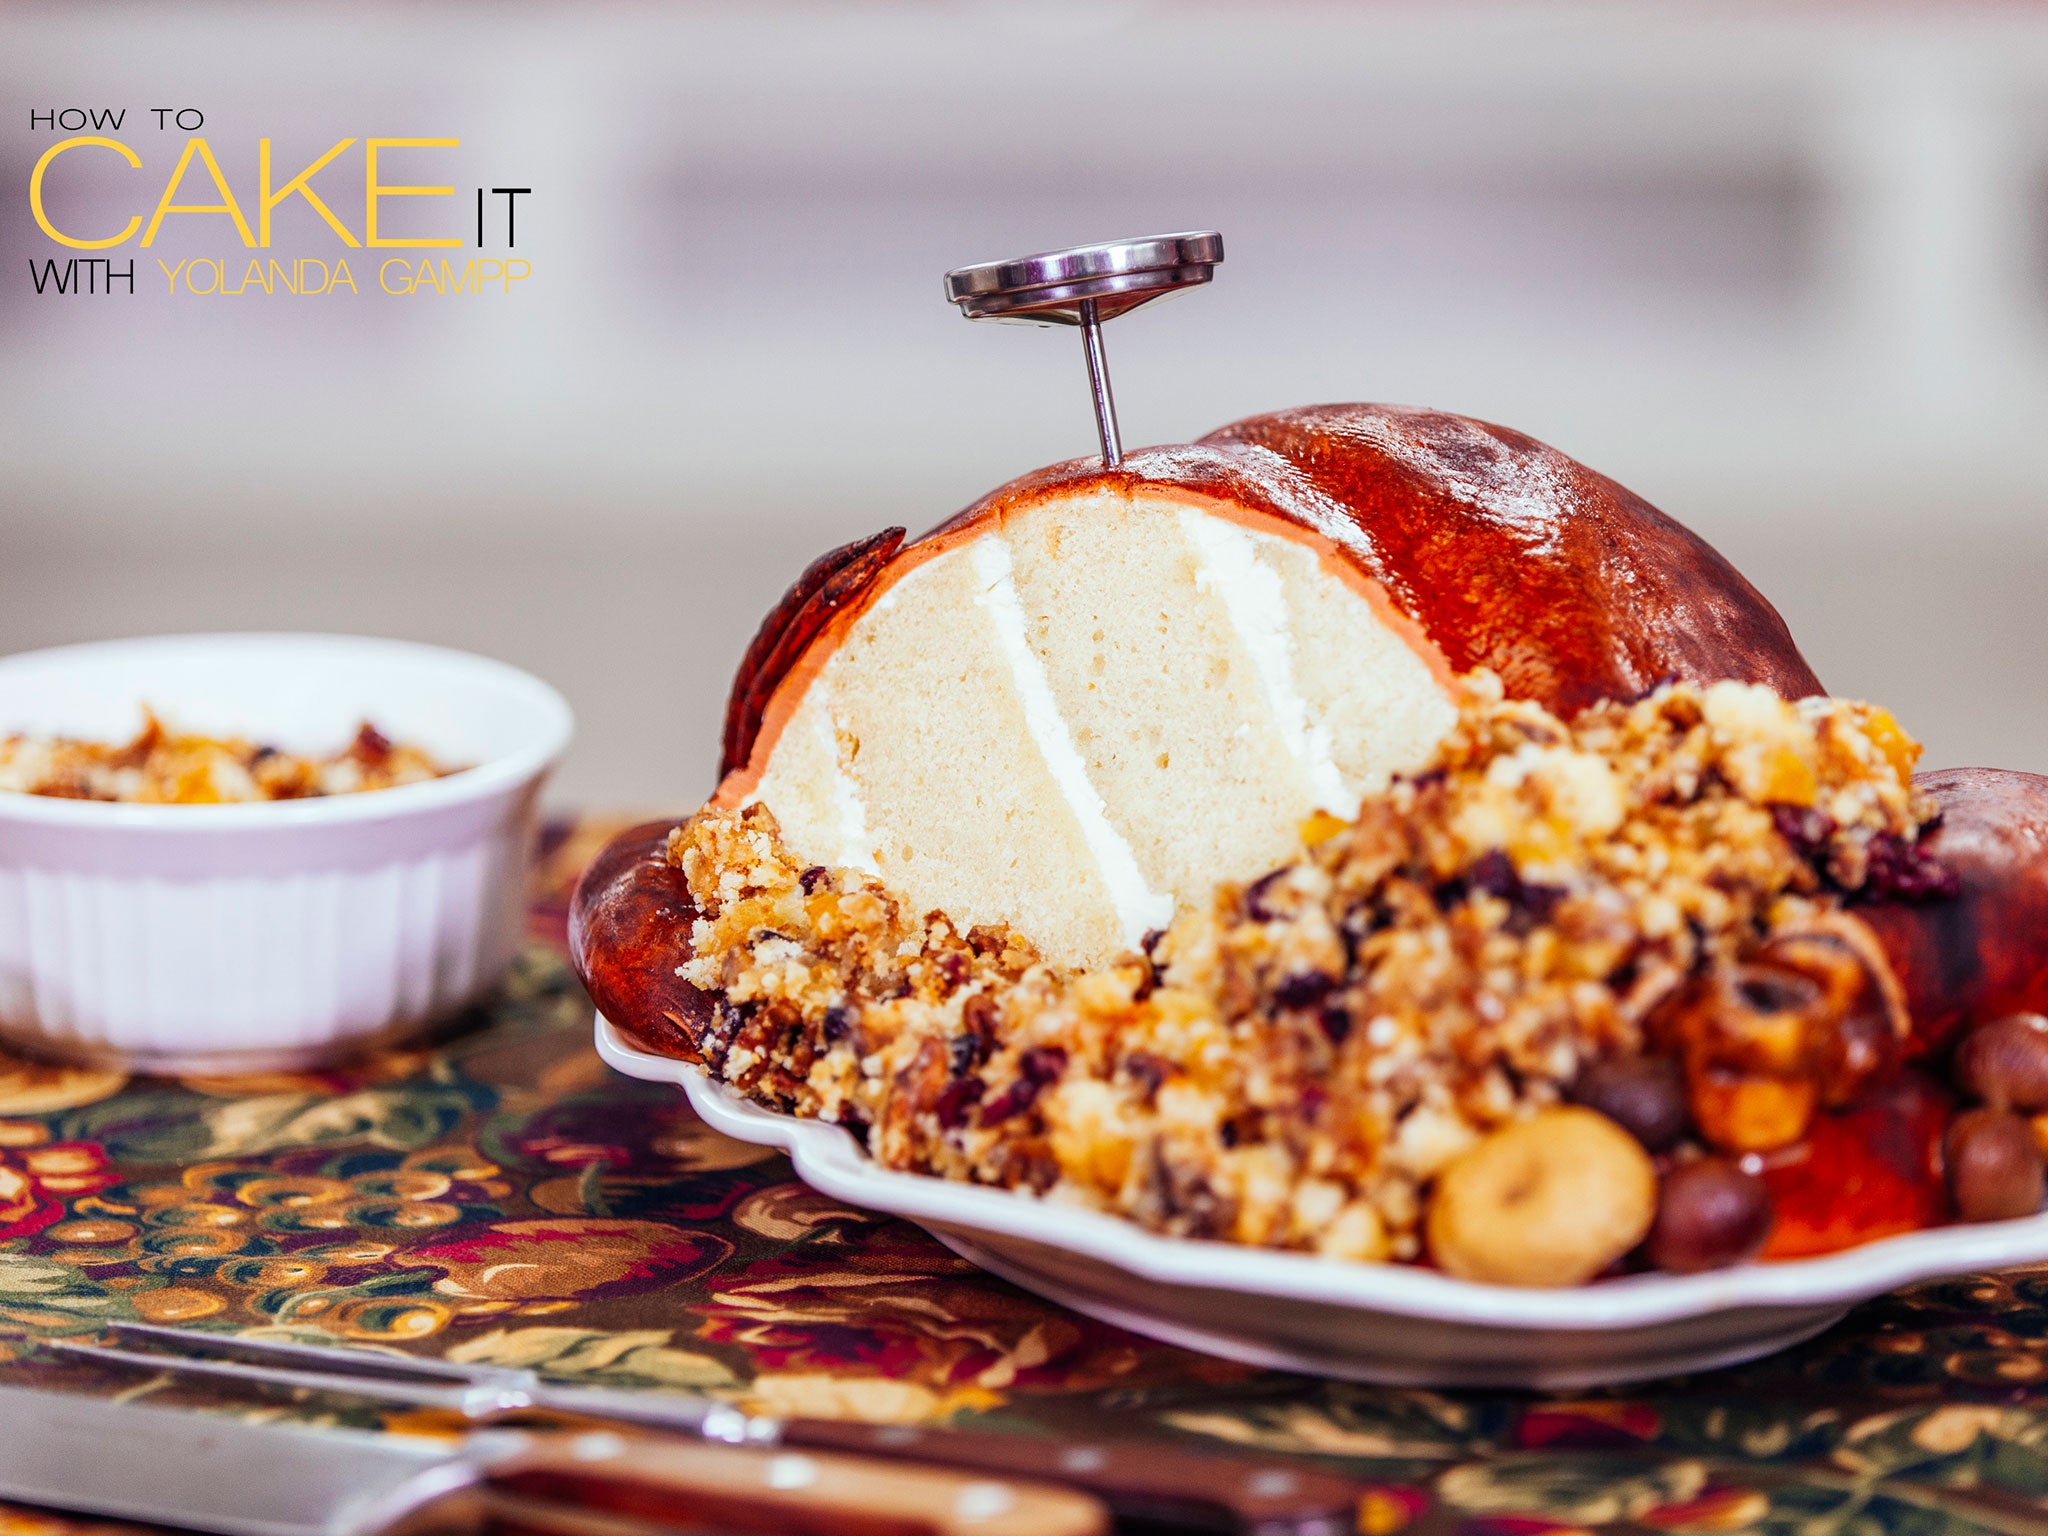
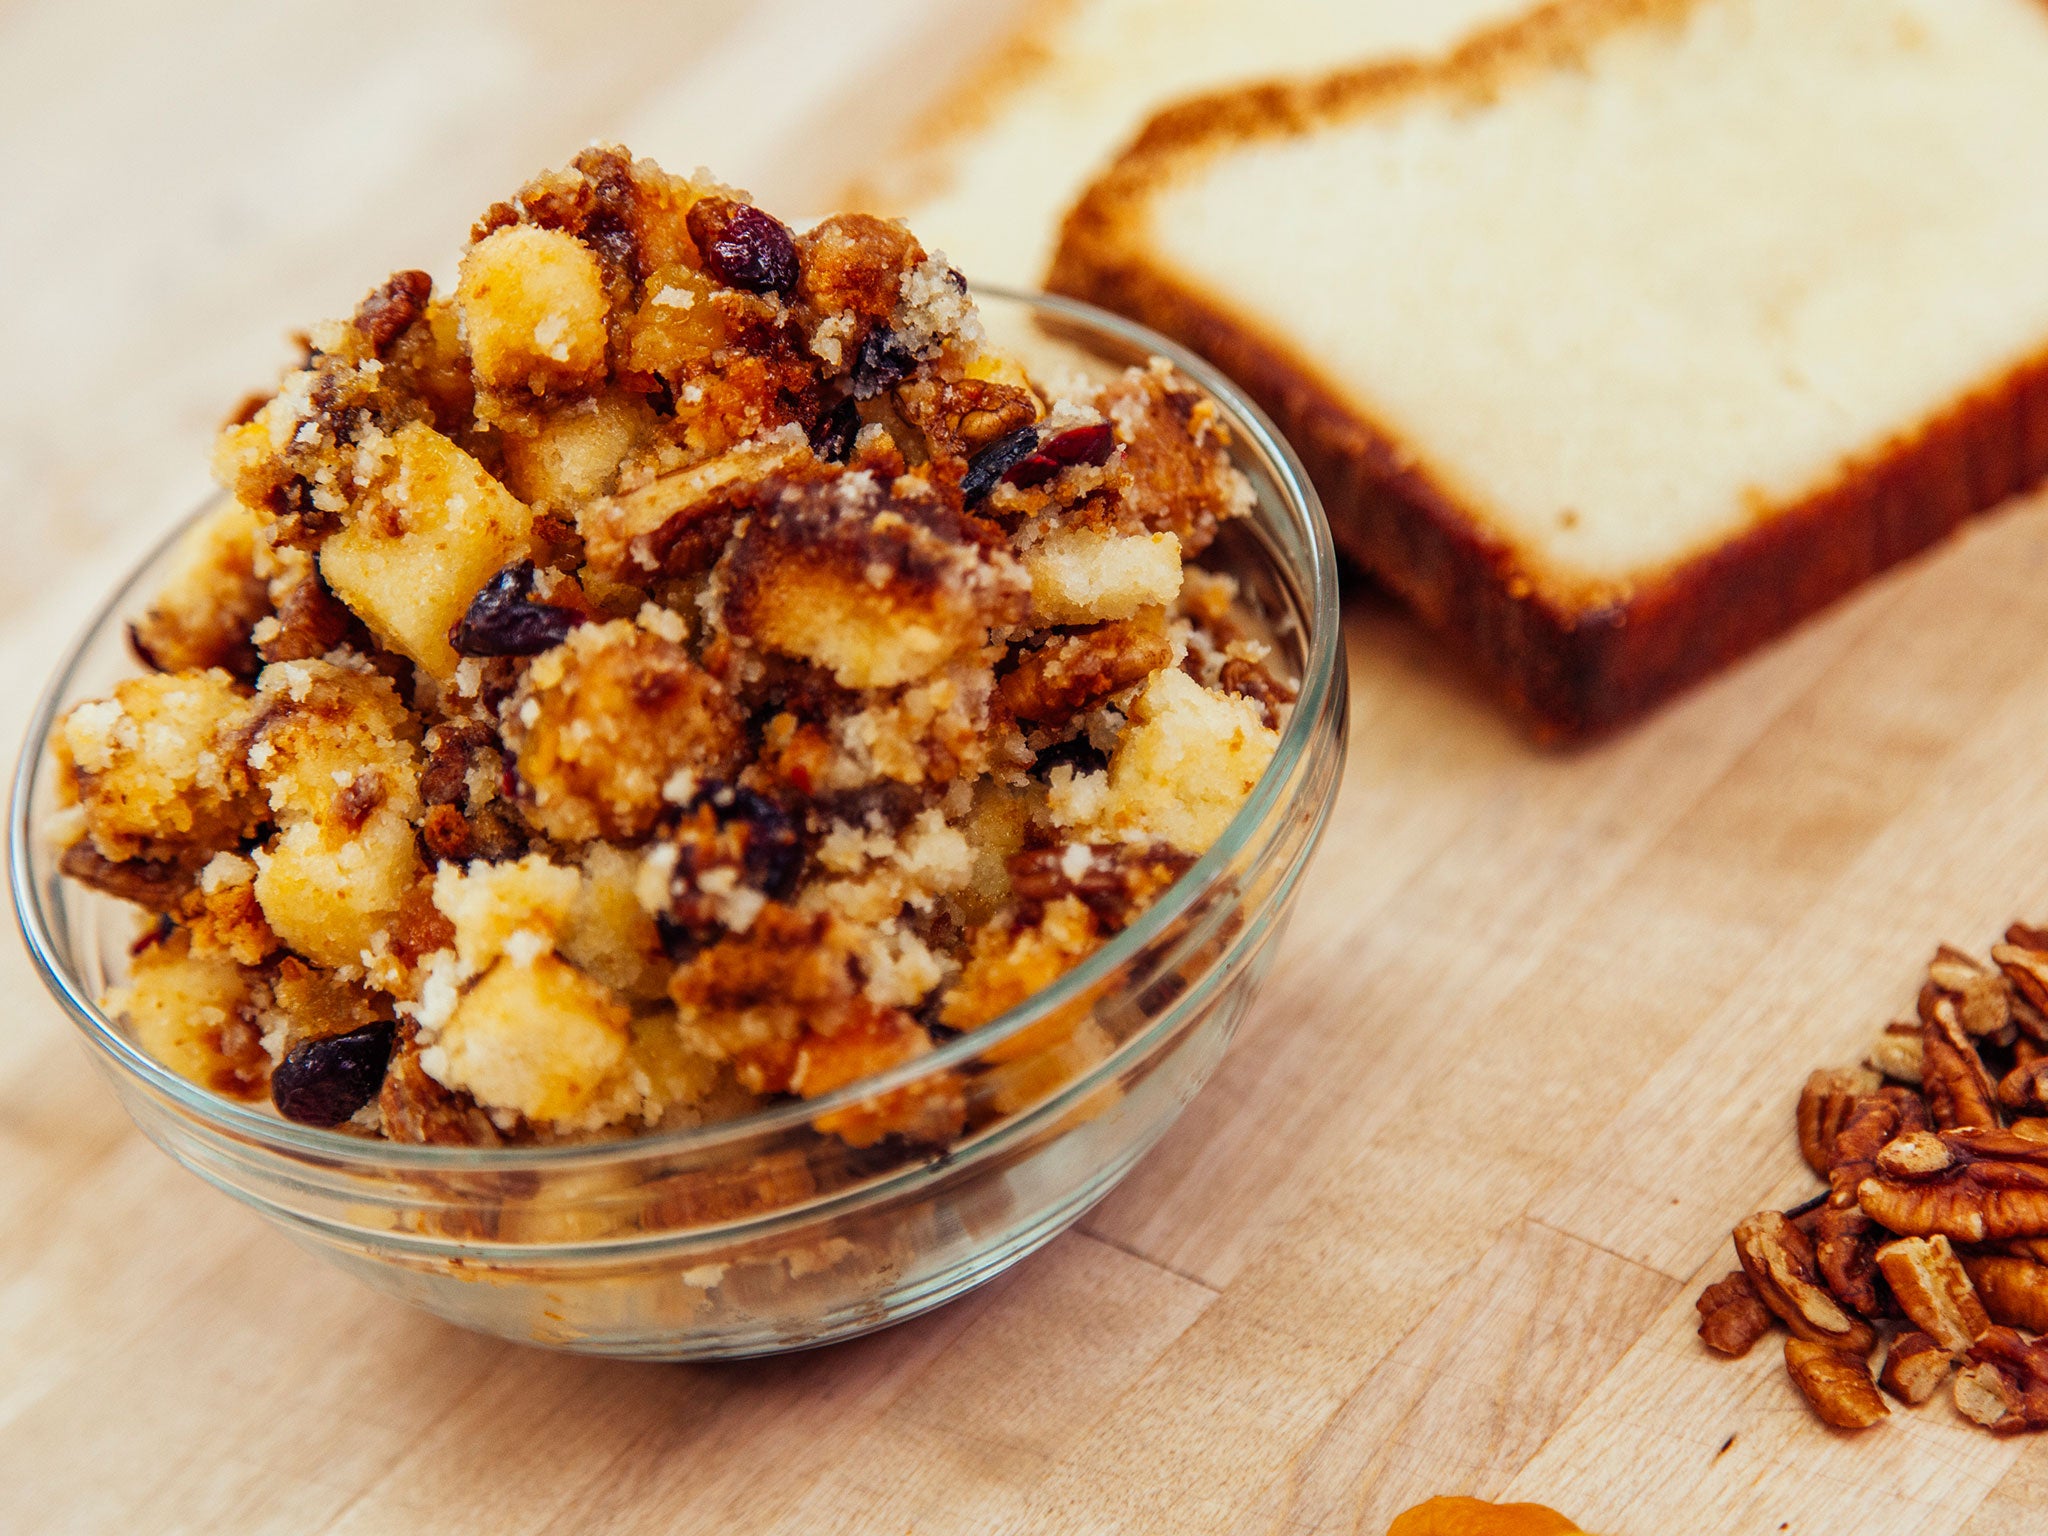
It may look like a turkey with all the trimmings, but it is in fact a vanilla cake complete with sweet poundcake stuffing.
Continue reading for Yolanda Gampp of How to Cake It's recipe.
To make the cake you will need:
2 x 6lb portion Vanilla Cake (click here for the recipe)
6” round cake pan
2 x 9” round cake pan
10” round cake pan
Parchment paper
Dividing your batter:
Line the bottom of all of your pans with parchment paper and divide your vanilla cake batter as follows:
1 lb of batter in your 6” round pan
3 1/2 lbs of batter in each 9” round pan
4 lbs of batter in your 10” round pan
Bake your cakes according to my handy chart in my vanilla cake recipe or until a toothpick inserted into the centre comes out clean. Let your cakes cool completely in their pans.
To carve the turkey you will need:
1 x recipe Italian Meringue Buttercream - (click here for the recipe)
Serrated knife
Ruler
Small serrated knife
Small offset spatula
To prepare the icing you will need:
2 oz modeling chocolate - (click here for the recipe)
2 1/2 lbs fondant
Wilton Rose Pink Icing Colours
Wilton Golden Yellow Icing Colours
Wilton Burgundy Icing Colours
Wilton Ivory Icing Colours
Royal icing or clear piping gel
Rolling Pin
Paring knife
Rubber shelf liner
Sculpting tool with curved tip
Ball tool
CMC
To decorate the turkey you will need:
Wilton Ivory Icing Colours
Wilton Copper icing Colours
ChefMaster Buckeye Brown
Dutch Process Cocoa Powder
Clear food grade alcohol (I use white rum) or lemon extract
Paint brushes
To make the stuffing you will need:
½ loaf poundcake - (click here for the recipe)
½ cup pecan halves
½ cup dried apricots, chopped
½ cup dried cranberries
½ cup apricot jam
Method
Take your time as you carve, and carve lightly. Remove small sections of cake. You can always trim more away, but adding it back is another story.
I found it helpful to concentrate on the turkey body first. Then I added the “back end”. I carved the drumsticks and the plumper parts of the wings separately from the cake scraps. That’s another helpful tip: when carving cakes always keep your scraps. Don’t eat them until you are happy with your shape. You may need them.
Preparation
I try not to overwhelm myself when carving a cake. I like to think about it in stages, and focus on each stage one at a time. With a cake like this especially, so much of the detail comes from the texture applied to the fondant, as well as the painting techniques. And really there is no point in rushing to the next stage until you are happy with the first.
Also keep in mind that you can always adjust your shape even after you have crumb coated your cake. I find that a nice crumb coat helps me to see the shape I have carved more clearly.
Once you are happy with the shape of your turkey cake, and you have crumb coated and iced it, you can move on to the good stuff. This is the part I love the most.
I find it helpful to dye my fondant a base colour before painting. This will add much more depth to the overall look. The dye in the fondant will be the perfect primer for your pain job.
I dyed my 2 1/2 lbs of fondant with various colours. Wilton Rose Pink, Golden Yellow, Burgundy and Ivory Icing Colours. I suggest starting with a small amount, about ¼ lb and working the colours into that. Play around adding colour, little by little, until you are happy with the tone. If your fondant gets too dark, don’t worry, because you still have to work in the remaining 2 ¼ lbs.
Icing the turkey
Time to cover your turkey cake. I suggest covering the body with one portion of fondant. Then covering the two drumsticks, and two wing parts.
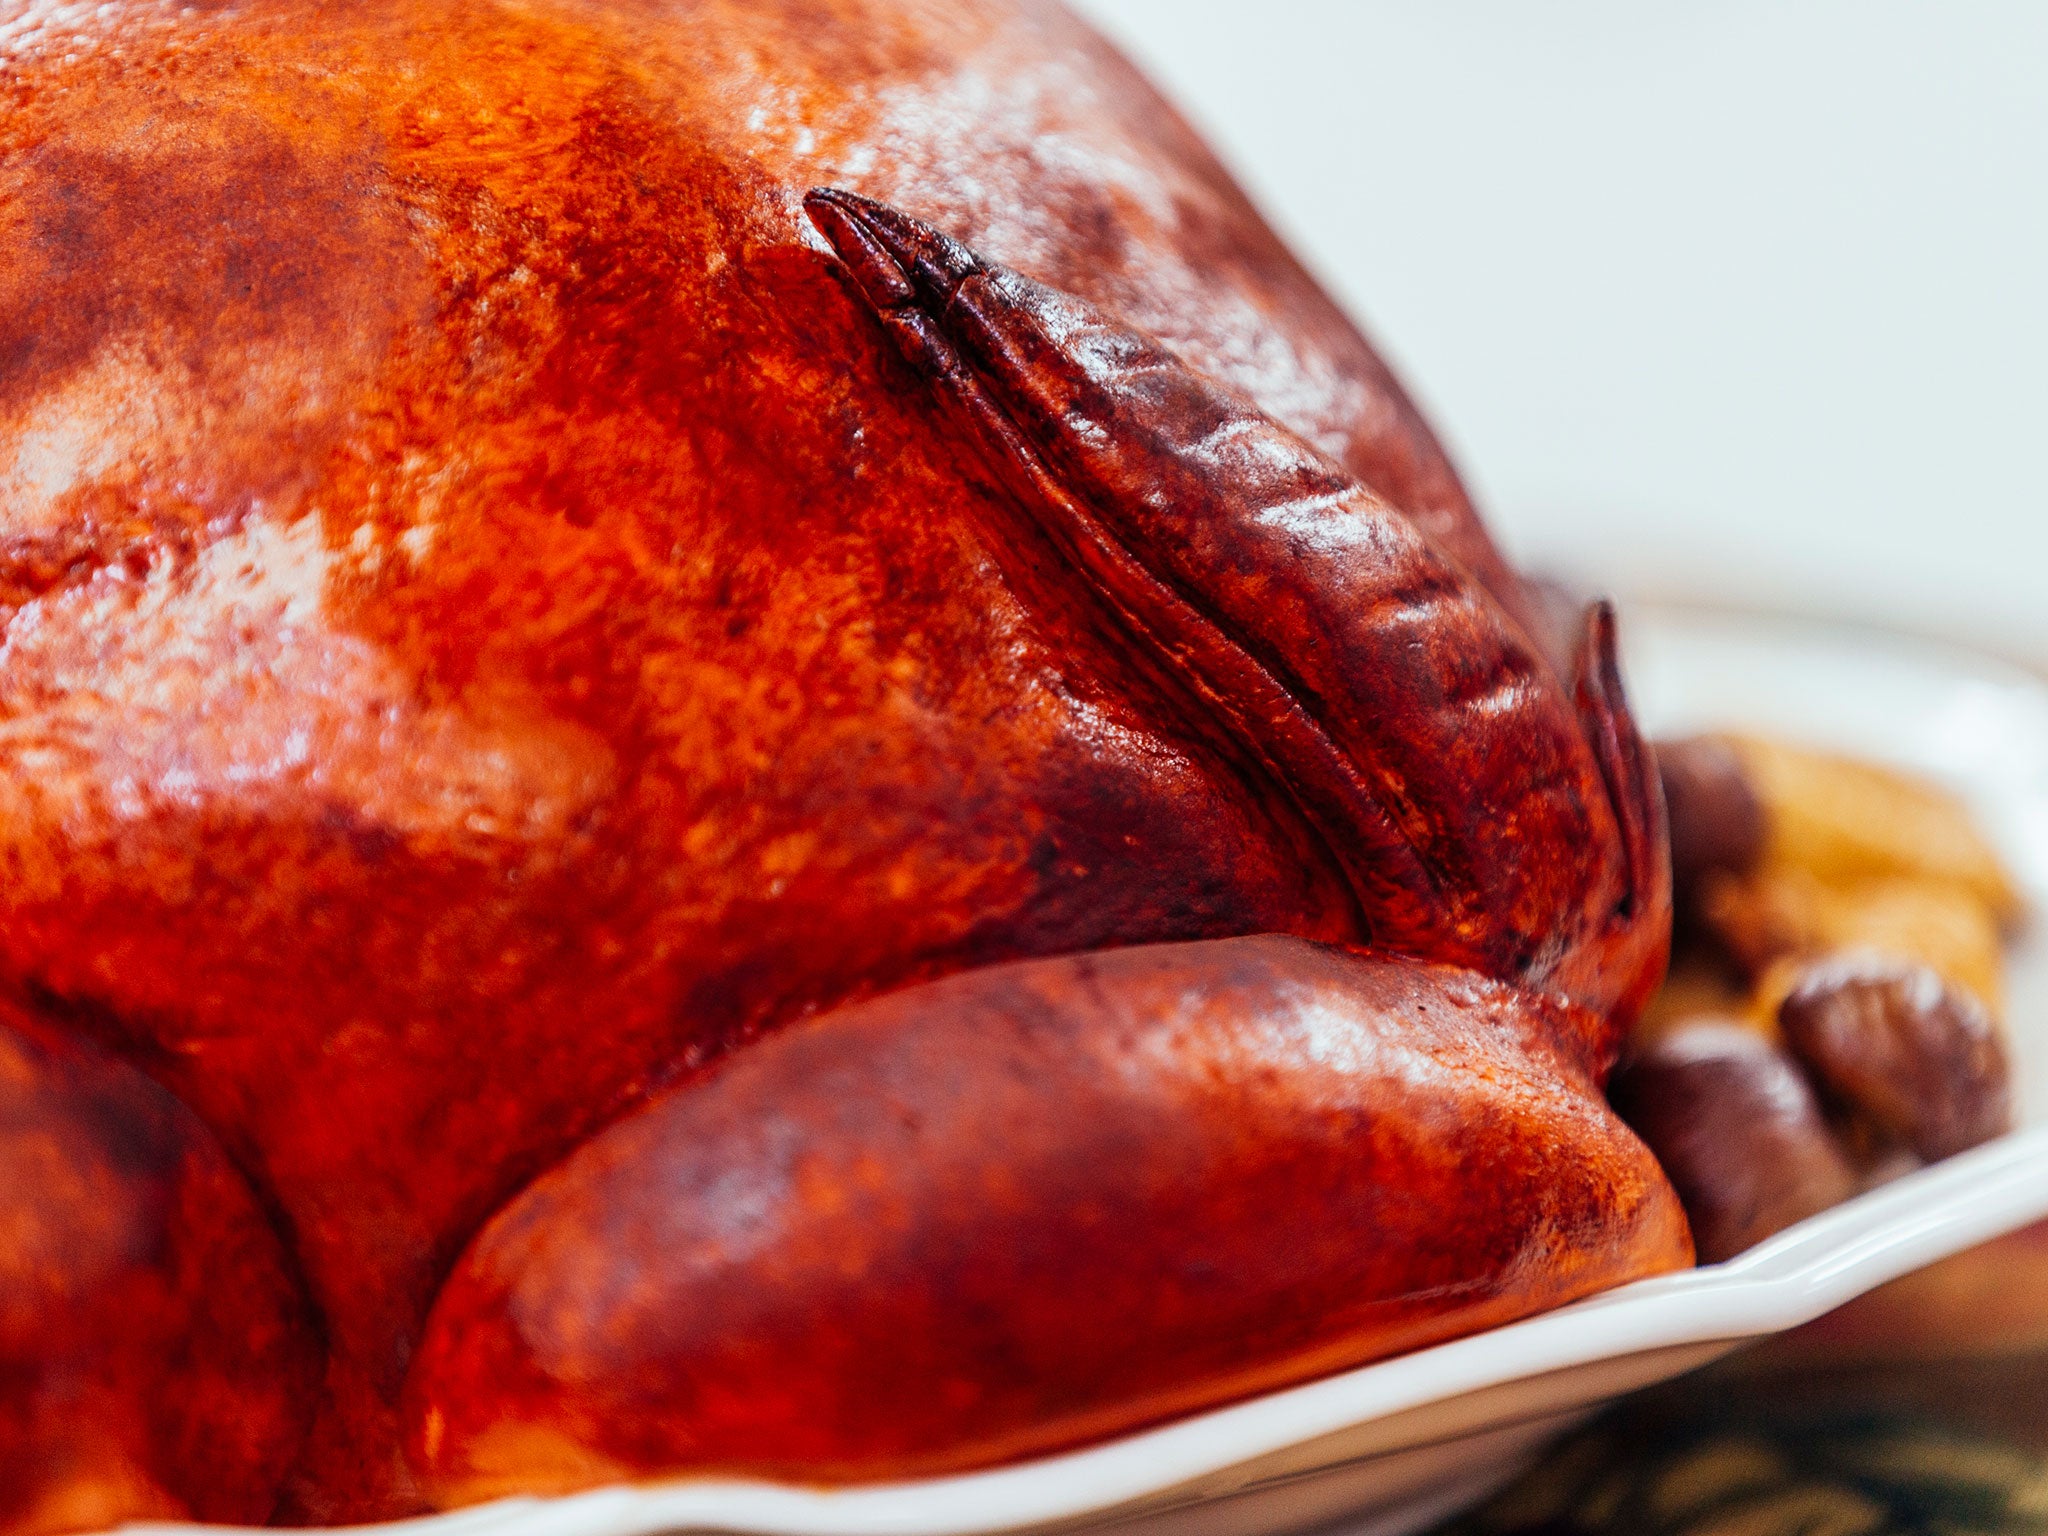
After you cover each part, use your shelf liner, “The Turkey Skinator”, to add texture. Just press and squeeze the shelf liner into your fondant. The more you press and create indentations, the more real your bird will look. You don’t want this cake to look smooth and perfect. After all it has been roasting in a hot oven for hours!
Time to make the second part of the wings - you know, the part that gets the most crispy and everyone at the table fights for it! Add a bit of CMC to about 2 oz of fondant. Sculpt the wings and use your sculpting tools to add details.
Now use a little royal icing, or clear piping gel, or water to add your turkey parts to the body of the turkey. I positioned the wings so that the crispy parts were pointing upward (I should really brush up on my turkey anatomy). Try to place the drumsticks so they appear to cross over at the point where the bones stick out.
Speaking of bones, we still need to sculpt them out of modeling chocolate. Modeling chocolate is the perfect base colour for bones, and I usually have some stored in my fridge. You can also use tinted gumpaste or fondant with some CMC added if you are more comfortable.
Add your bones to the tops of your drumsticks. Create an opening in the fondant and push your bones in for a more realistic look.
Paint a base coat onto your cake with a mixture of Wilton Ivory and Copper Icing Colours diluted with clear alcohol. Allow that coat to dry and then paint a second coat with ChefMaster Buckeye Brown diluted with clear alcohol. Paint your modeling chocolate bones using the same Buckeye Brown without diluting it.
Add a final layer of dimension to your turkey cake by brushing on dutch process cocoa powder to highlight some areas. This will help give the illusion of skin that has been nicely charred in the oven.
I created a strand of twine to tie the turkey legs together with modeling chocolate. Simply roll out two thin bands of modeling chocolate and twist them together. Then brush on some cocoa to accentuate the grooves. Carefully wrap your twine around the base of the bones on your drumsticks.
Making the stuffing
I cut my poundcake into slices and then cut cubes. I left the ends of the poundcake on because I really wanted it to look like bread.
I made my stuffing according to my tastes, but any variety of nuts and dried fruit would be tasty. Simply toss all of the other ingredients into your poundcake cubes and bind it together with some apricot jam. Place a nice mound of sweet stuffing onto your roasted turkey cake. I put my extra stuffing in a ramekin to serve along side the cake.
When you serve this dessert at your Thanksgiving dinner your guests will be astounded. They will be so impressed that you roasted two birds! They will be stuffed for weeks to come.
Join our commenting forum
Join thought-provoking conversations, follow other Independent readers and see their replies
Comments