Five easy dinner recipes you can make in under 30 minutes
Emily Weinstein recommends a week’s worth of riotously good recipes
Your support helps us to tell the story
From reproductive rights to climate change to Big Tech, The Independent is on the ground when the story is developing. Whether it's investigating the financials of Elon Musk's pro-Trump PAC or producing our latest documentary, 'The A Word', which shines a light on the American women fighting for reproductive rights, we know how important it is to parse out the facts from the messaging.
At such a critical moment in US history, we need reporters on the ground. Your donation allows us to keep sending journalists to speak to both sides of the story.
The Independent is trusted by Americans across the entire political spectrum. And unlike many other quality news outlets, we choose not to lock Americans out of our reporting and analysis with paywalls. We believe quality journalism should be available to everyone, paid for by those who can afford it.
Your support makes all the difference.We have recipe recommendations this week, as always.
Look at Ali Slagle’s beans and greens alla vodka, which – as the name implies – swaps in kale and beans for the pasta, or Eric Kim’s traybake bibimbap, another brilliant take on a beloved dish.
More ideas are below.
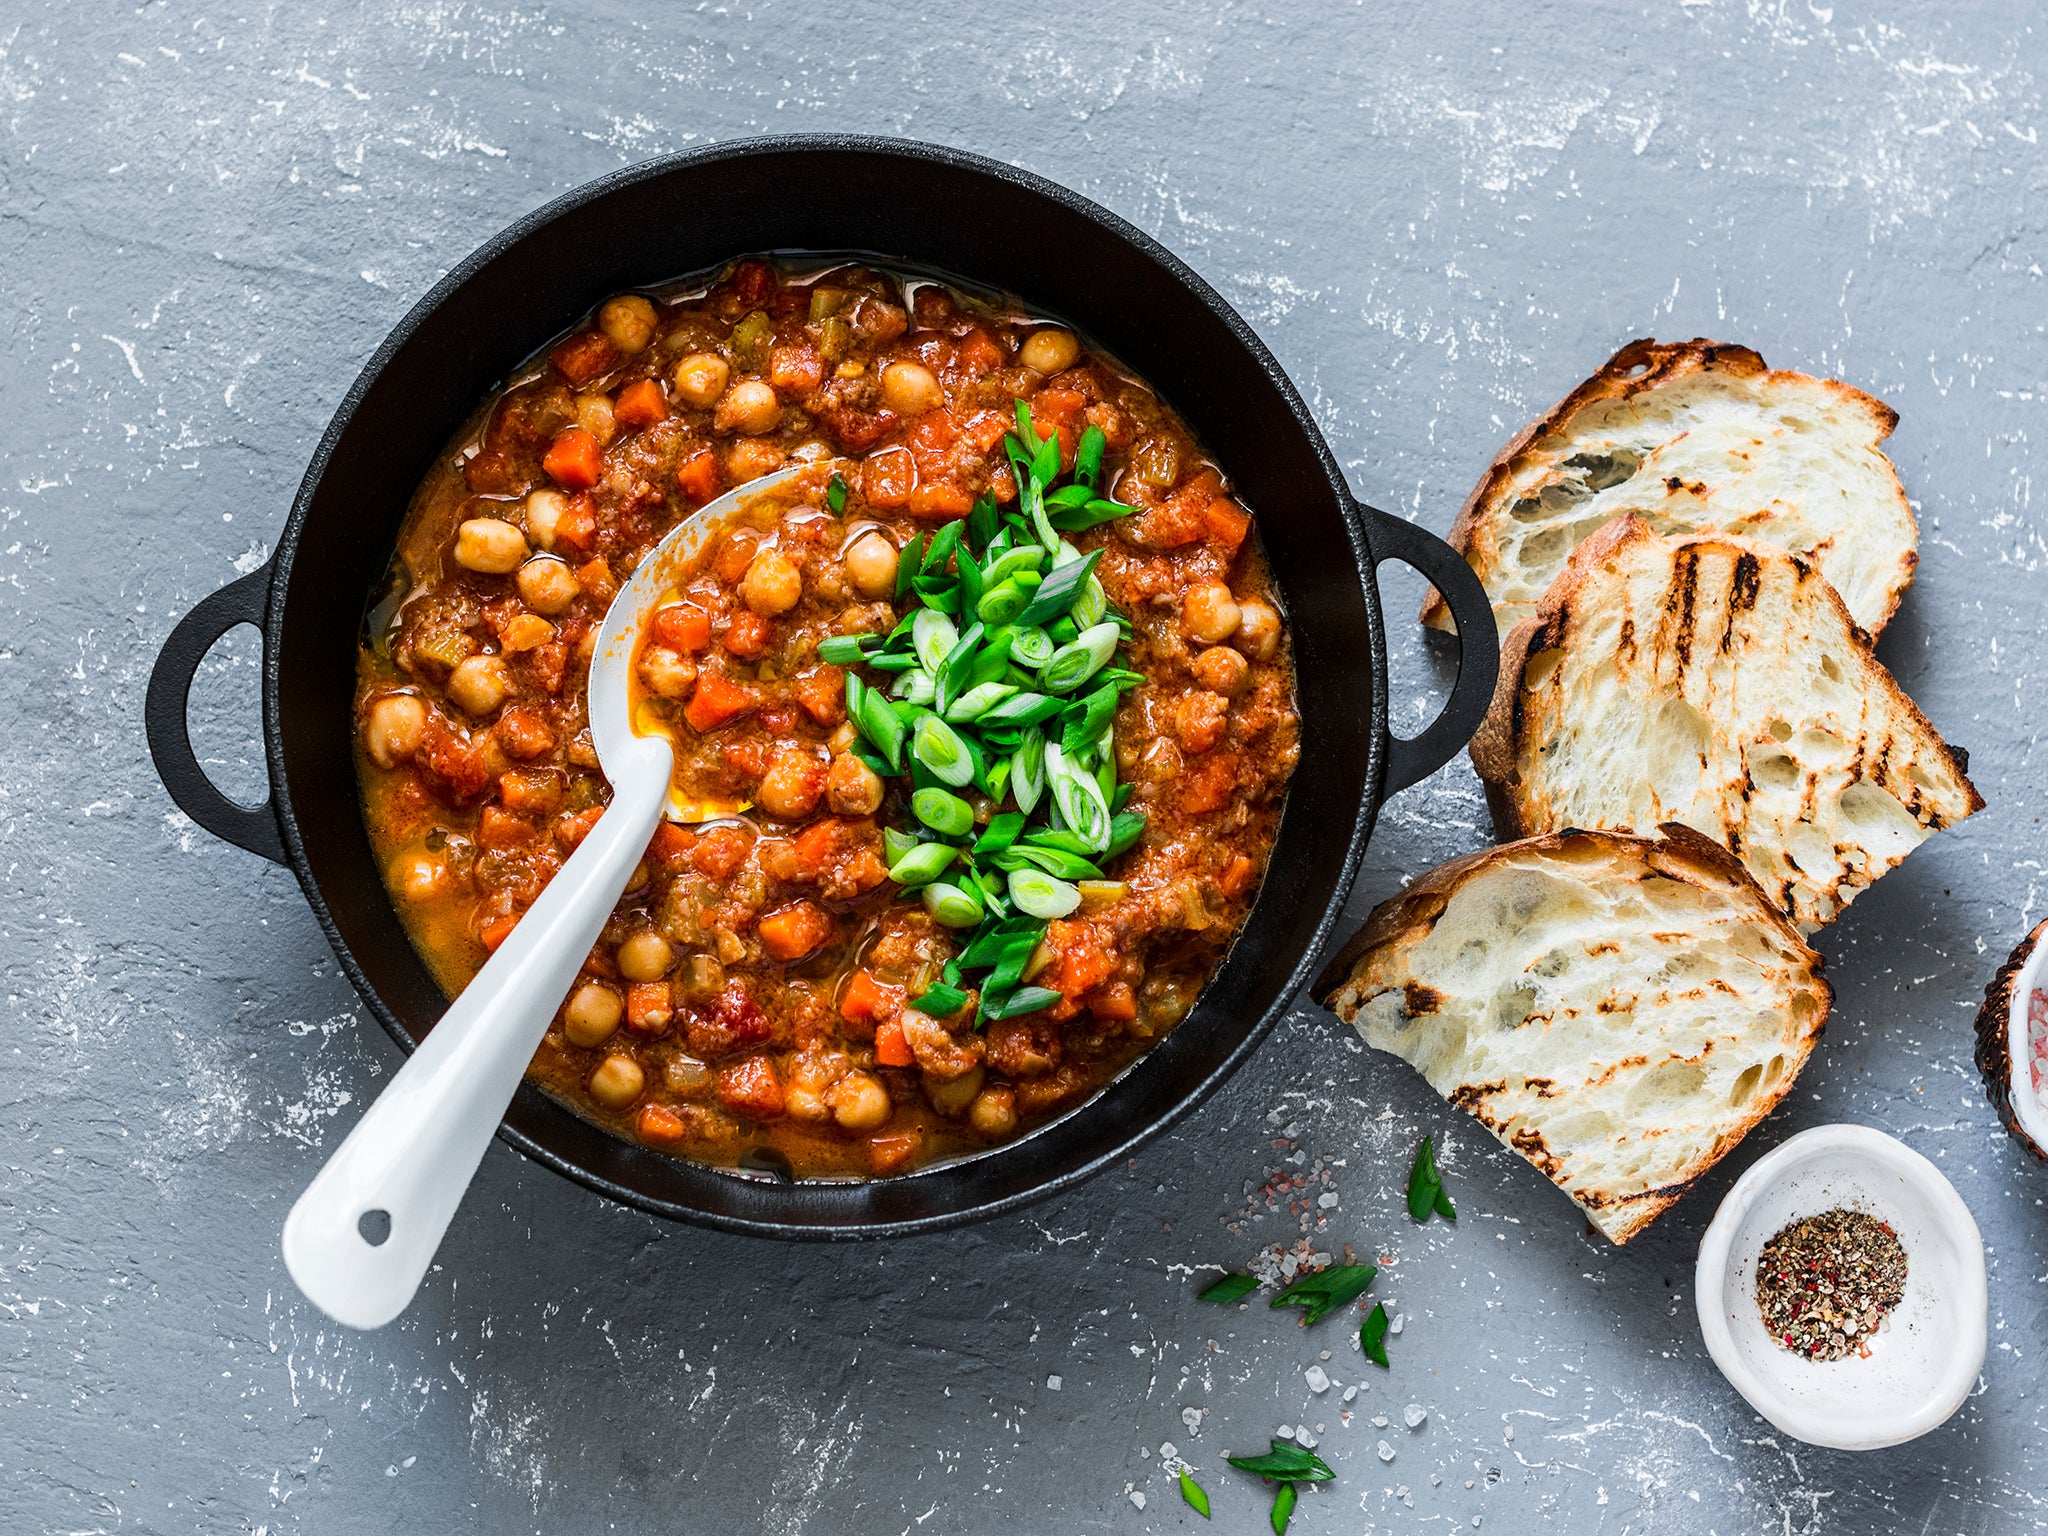
Beans and greens alla vodka
Pasta alla vodka is a classic because each ingredient works together beautifully: the heat of the red-pepper flakes and vodka, the sweetness of the tomato and the richness of the cream. And that combination works equally well with beans and greens. Use chickpeas or white beans, and kale or any other dark leafy green, like Swiss chard or broccoli raab. The finished dish keeps for up to three days in the fridge. Eat it on its own, with crusty bread for dunking, or over pasta.
By: Ali Slagle
Serves: 4
Total time: 20 minutes
Ingredients:
3 tbsp olive oil
1 yellow onion, finely chopped
4 garlic cloves, finely chopped
Salt
1 small tin tomato puree
¼ cup (60ml) vodka
½ tsp red-pepper flakes
2 (400g) tins white beans (such as cannellini or chickpeas), drained but not rinsed
1 bunch kale, ribs removed, leaves torn or coarsely chopped
¼ cup (60ml) double cream
Grated parmesan, as needed
Method:
1. In a large pot or casserole dish, heat the olive oil over medium-high. Add the onion and garlic, season with salt, and cook, stirring occasionally, until softened, 3 to 5 minutes. Add the tomato paste, vodka and red-pepper flakes. Cook, stirring, until the tomato paste is a shade darker and starts to stick to the bottom of the pot, 2 to 3 minutes.
2. Add 2 cups water, the beans and the kale, season with salt and bring to a simmer. Reduce heat to maintain a simmer, cover, and cook until the liquid is flavourful and the kale is tender, 7 to 10 minutes.
3. Remove from the heat and stir in the heavy cream. Taste and if it needs more salt, stir in some grated parmesan. Serve with more Parmesan on top.
Traybake bibimbap
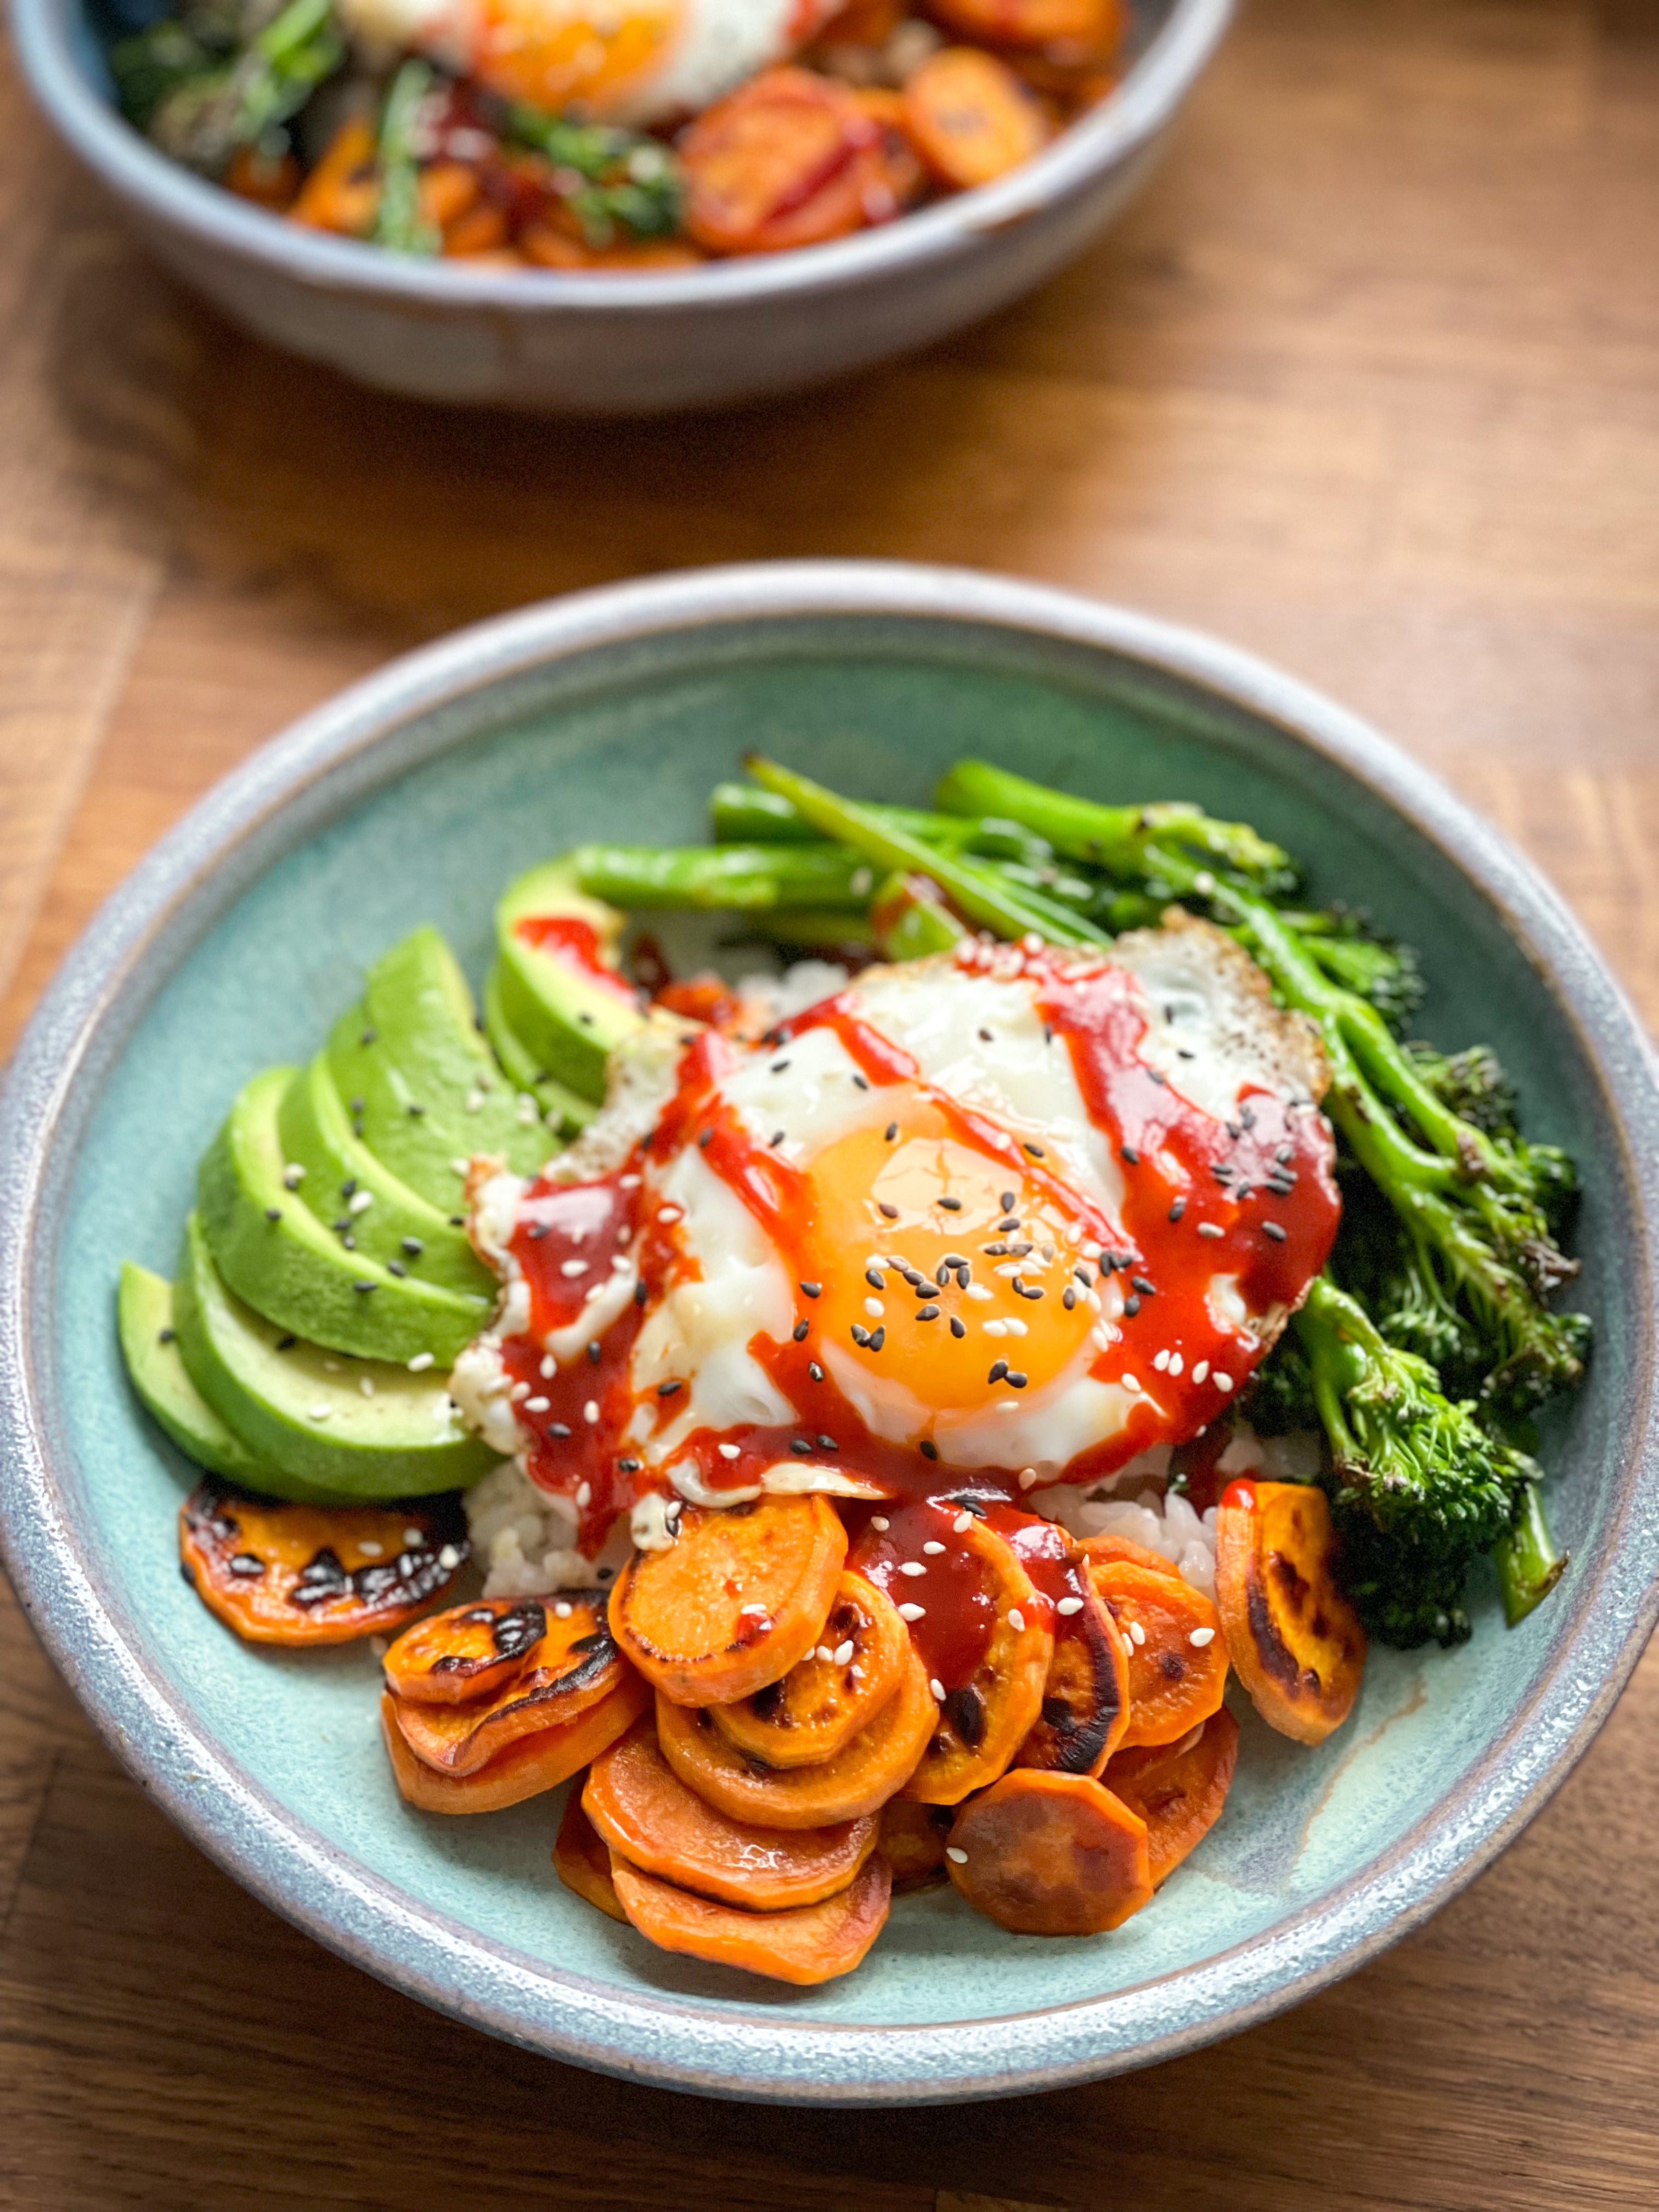
Bibimbap, the Korean mixed rice dish, is a kaleidoscope of flavours and textures. The popular dish has multiple origin stories and, like banchan and kimchi, many variations. Cooks who ordinarily keep namul (seasoned vegetable) banchan in the fridge may add them to a bowl with leftover rice and seasonings such as spicy-sweet gochujang and nutty sesame oil, for example. Or, if starting their bibimbap from scratch, some may prep each component separately. But here’s a fun way to accomplish everything at once: roast a melange of bits and bobs on one baking tray as rice heats and eggs oven-fry on another. The caramelised sweet potato and salty kale in this formula come highly recommended, but you can use any vegetables on hand, reducing cook times for delicate options such as spinach, spring onions or asparagus.
By: Eric Kim
Serves: 4
Total time: 35 minutes
Ingredients:
170g oyster mushrooms, torn into bite-size pieces
1 medium sweet potato (about 170g), scrubbed and thinly sliced into half-moons
1 small red onion (about 170g), thinly sliced crosswise into half-moons
200g coarsely chopped Tuscan or curly kale (from 1 small bunch)
6 tbsp olive oil
Salt and black pepper
700g cooked medium-grain white rice, preferably cold leftovers
4 large eggs
4 tsp toasted sesame oil, plus more to taste, for serving
4 tsp gochujang, plus more to taste, for serving
Kimchi, for serving (optional)
Method:
1. Position racks in the top and bottom thirds of the oven and heat oven to 230C.
2. On a large baking tray, arrange the mushrooms, sweet potato, red onion and kale into four separate quadrants. Drizzle the vegetables with 3 tablespoons of the olive oil, season with salt and pepper, and toss to coat, keeping the types of vegetables separate. Try to not crowd the vegetables; you want them to brown, not steam. Roast on the top rack until the sweet potato is fork-tender, the onion and mushrooms are slightly caramelised and the kale is crispy but not burnt, 20 to 25 minutes.
3. Meanwhile, place another large baking tray on the bottom rack to heat. When the vegetables are almost done cooking, in the last 5 minutes or so, remove the heated pan from the oven and evenly drizzle the remaining 3 tablespoons of olive oil on it. Spread the rice over half of the pan. Crack the eggs onto the other half and carefully transfer to the oven. Bake until the whites are just set and the yolks are still runny, 3 to 6 minutes (this time may vary depending on your oven, so watch it carefully).
4. To serve, divide the rice evenly among four bowls. Now divide the vegetables evenly as well, placing them in four neat piles over each portion of rice. Use a spatula to slide the eggs over the vegetables. Drizzle each bowl with 1 teaspoon of sesame oil and dollop with 1 teaspoon of gochujang, adding more if desired. Mix everything together with a spoon or chopsticks before diving in, and serve kimchi alongside, if you prefer.
Spicy, lemony chicken breasts with croutons and greens
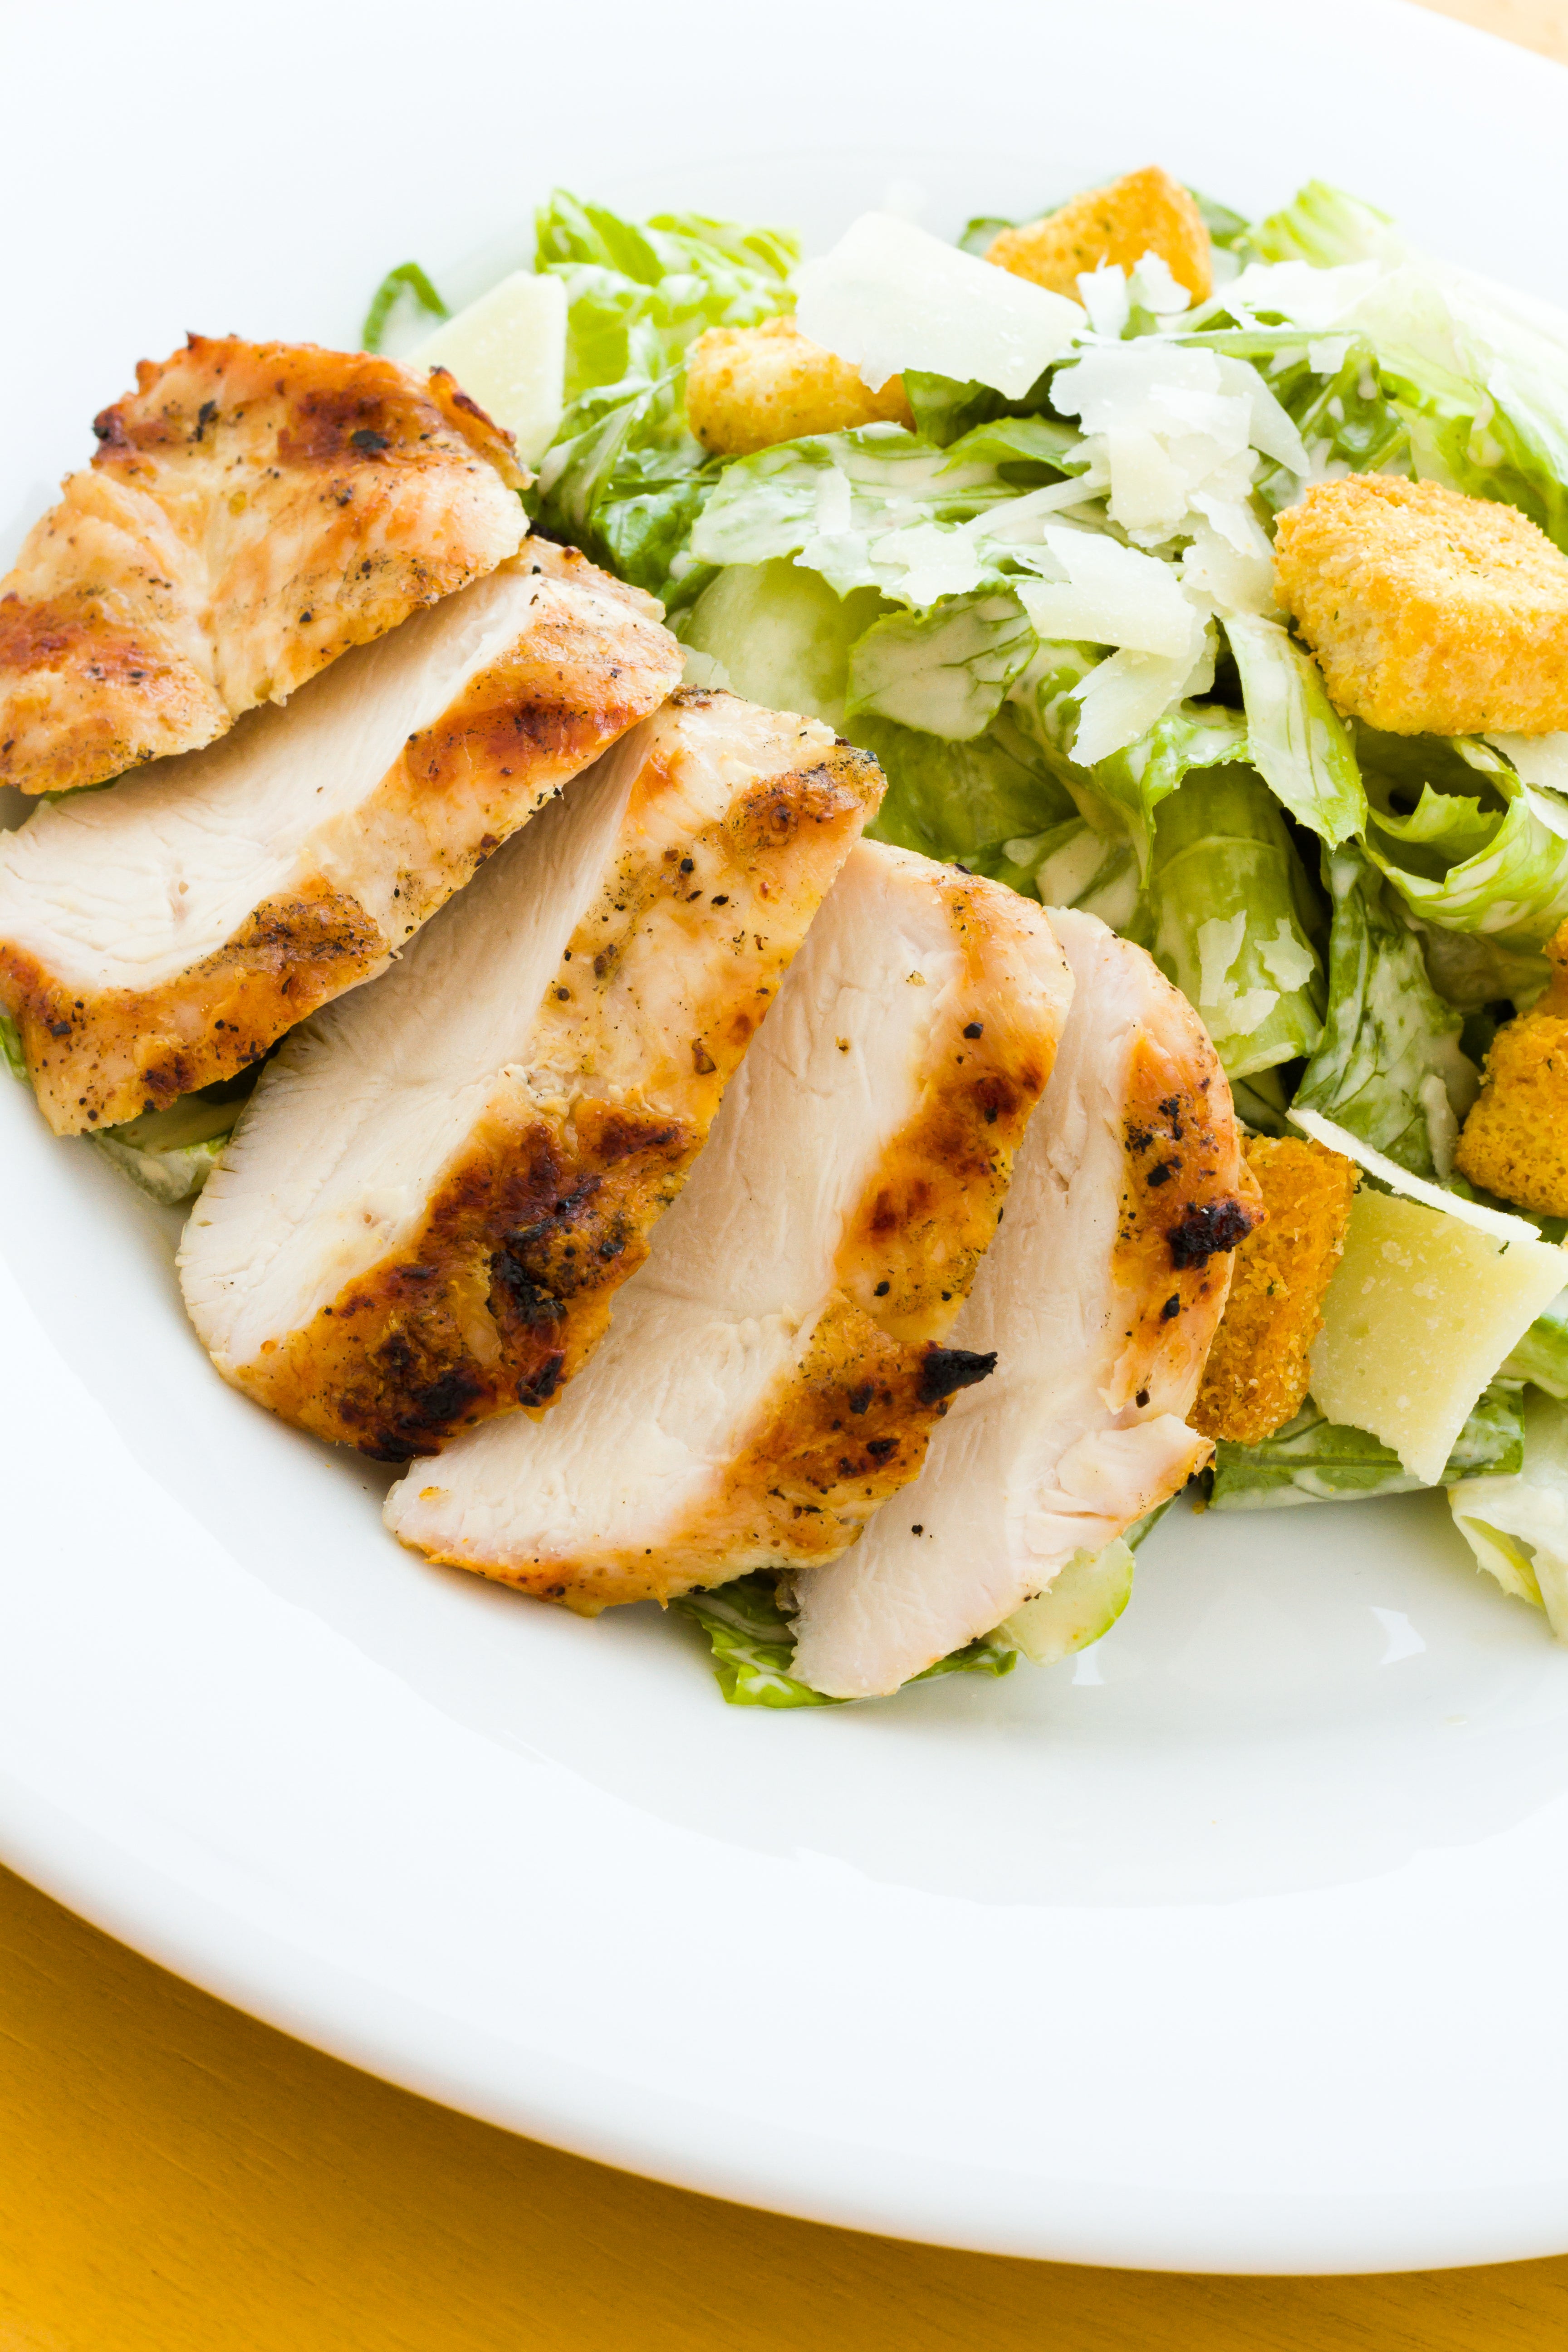
A post-marinade is exactly what it sounds like: a flavourful mixture you sink meat or fish into after it cooks. Often used with grilled meats, the technique works great with seared proteins as well, especially boneless, skinless chicken breasts, which don’t have a lot of flavour on their own. These breasts are cooked using a combination sear-steam method that builds flavour and keeps lean breasts juicy. Finish with a tangy-spicy combination of lemon, garlic and red-pepper flakes and you’ll reap all the benefits of a traditional marinade without having to plan ahead. If you have thinner breasts or cutlets, this is a particularly wonderful use for them, since they don’t have a lot of time to pick up color and flavour before they cook through.
By: Dawn Perry
Serves: 4
Total time: 30 minutes
Ingredients:
4 slices crusty bread (about 2cm thick)
6 tbsp olive oil
Salt and black pepper
1 tsp fresh lemon zest plus ¼ cup (60ml) lemon juice (from 1 to 2 lemons)
1 garlic clove, grated or finely chopped
1 tsp dried oregano or thyme (or 1 tbsp fresh)
½ to 1 tsp red-pepper flakes, to taste
4 boneless, skinless chicken breasts (700-900g)
2 small heads little gem lettuce or 1 romaine heart, leaves separated and torn into bite-size pieces
Method:
1. Heat oven to 190C. Arrange the bread on a rimmed baking tray; drizzle with 2 tablespoons oil and season with ¼ teaspoon salt. Bake, turning once, until lightly golden and toasted, 10 to 15 minutes.
2. Meanwhile, in a small bowl, whisk together 3 tablespoons oil with the lemon zest and juice, garlic, oregano, red-pepper flakes and ½ teaspoon salt; set aside.
3. In a 25cm frying pan, heat remaining 1 tablespoon oil over medium-high. Season chicken with ½ teaspoon salt and ¼ teaspoon pepper and add to pan. Cook, turning once, until golden brown on both sides, about 5 minutes per side. Add ¼ cup (60ml) water to the pan, cover, and continue to cook until chicken is cooked through, 5 to 7 minutes. Uncover, remove from heat and add lemon juice mixture; turn chicken to coat.
4. Tear each piece of bread in half and toss with lettuce; divide among plates. Top with chicken, and drizzle with the lemony pan juices.
Salmon croquettes
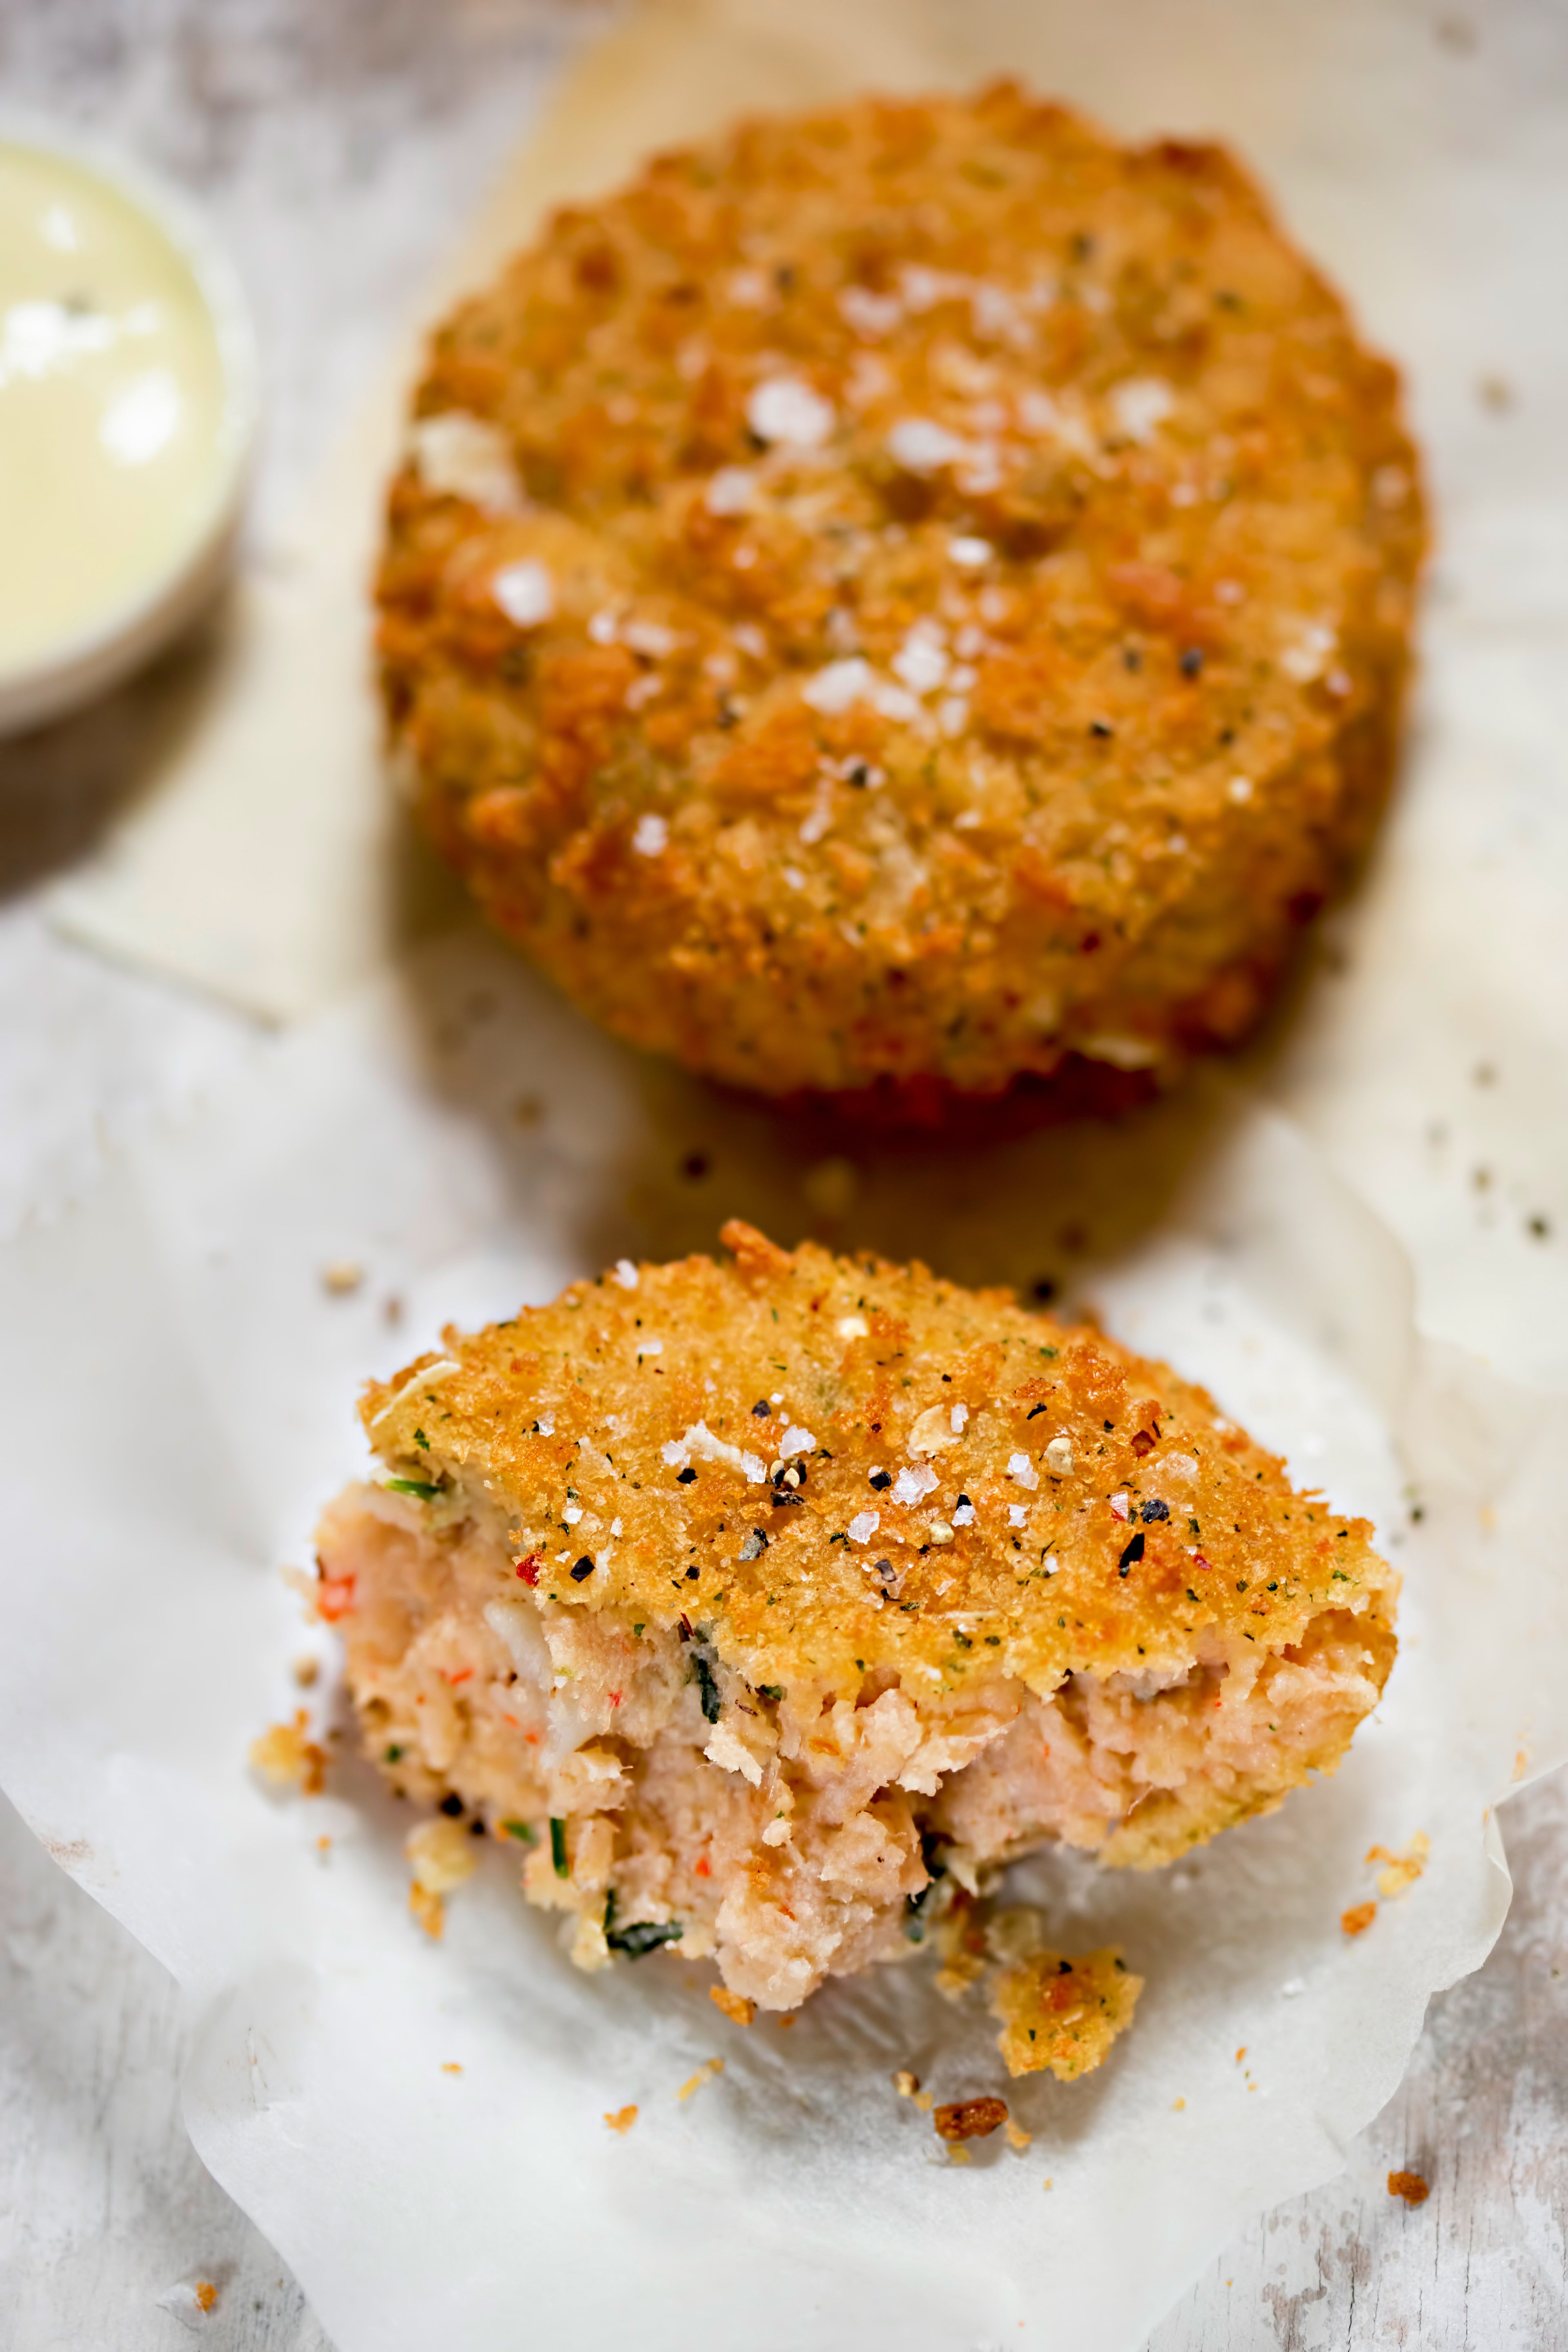
These croquettes have what may just be the perfect texture combination: crispy outsides and tender insides. Made from simple ingredients, they’re also a great use of leftovers, putting to work those halves of onion and bell pepper from last night’s dinner, and any remaining salmon, though you can also use canned (boneless works best). The filling may be a little delicate when you put it together, but a quick pop in the fridge or freezer makes it easier to work with. Serve the croquettes alone as an starter with tartar sauce or hot sauce.
By: Millie Peartree
Serves: 2 main-course servings, 4 appetiser servings
Total time: 30 minutes
Ingredients:
1 (400g) can boneless, skinless salmon or 450g cooked salmon
1 tbsp olive oil
½ green bell pepper, finely chopped
25g diced onion
1 garlic clove, grated
2 eggs, lightly beaten
60g plain flour
2 tbsp chopped parsley
1 tsp seafood seasoning
1 tsp hot sauce, plus more for serving
½ tsp coarse salt
½ tsp black pepper
60g panko breadcrumbs
2 tsp seasoning of choice, such as onion powder, garlic powder, paprika or a combination
Vegetable oil, for frying
Tartar sauce, for serving (optional)
Method:
1. If using canned salmon, drain and discard the liquid. Flake the salmon into a large bowl; set aside.
2. Heat olive oil in a large saute pan over medium and sauté peppers and onions until translucent, 3 to 5 minutes. Add garlic and sauté for another 30 seconds; let cool slightly.
3. Add the sautéed veggies to the bowl with the salmon, along with 1 egg, half the flour, the parsley, seafood seasoning, hot sauce, salt and pepper. Chill the mixture in the refrigerator for 20 minutes, or pop into the freezer for 5 to 10 minutes.
4. Using your hands, shape the chilled mixture into 2.5cm-thick patties.
5. Set up three separate plates or shallow bowls: one filled with the remaining flour, another with the egg and a third with the panko. Season the panko with the seasoning of your choice, then lightly dip each croquette into the flour, egg then panko, coating to cover. Set the croquettes aside.
6. Wipe out the same pan, and heat about ¼ cup (60ml) vegetable oil over medium. Drop a breadcrumb in the oil, and see if it sizzles.
7. Gently place croquettes in oil, making sure not to crowd the pan, and pan fry until golden brown on both sides, about 3 to 5 minutes per side.
8. Transfer to a paper towel-lined plate and serve warm, with tartar sauce or hot sauce if desired.
Spaghetti with fried eggs
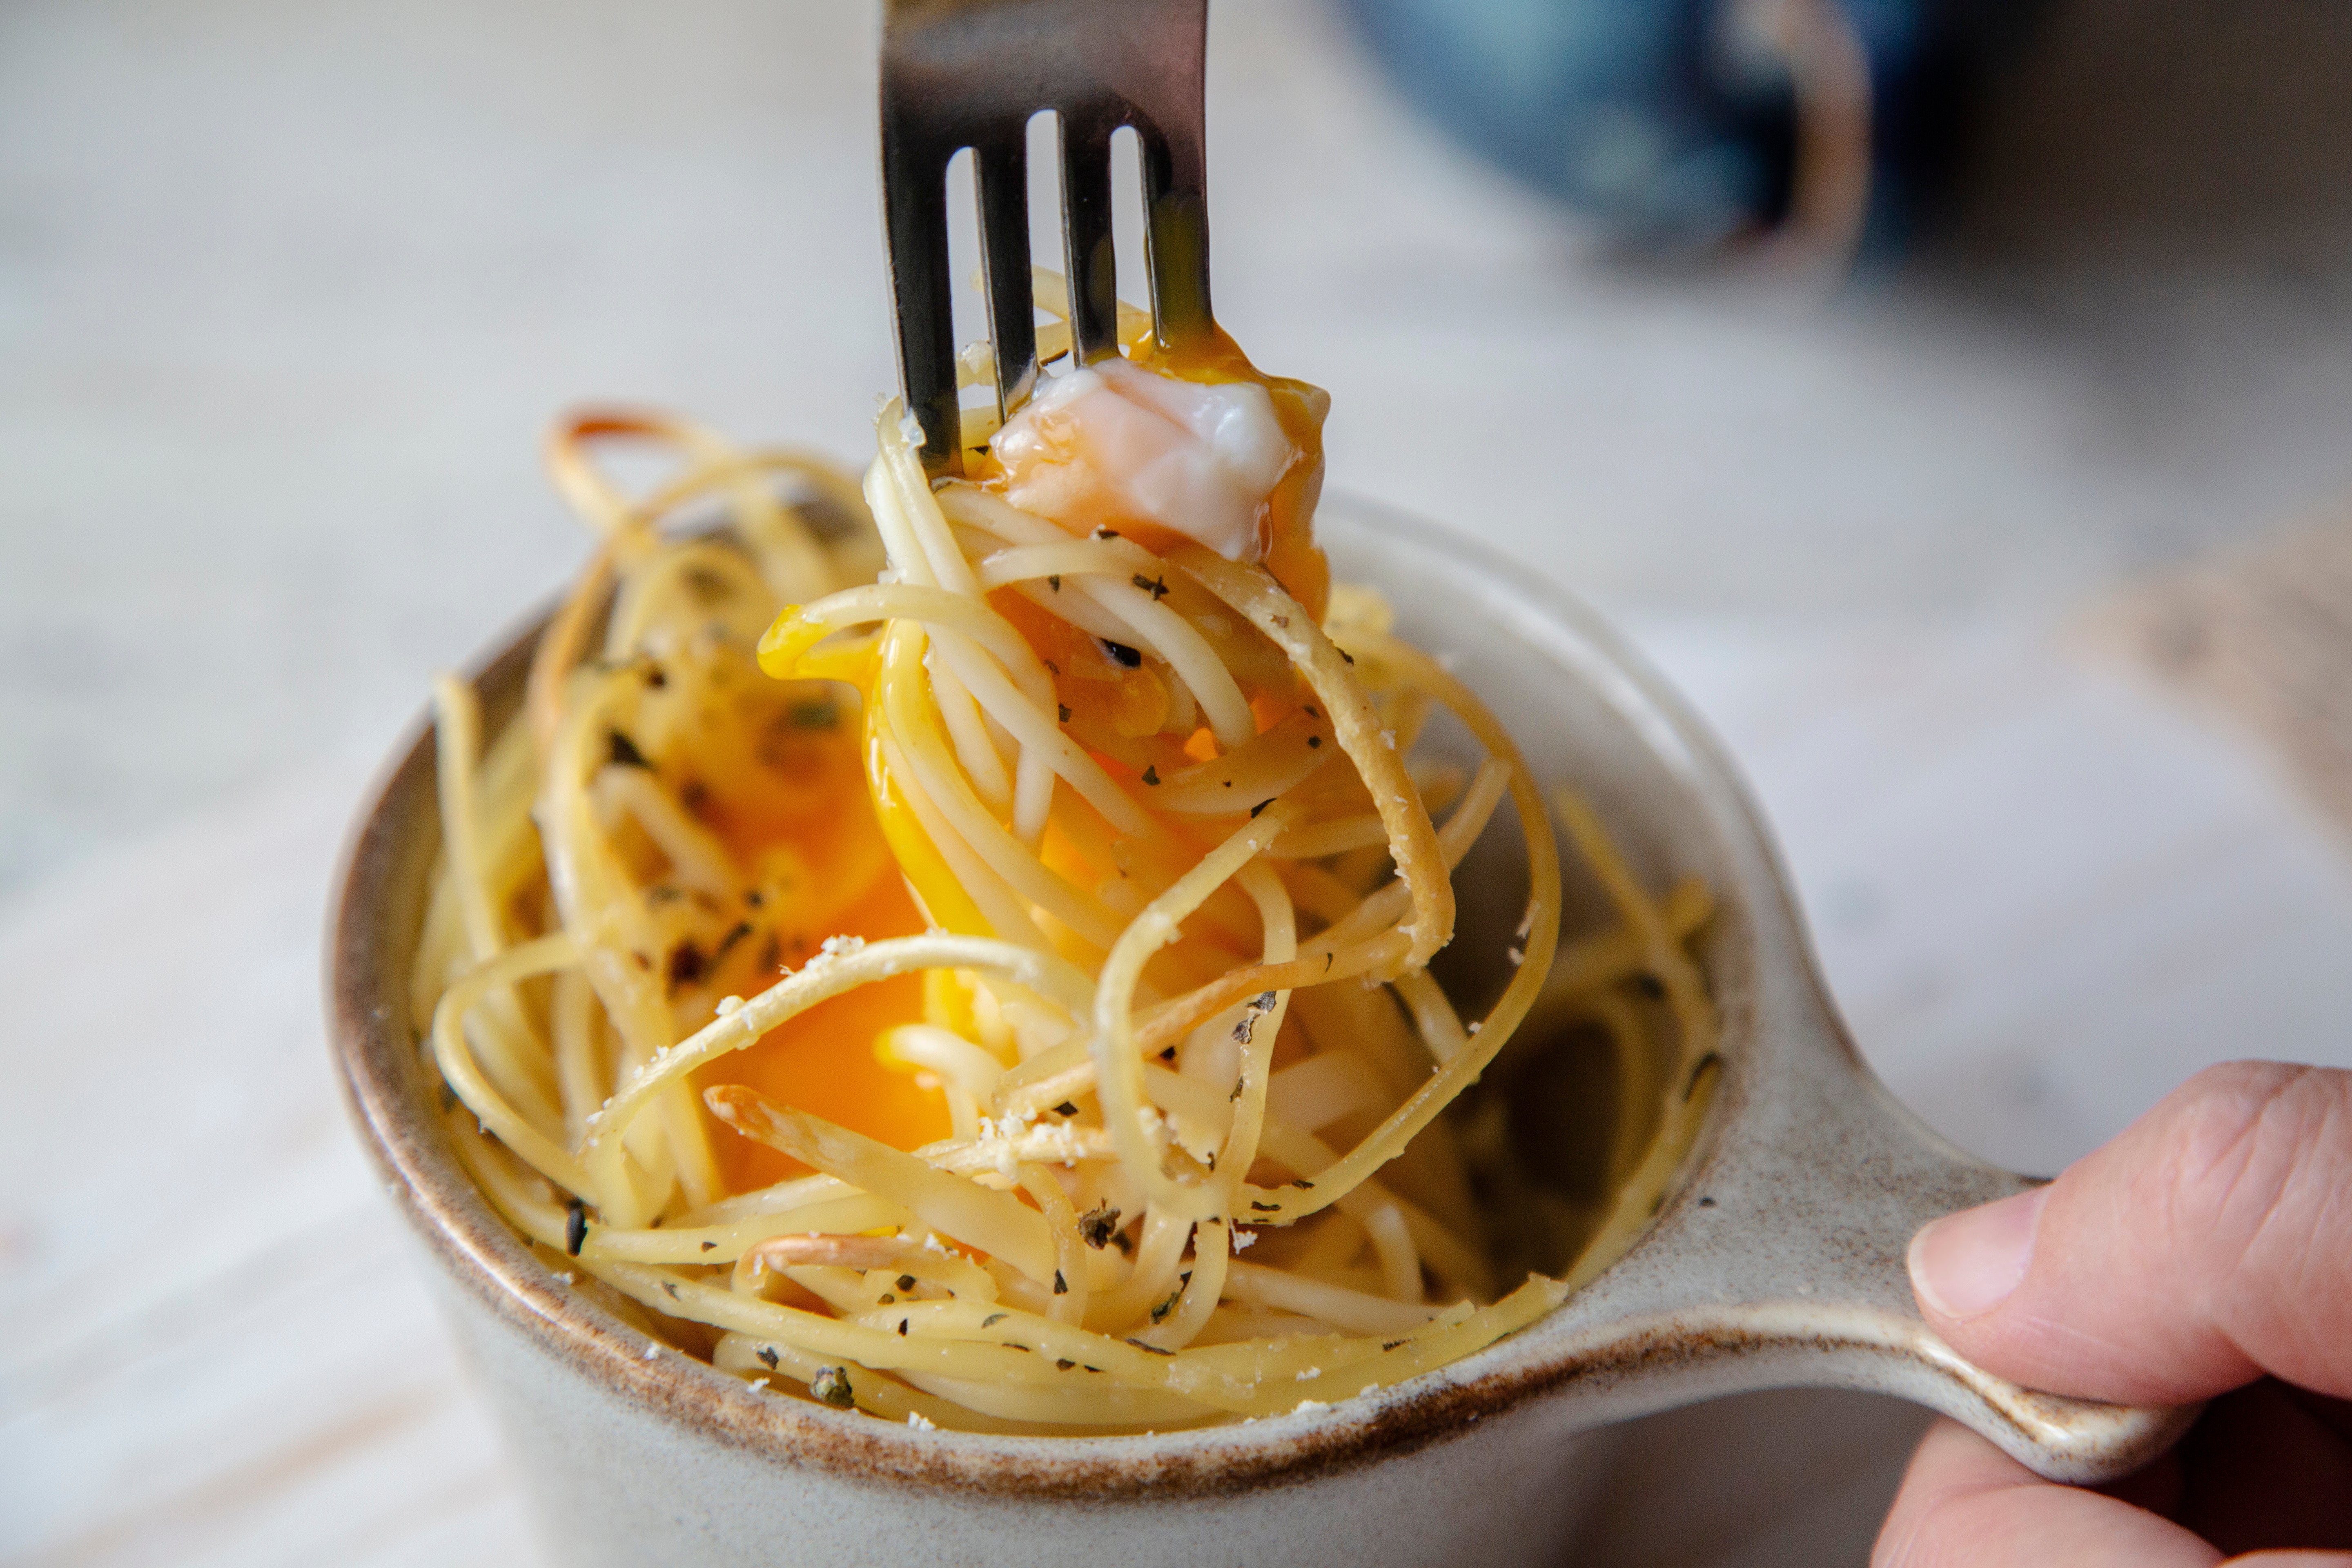
Here’s a quick and delicious pasta dish to make when you have little time, and even less food in the house. All you need is a box of spaghetti, four eggs, olive oil and garlic (parmesan is a delicious, but optional, addition).
By: Mark Bittman
Serves: 2 or 3 servings
Total time: 20 minutes
Ingredients:
Salt
225g thin spaghetti
6 tbsp extra-virgin olive oil or lard
2 large cloves garlic, lightly smashed and peeled
4 eggs
Freshly ground black pepper
Freshly grated parmesan or pecorino cheese, optional
Method:
1. Bring a pot of salted water to the boil. Start the sauce in the next step, and start cooking the pasta when the water boils.
2. Combine garlic and 4 tablespoons of the oil in a small frying pan over medium-low heat. Cook the garlic, pressing it into the oil occasionally to release its flavour; it should barely colour on both sides. Remove the garlic, and add the remaining oil.
3. Fry the eggs gently in the oil, until the whites are just about set and the yolks still quite runny. Drain the pasta, and toss with the eggs and oil, breaking up the whites as you do (the eggs will finish cooking in the heat of the pasta). Season to taste, and serve immediately, with cheese if you like.
© The New York Times
Join our commenting forum
Join thought-provoking conversations, follow other Independent readers and see their replies
Comments