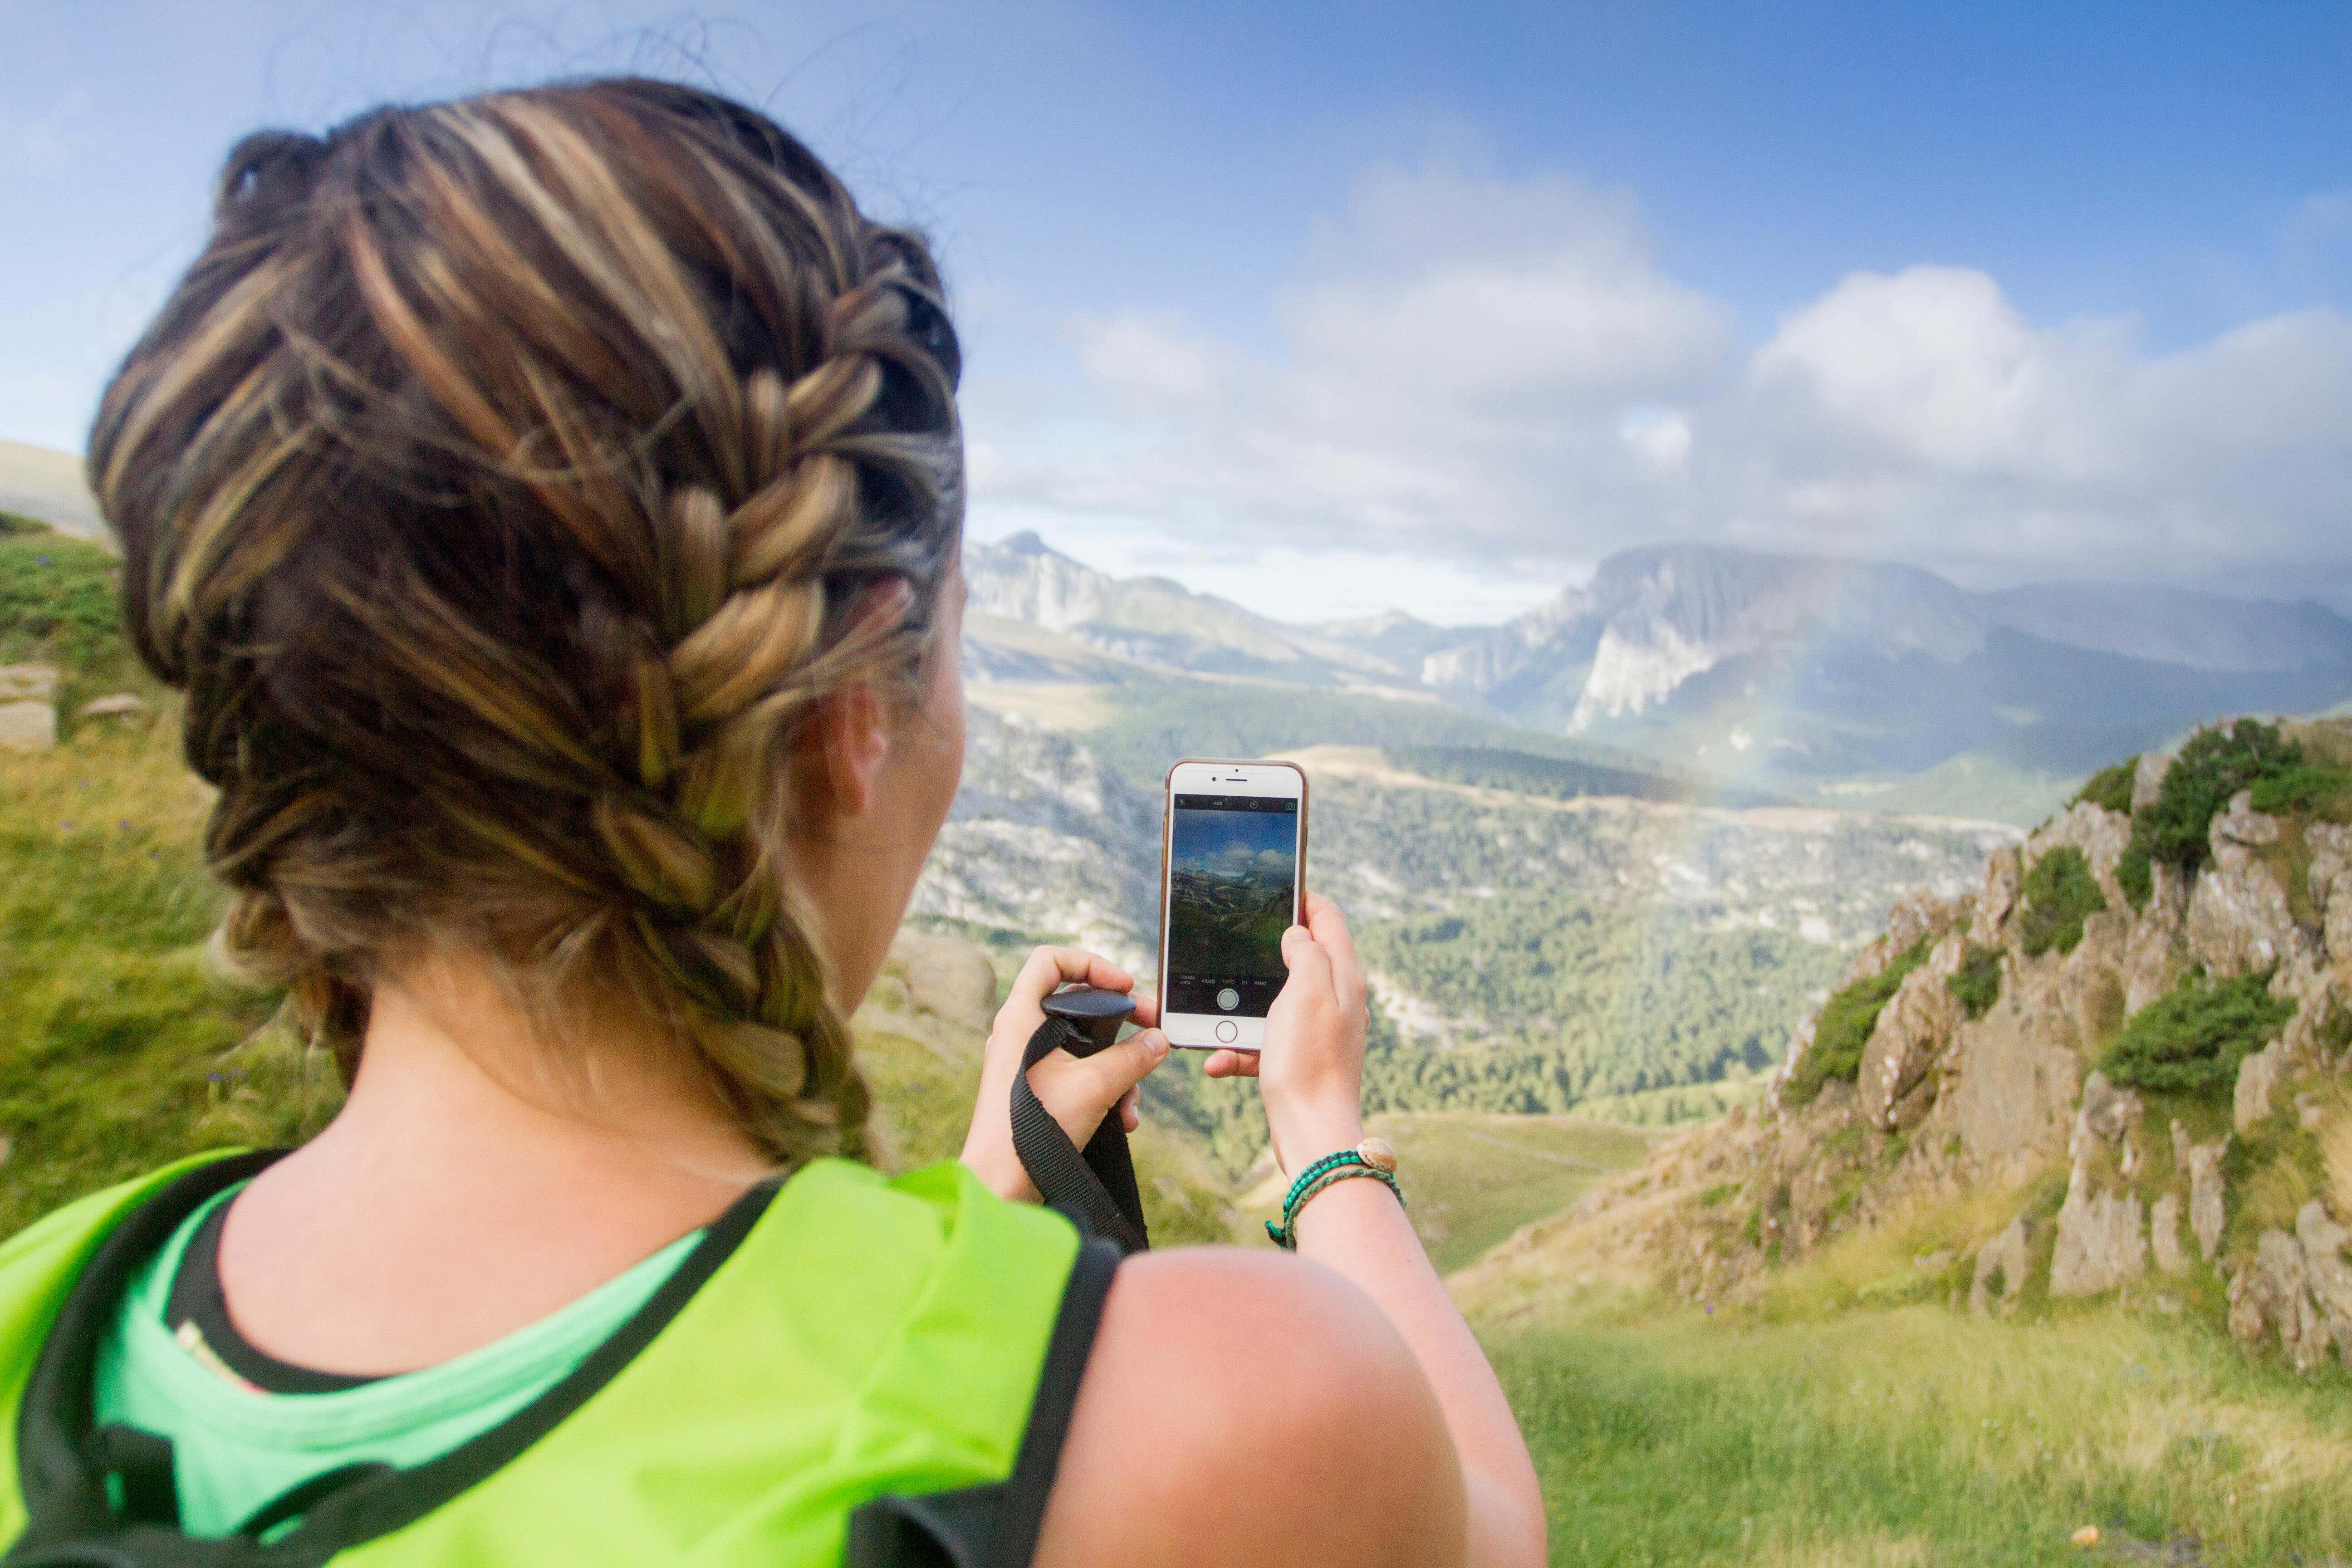
5 top tips for taking better photos on your iPhone
Chances are, your smartphone camera can do a lot more than you realise.

For the last decade or so, every time Apple has unveiled a new iPhone, the brand’s made a huge song and dance about the quality of the camera. And fair enough – the amount of engineering that goes into squeezing such good camera systems into a phone is almost underrated.
Still, many of us probably just use our iPhone’s camera without much thought, and if you’ve ever wondered whether there are some simple steps you could take to get better photos from your phone, you’re not alone. We’ve rounded up some top tips to help you go from clueless snapper to expert photographer…
1. Turn on some guides
The iPhone camera app has generally erred on the side of caution when it comes to controls and details, keeping things simple and decluttered. Still, there’s one setting we think can help people massively where the composition of photos is concerned – the grid.
If you head to your Settings app, then scroll down to ‘Camera’ and tap on it, you’ll see plenty of options and one of them under the ‘Composition’ is called ‘Grid’. Turn this on and your viewfinder in the app will have a grid of lines to help you visualise the frame you’re capturing. This is great for coming up with more interesting shots and ensuring things are framed properly, and when you combine it with the ‘Level’ tool to your horizons straight, you get a really easy tool to help you populate your photos more inventively.
2. Choose your flash options
Flash can make or break the quality of a photo – the LED flash on most newer iPhones is decently powerful, but sometimes it’ll kick in when you least want it to. Way too many people post night-time shots that would be better without flash highlighting dust in the air around them, or they post dim shots that would have been better if lit up a bit more.
To control this a little more deliberately, while your Camera app is open, just tap the little lightning bolt icon at the top-left of your display (in upright mode) to toggle the flash between off and on. For more control still, tap the little arrow near the selfie camera on your display. This brings up controls at the bottom of the viewfinder, including a flash option that lets you toggle it between ‘Flash Auto’, ‘On’ and ‘Off’.
3. Use extra settings
That quick menu is another huge tool – tapping that arrow by your selfie camera (or the ‘Dynamic Island’ on newer iPhones) will bring up a range of controls. These include the option to choose between filters, change your exposure level manually, turn ‘Live Photos’ on or off, and more.
Best of all, it’s context-sensitive – the menu changes depending on what mode you’re using. So, if you’re taking a ‘Portrait Mode’ shot, it’ll let you change your focal length, for example (although not every camera mode has any extra controls). Experiment with these controls and settings and you’ll soon find some that come in handy whenever you’re taking a more composed shot.
4. Choose your file types
If you’re trying to get more into photo or video editing, you’ll soon realise there are a lot of variables when it comes to file type, file size and resolution. Thankfully, you can control a lot of these choices in the Settings app under the ‘Camara’ section.
Firstly, you can choose your resolution and frame rate for each type of video, with higher-resolution options taking more storage up when you use them. Tapping on the ‘Formats’ option lets you then choose between Apple’s HEIF/HEVC format for photos and videos or the more widely-used JPEG/H.264 formats – which you might find easier to share and edit on third-party software.
For real enthusiasts, you can experiment with ProRAW files on compatible iPhones (if you have the option in your Settings, you’ve got a phone that can handle it). This gives you the most possible editing options but takes up the most storage space, too.
5. Make your settings save
Under that all-important Camera section in the Settings app, there’s another under-utilised menu people should know about – ‘Preserve Settings’. Tap into it and you’ll see a fantastic set of options to make your camera remember what you were doing last. So, rather than wiping to the default photo mode next time you open it, your camera can open on the same mode you were using, even retaining the same exposure adjustments, depth controls and more – ideal if you’re whipping your phone in and out of your pocket on a trip, for example, and you don’t want to have to re-adjust everything each time.
Bookmark popover
Removed from bookmarks