The Independent's journalism is supported by our readers. When you purchase through links on our site, we may earn commission. Why trust us?
13 best ice cream makers for frozen treats at home this summer
From creamy gelato to refreshing sorbet, these clever machines will whip up frozen desserts in a flash

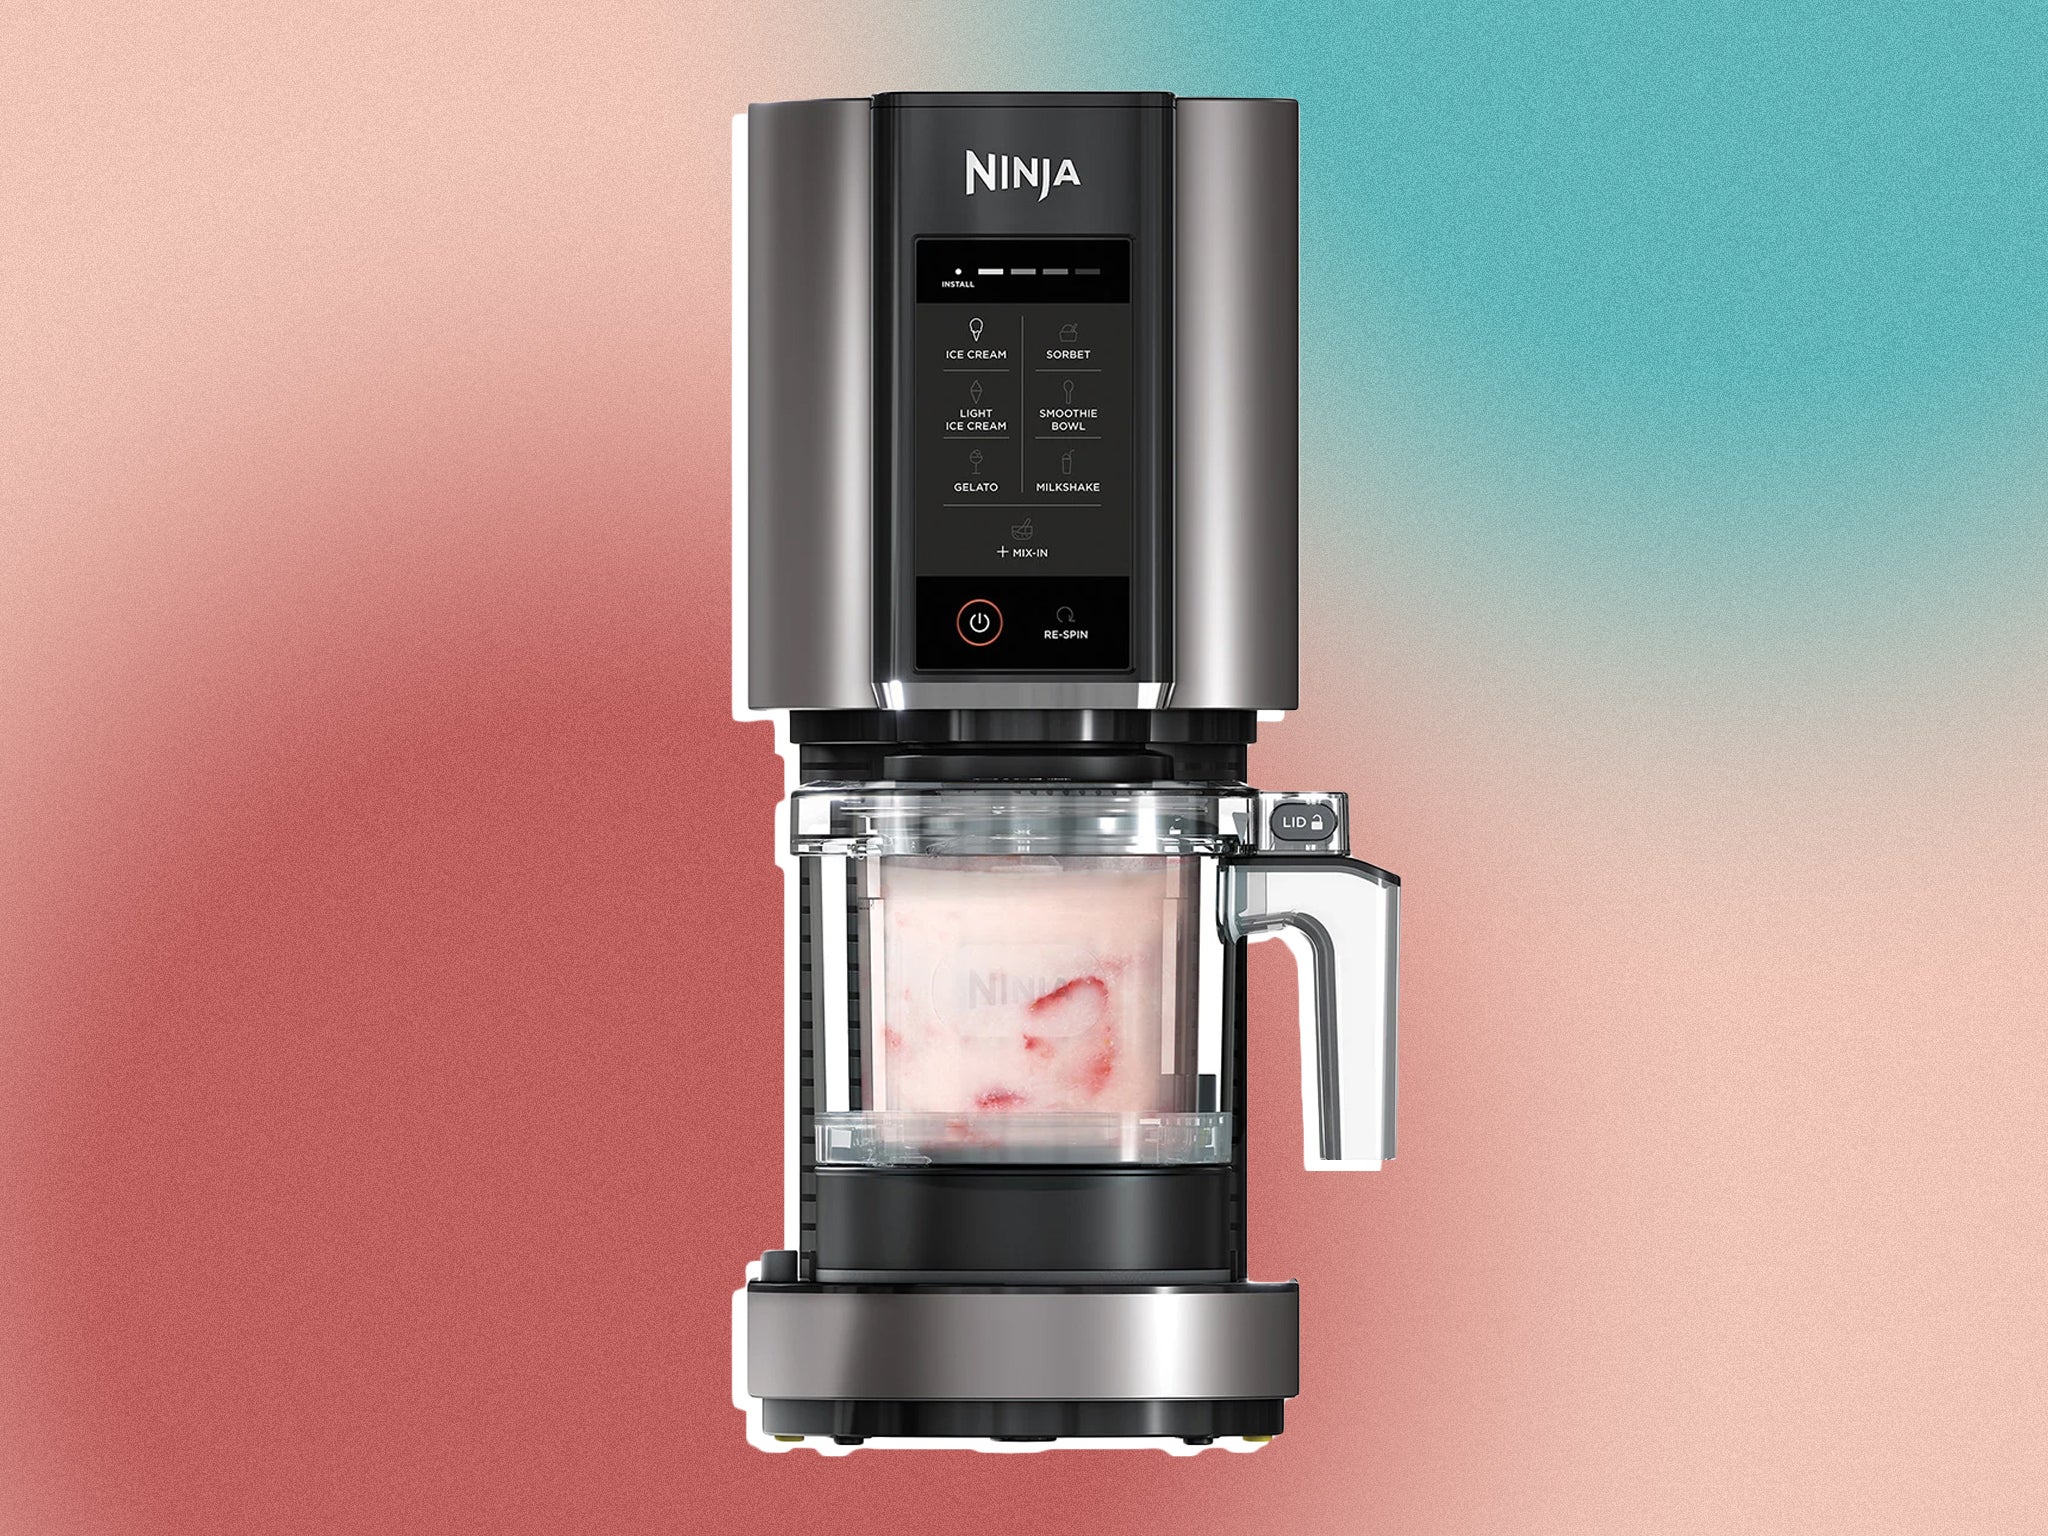
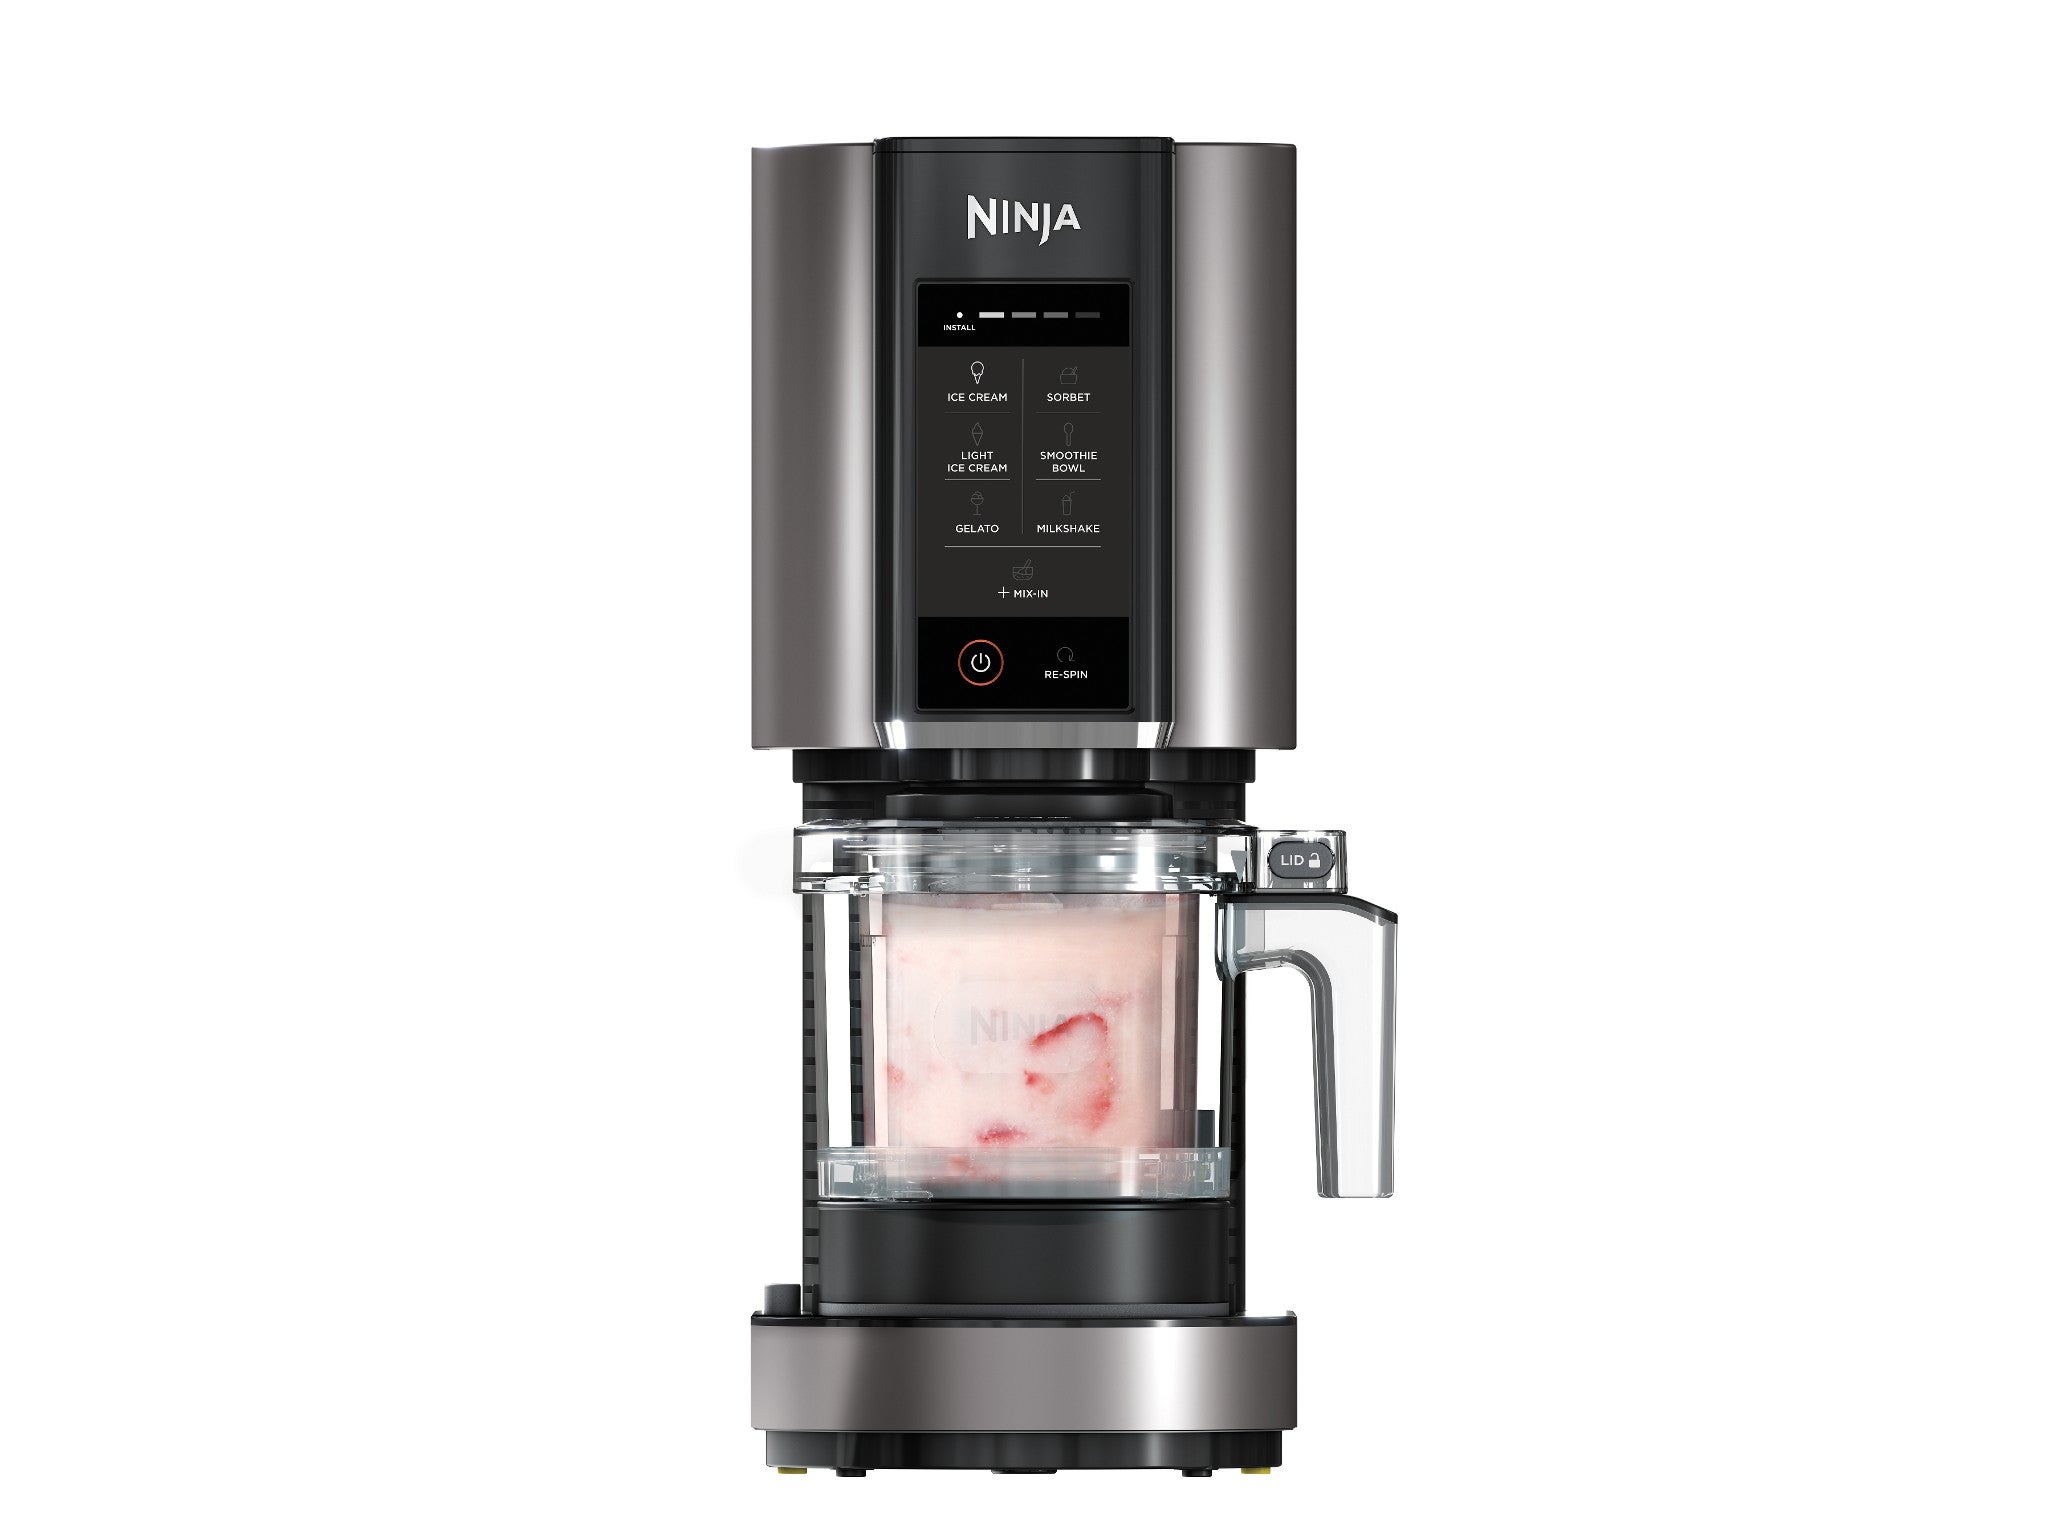 Best ice cream maker for varietyNinja creami ice cream and frozen dessert maker NC300UK Read review£199
In the market for an ice cream maker? Join the sugar-craving club. The latest range of at-home ice cream makers can churn out artisanal scoops of your favourite frozen dessert in as little as half an hour. No wonder sales have skyrocketed just in time for summer.
If you’re overwhelmed with options, you can narrow things down by deciding which of the two main types of ice cream maker is best for you. The first uses a compressor system to self-freeze and churn your liquid mixture on demand. This type of machine tends to be quite bulky, so you’ll need some free space on your countertop.
The second type uses a bowl that you’ll need to pre-freeze beforehand, usually for at least 12 hours. Depending on the capacity of the bowl, these can be pretty unwieldly, so check your freezer dimensions carefully. Also consider if you’ve got the space to leave the bowl in there permanently to allow for spontaneous bouts of ice cream making.
Whichever option you choose, it’s worth planning ahead to get the best results. Many recipes ask you to mix up a custardy batter a couple of hours beforehand, for example, usually on the hob. You’ll then need to chill that mixture – the longer the better. Even the temperature of the room can affect how long your frozen creation takes to churn before it’s ready to eat.
There are also plenty of no-cook alternatives, if you don’t fancy the faff. With a bit of trial and error, you’ll soon be producing creamy, grain-free ice cream with the right machine. For ultimate ease, our shortlist even includes an ice cream maker that uses a pre-bought mix. Just don’t tell your foodie friends.
How we tested
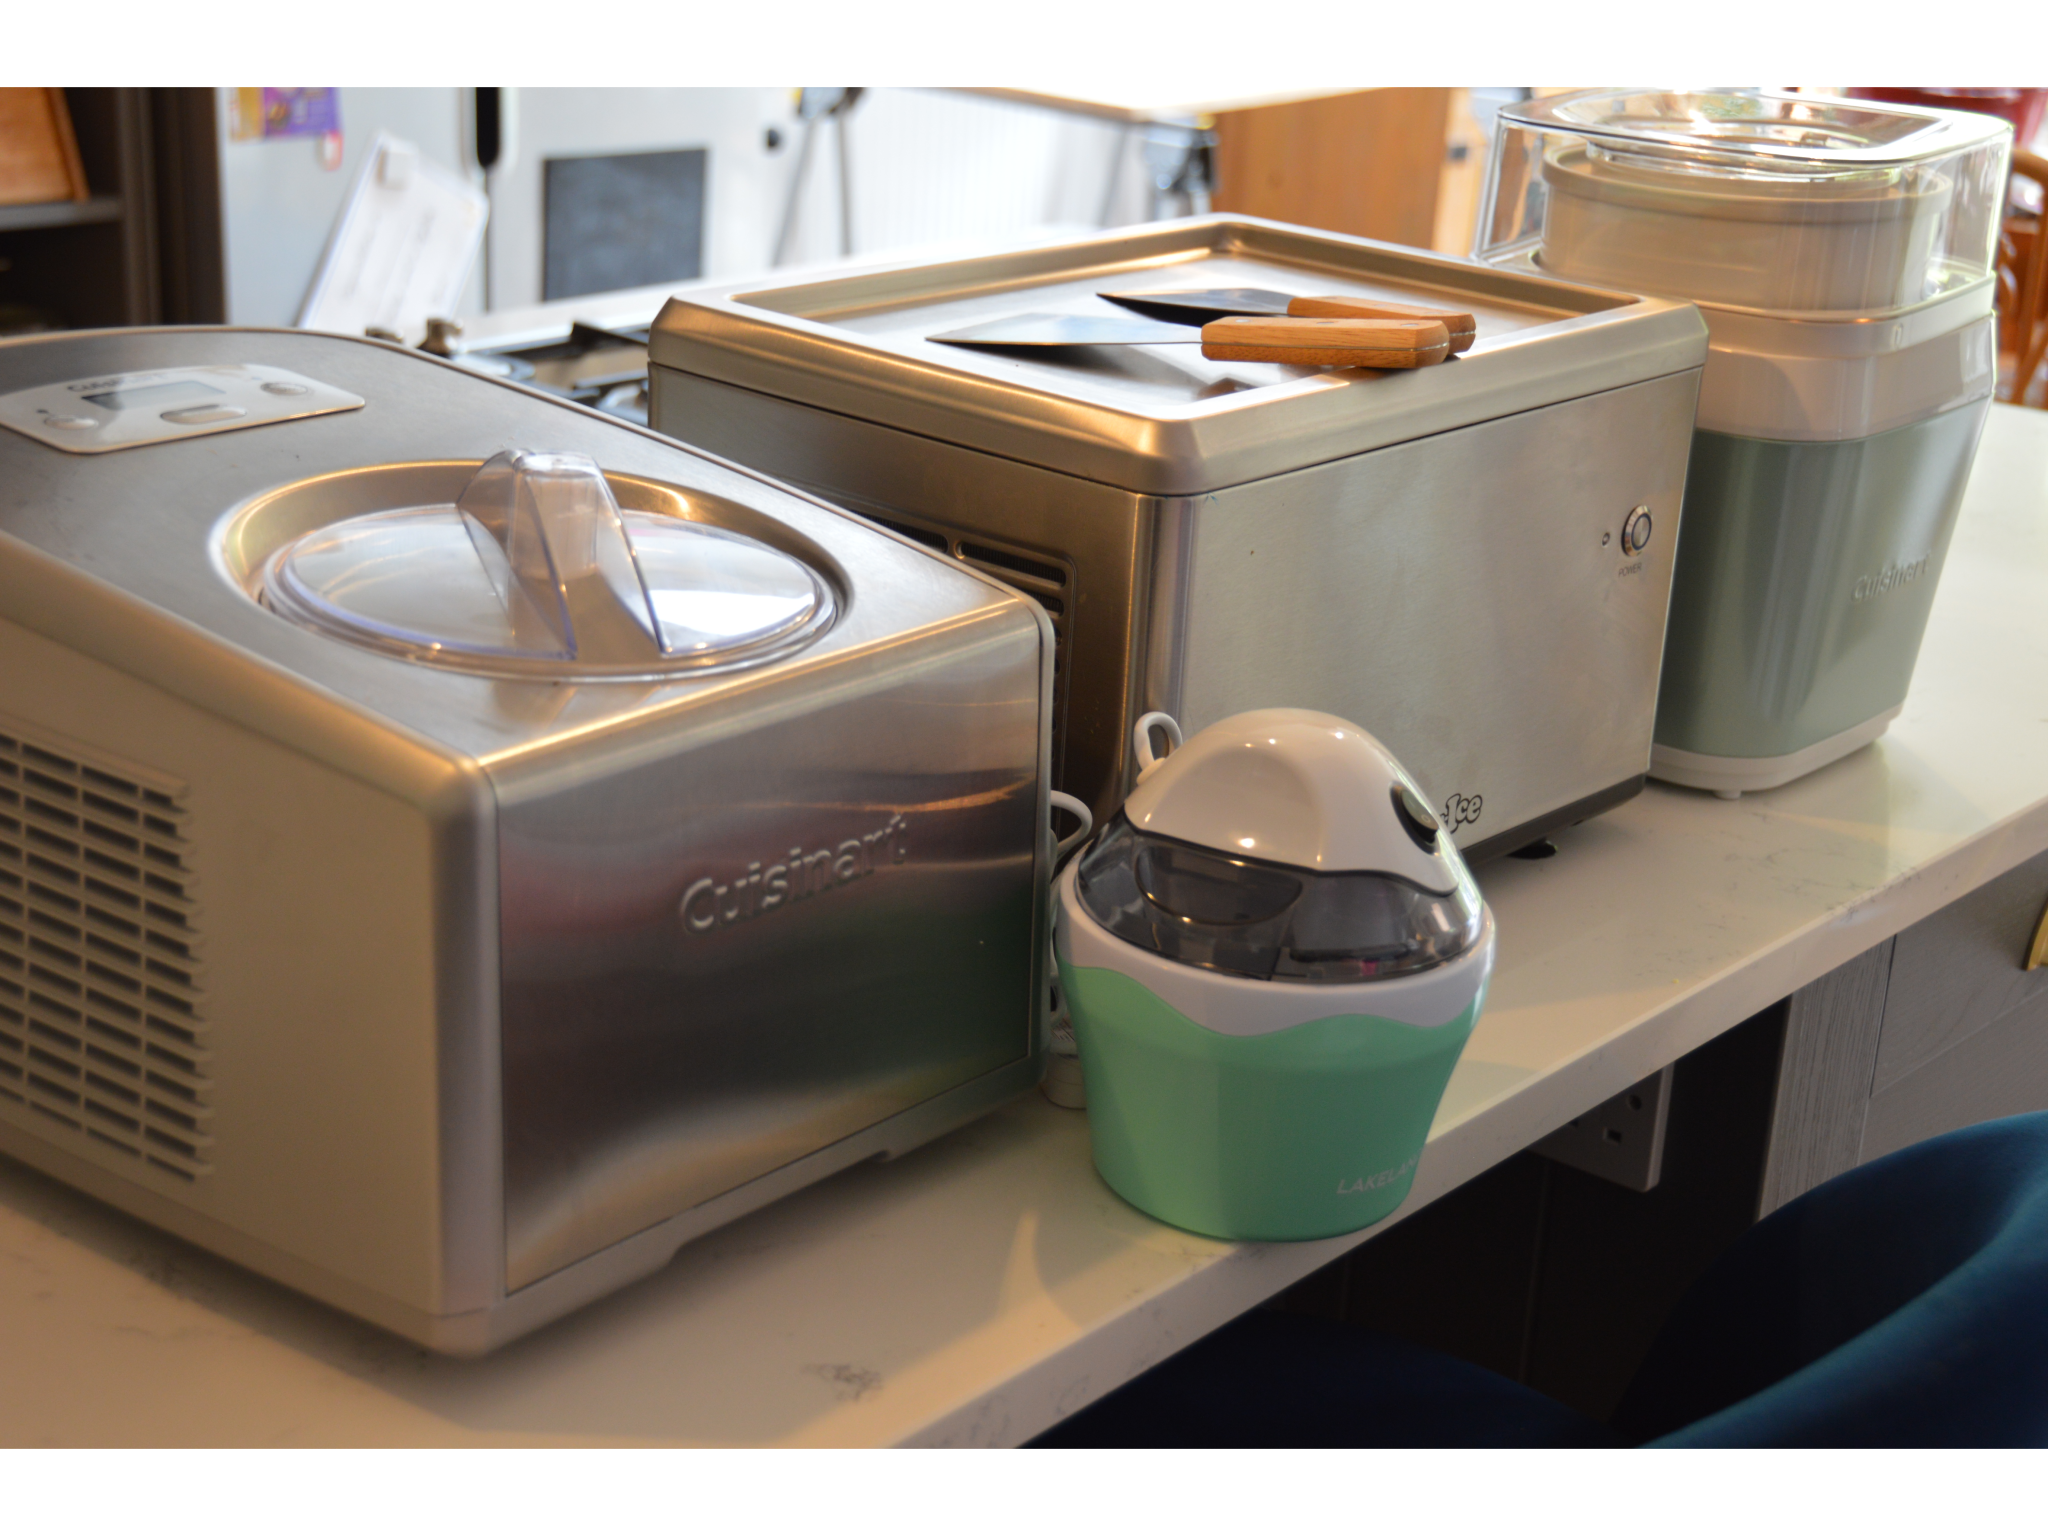
We tried both types of ice cream makers and made the basic vanilla ice cream recipe provided with each one, to see how they compared. To whittle down our shortlist, we looked at how easy each machine was to use, how long a basic ice cream recipe took to make, including prep, chilling, and freezing time, and – ultimately – how good the ice cream tasted at the end.
We also considered how much of a faff each one was to clean afterwards, and how bulky each machine was for storage. Lastly, we factored in value for money to come up with our overall winners. Here’s the scoop...
The best ice cream makers for 2023 are:
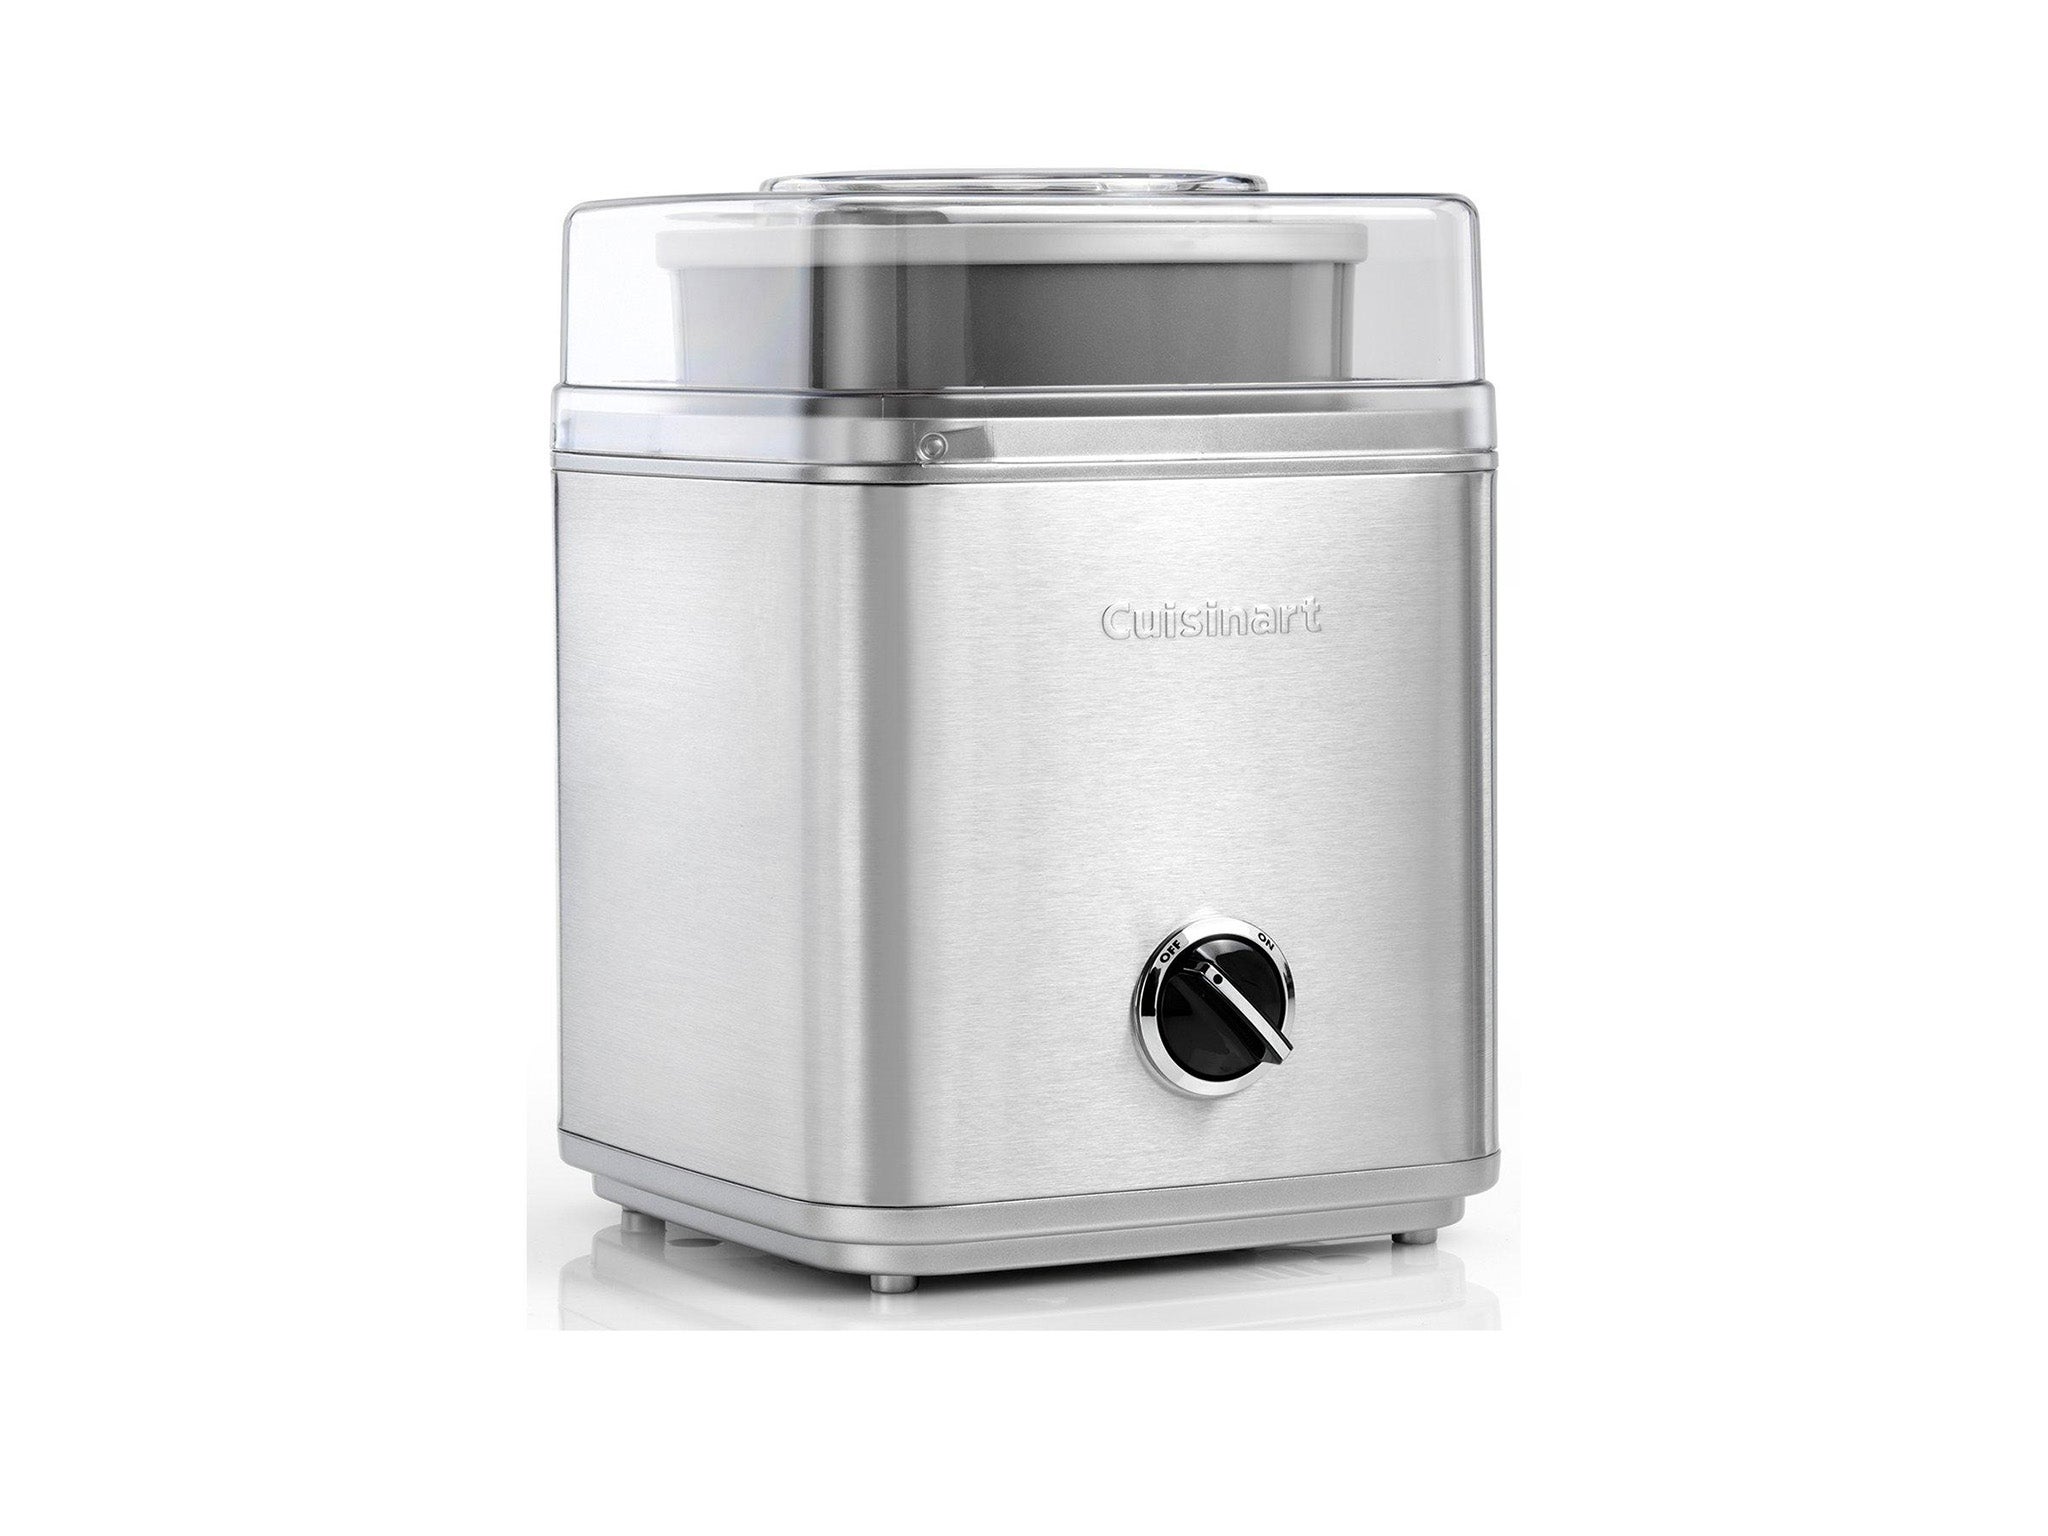
- Best ice cream maker overall – Cuisinart ice cream and gelato professional: £250, Cuisinart.co.uk
- Best budget ice cream maker – Lakeland digital ice cream maker: £49.99, Lakeland.co.uk
- Best ice cream maker for variety – Ninja creami ice cream and frozen dessert maker NC300UK: £199.99, Ninjakitchen.co.uk
- Best KitchenAid ice cream maker – KitchenAid ice cream maker 5KSMICM: £149, Kitchenaid.co.uk
- Best ice cream maker for large families – Sage smart scoop: £369.95, Sageappliances.com
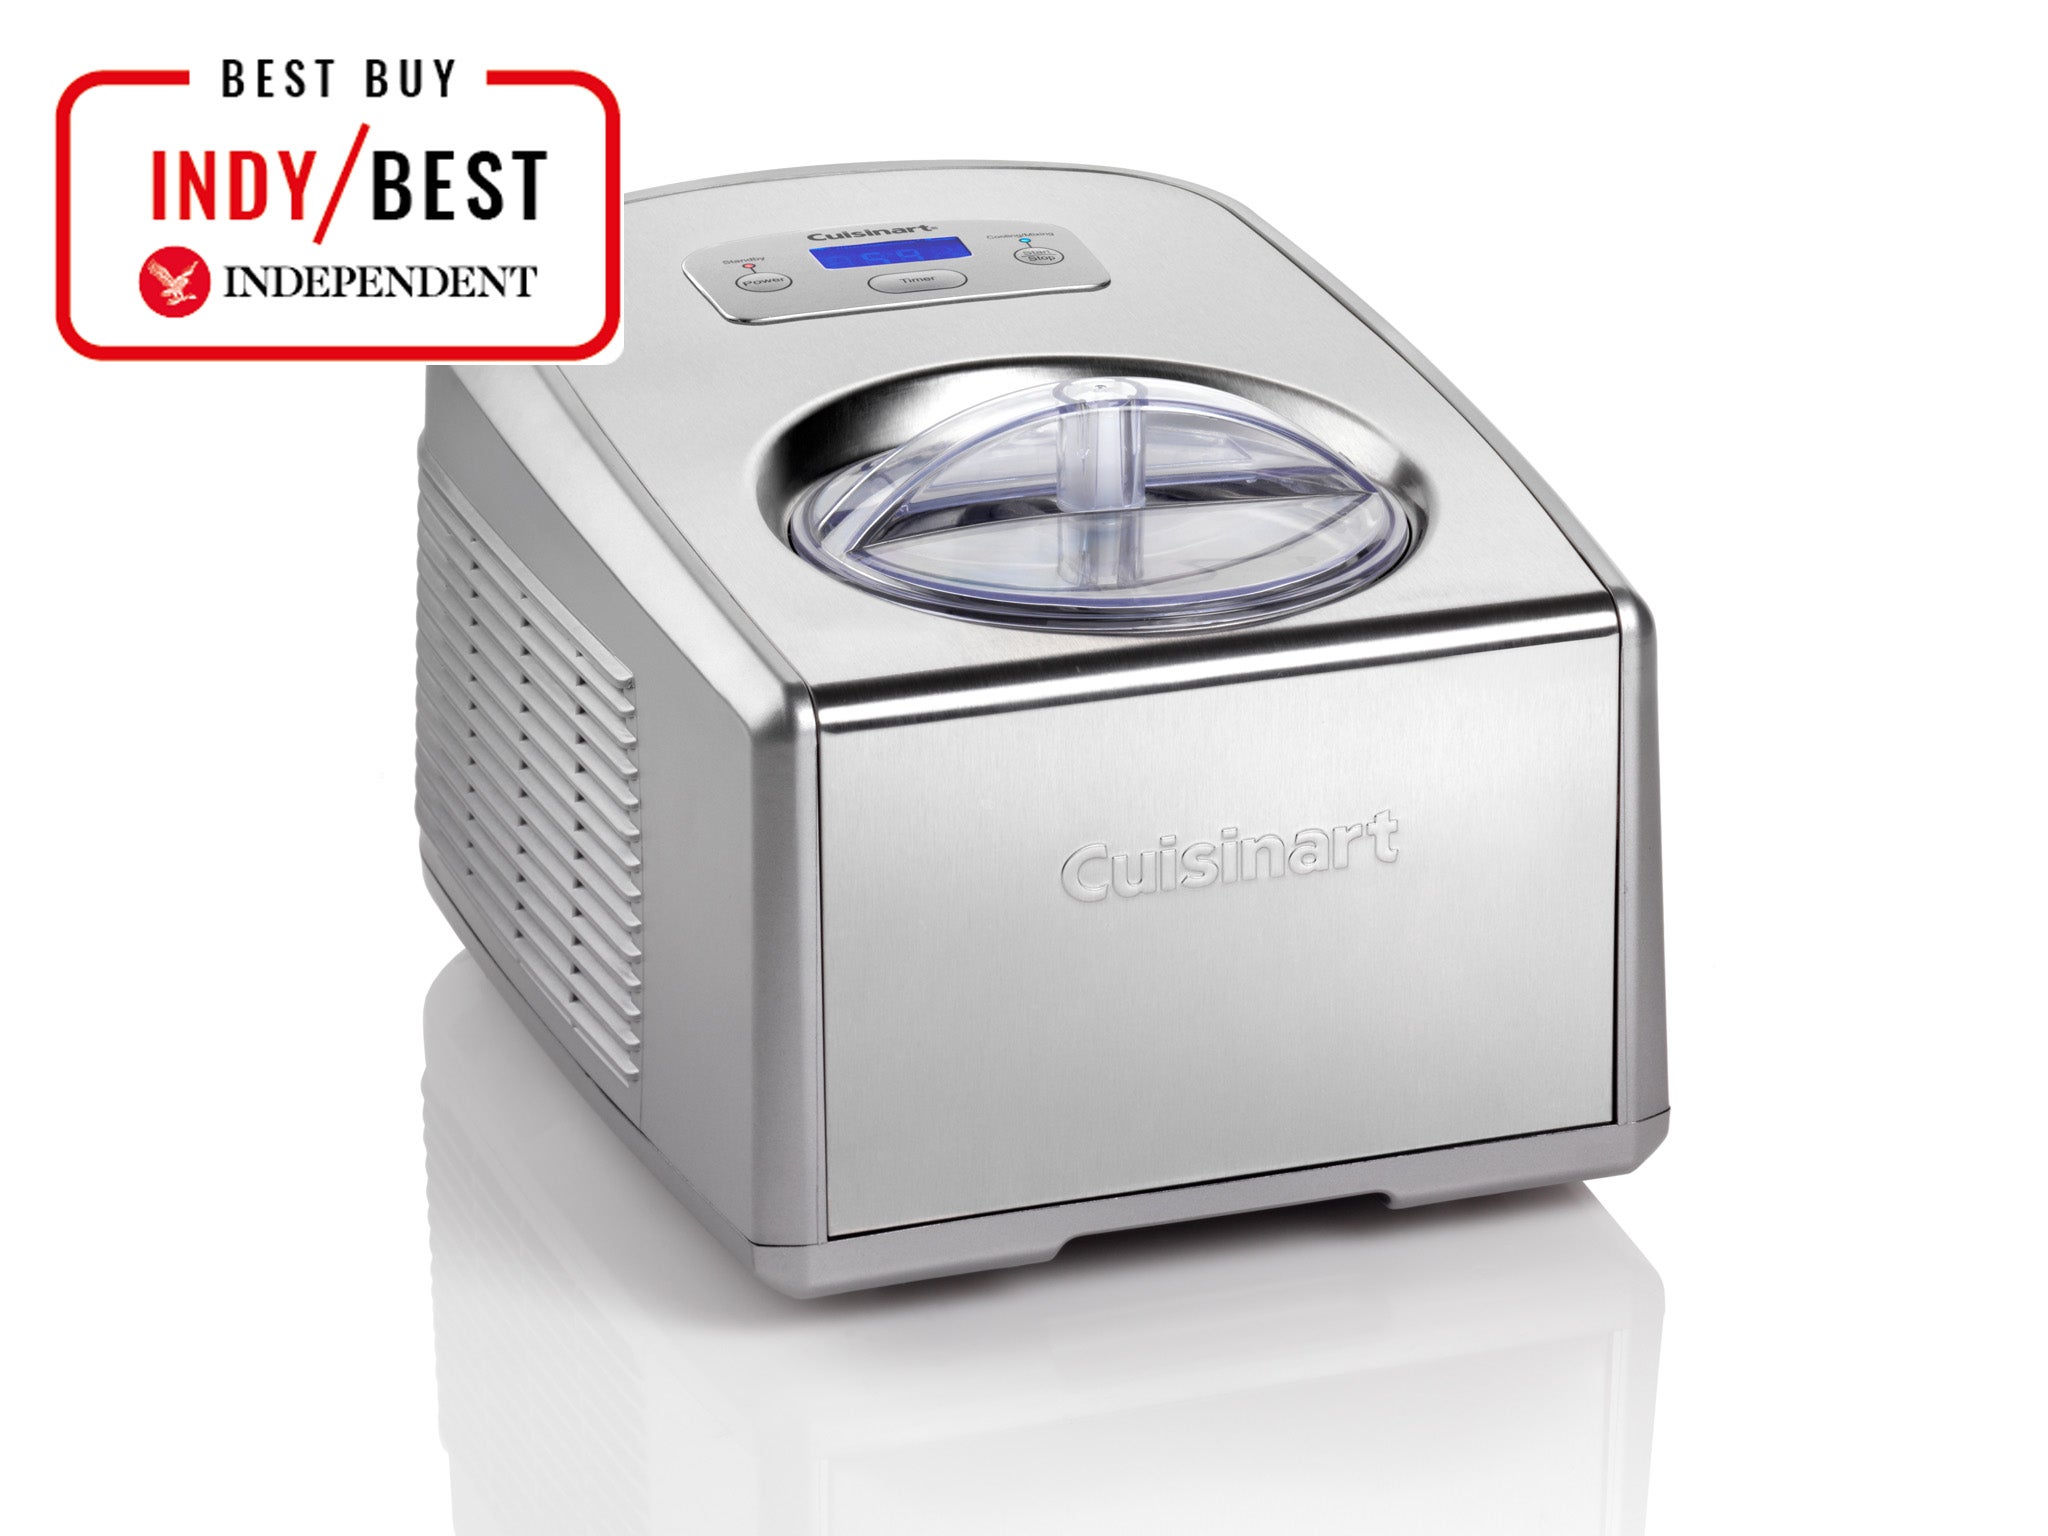
1Cuisinart ice cream and gelato professional

- Best: Ice cream maker overall
- Capacity: 1.5l
This ice cream maker from Cuisinart hits the perfect middle ground between basic and blowout, and it really is a great all-rounder. It’s an all-in-one machine, so you get the convenience of being able to rustle up a tub of ice cream without any of the pre-freezing hassle. But it’s super simple, with just a timer button rather than preset programs, which is where it differs to the more expensive models.
It has a built-in keep-cool function – another feature of the premium models – but instead of a couple of hours, it will keep your ice cream chilled for 10 minutes. It gives you just enough leeway to be out of the room doing something else before you realise it’s finished churning, without returning to a melted mess. It’s also in the mid-range when it comes to size, with a 1.5l capacity that we found made enough ice cream for five hungry children.
Interestingly, it comes with two different paddles – one for ice cream, and one for gelato, which incorporates less air. We tested both and found the basic vanilla ice cream recipe produced a gorgeously rich soft-serve ice cream in 40 minutes, without requiring endless egg yolks. It was so easy to use that we quickly began experimenting with our own recipes rather than following the ones provided, and, so far, every one has been a success.
The machine itself is heavy and takes up a fair amount of space but, thanks to the sleek design, it’s anything but an eyesore. Like all the all-in-one machines it makes a bit of noise while it’s churning, but it’s a small price to pay for the delicious results.
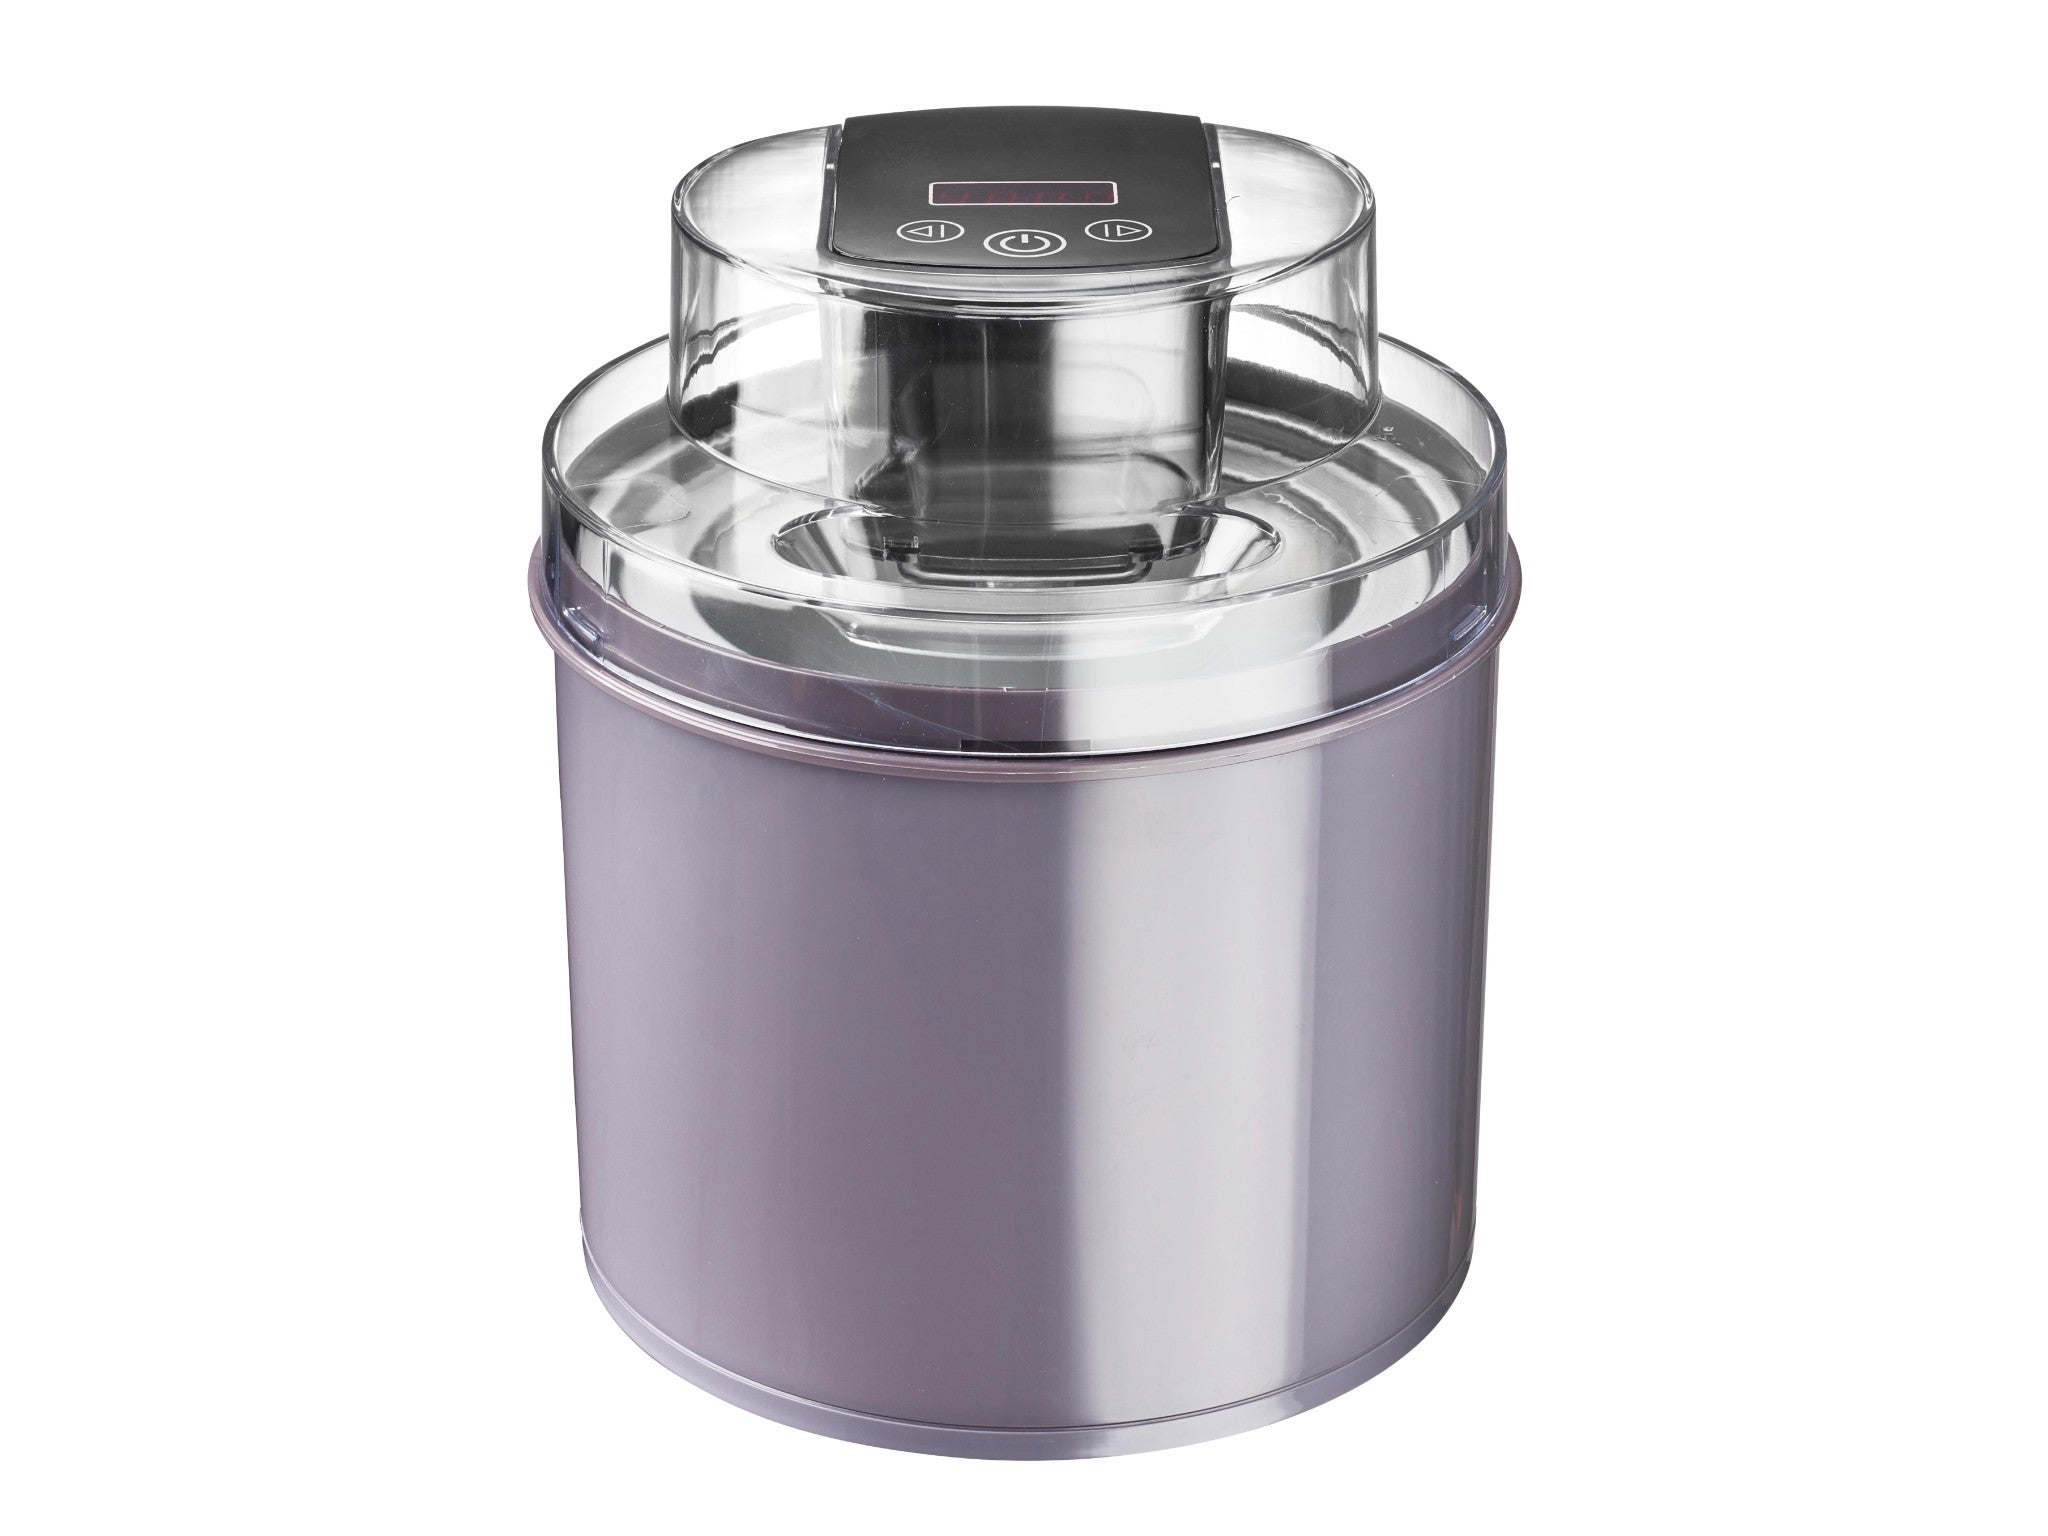
2Lakeland digital ice cream maker

- Best: Budget ice cream maker
- Capacity: 1.8l
Lakeland’s digital ice cream maker is one of the cheapest options in our shortlist, at a mere £49.99. It’s a great price if you’re just dipping your toe into the world of homemade ice cream, and we were impressed at what you get for your money.
The 1.8l bowl is a decent size but you’ll need to freeze it for 12 hours before you whip up some ice cream. The basic vanilla recipe asks for four egg yolks, so you’ll also need to heat the base mixture on the hob and allow it to cool fully beforehand. Once you’re ready, though, it’s a speedy 25 minutes until you’ve got ready-to-eat ice cream. Ours was still a little soft on a hot day, so, you can either keep churning it or pop the whole bowl back in the freezer for an hour to get a more solid texture. We also tried a no-cook strawberry ice cream recipe, which cuts out the need to use the hob and chill the mix, and means you can get churning your mixture straightaway.
The digital display is easy to use – once the machine is assembled and the paddle is running, you just use the arrows to select your churn time, and pour the base mixture in through the gap in the lid. We did find this part quite messy, as the opening isn’t huge, but it’s handy for dropping in extra bits and bobs later in the churning process. Just let your mixture start to solidify first.
Clean-up is easy and, although there are a few components to reassemble when you next want to use it, everything is pretty straightforward. There’s no keep-cool function or any other bells and whistles but, at this price, all you need are the essentials – and this ice cream maker does that very well.
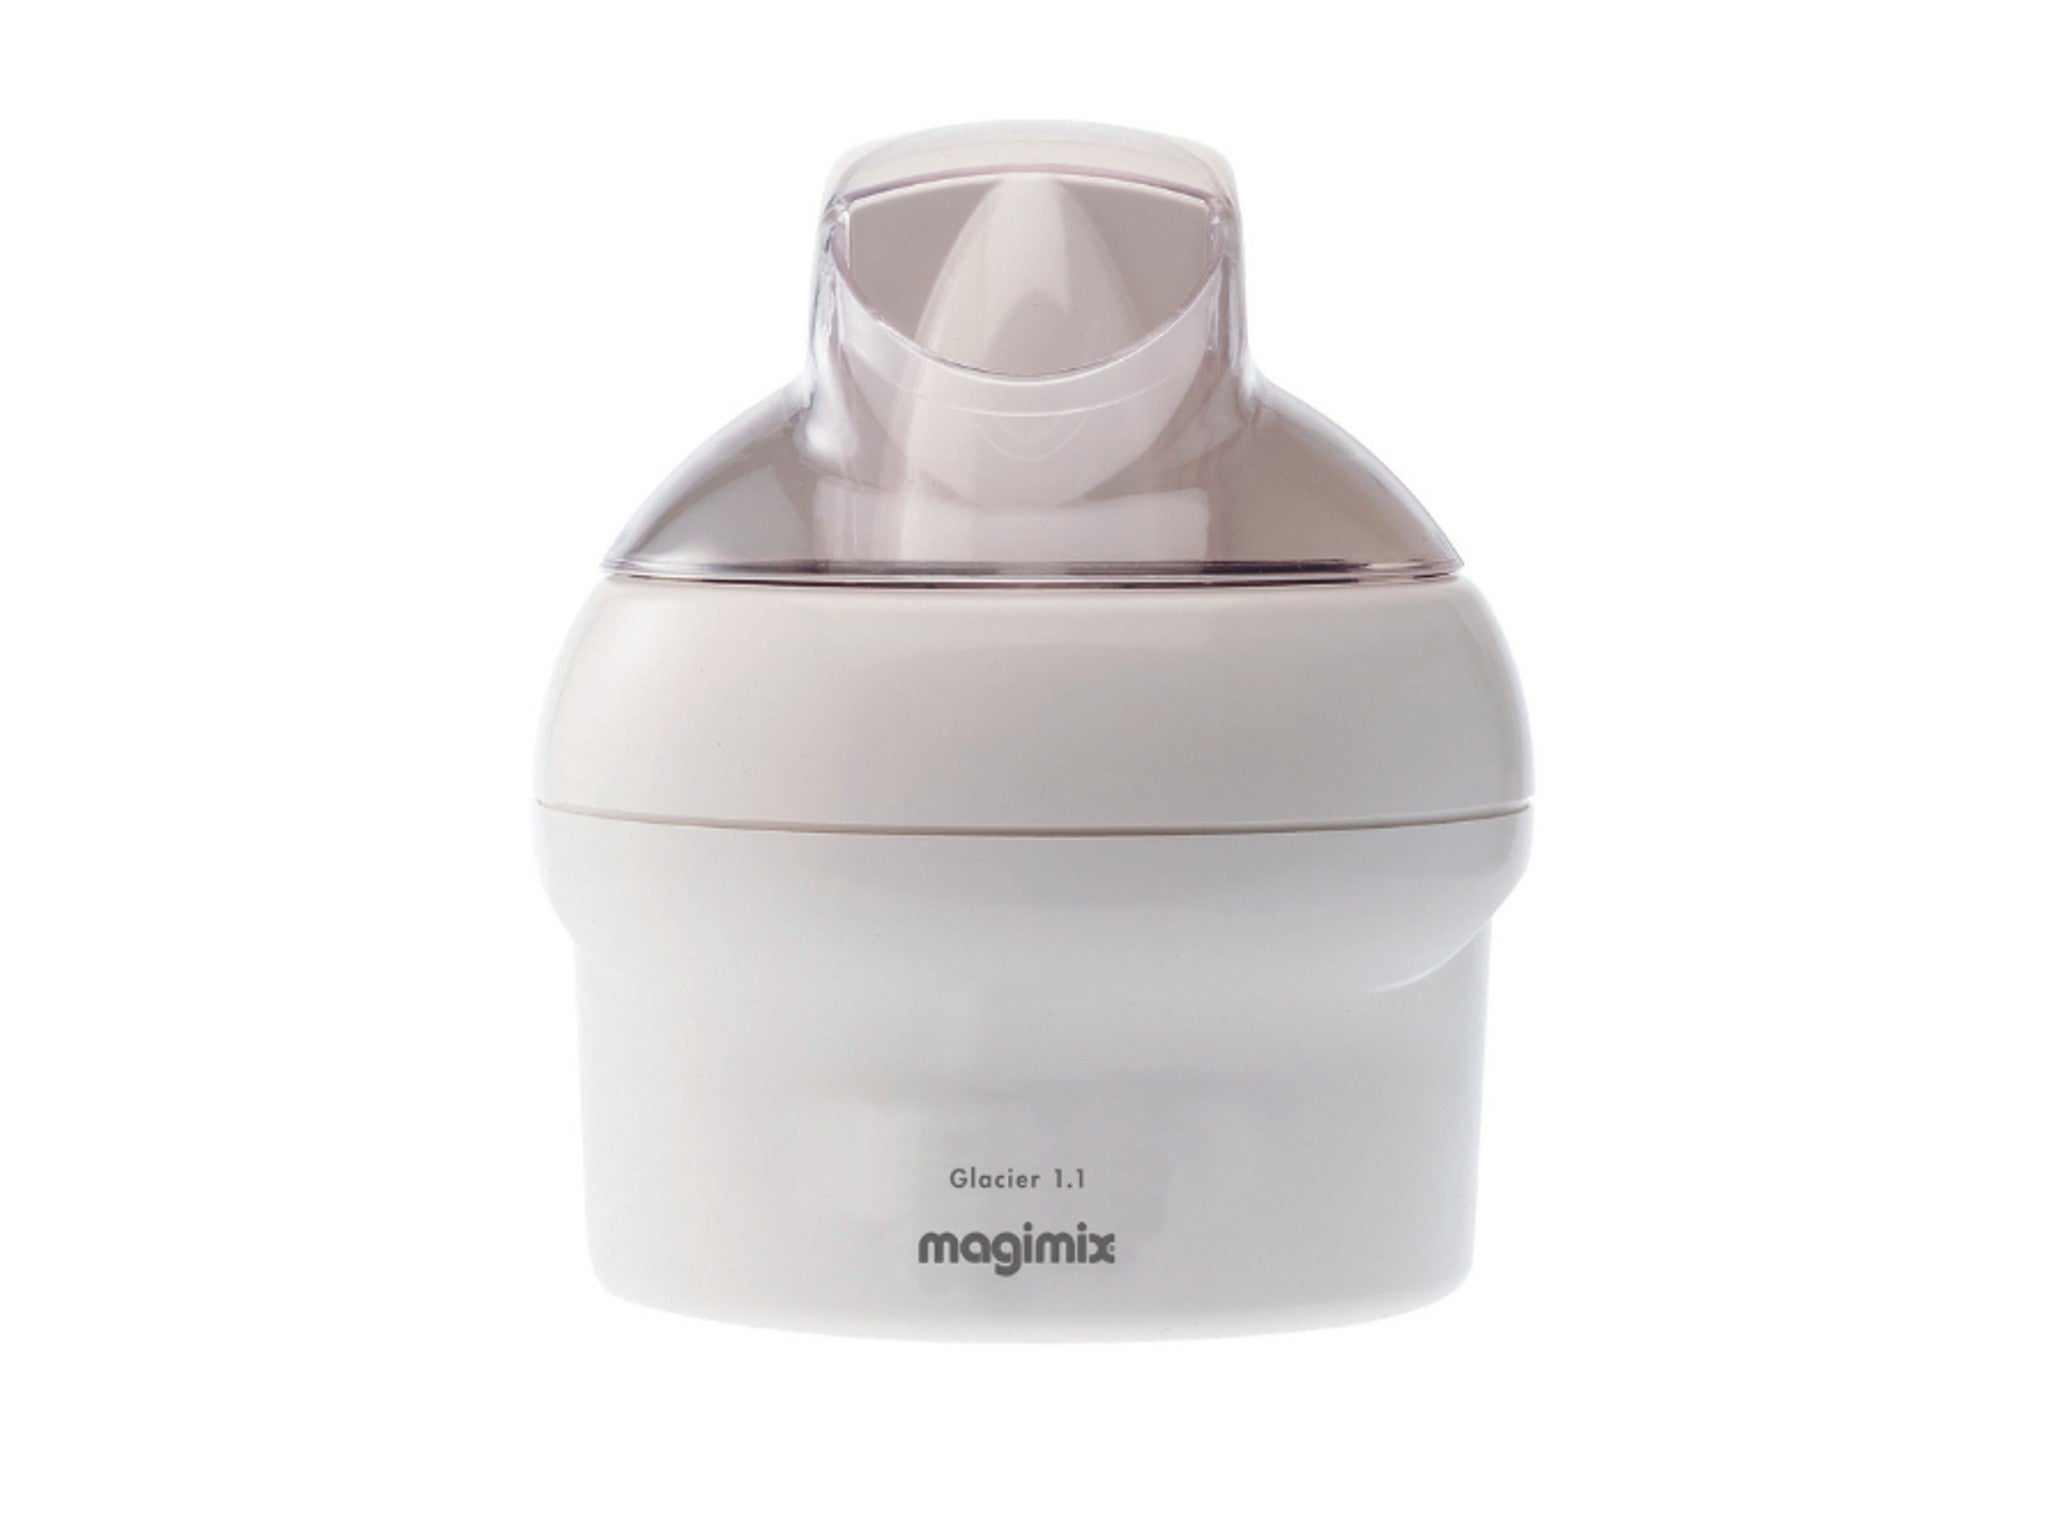
3Magimix le glacier

- Best: Ice cream maker for compact kitchens
- Capacity: 1.1l
Magimix’s entry-level ice cream maker comes in at a bargain price – ideal if you’re not keen to shell out on something you’ll only use occasionally. You’ll need to pop the stainless steel bowl in the freezer for at least eight hours before you can use it, although, as with all the freezer bowls, the colder you can get it, the faster your mix will churn into ice cream.
The majority of ice cream recipes provided involve making a custard mix on the hob with egg yolks, which also then needs to be cooled in the fridge for 4-6 hours. We tried the vanilla ice cream recipe using the minimum freezing time for the bowl and the minimum cooling time for the mix, and found that the mixture was still a little too soft after the full 30 minutes churning time. To be safe, we’d recommend prepping everything the night before – especially on warmer days.
The fastest recipe we tried was a frozen raspberry yoghurt that went down very well with our younger testers. It didn’t require any pre-cooking or chilling, and came out ready to eat after just 20 minutes. We particularly like the fact that there are no fiddly parts to this machine – it’s essentially just a freezer bowl, a spindle that churns the mixture, and a motor unit that fits on top.
There’s also no timer or special functions, just a simple on/off button. Plus, when the bowl is stored in the freezer, the only parts you need find a home for are the motor unit and spindle – ideal if you’re tight on space.
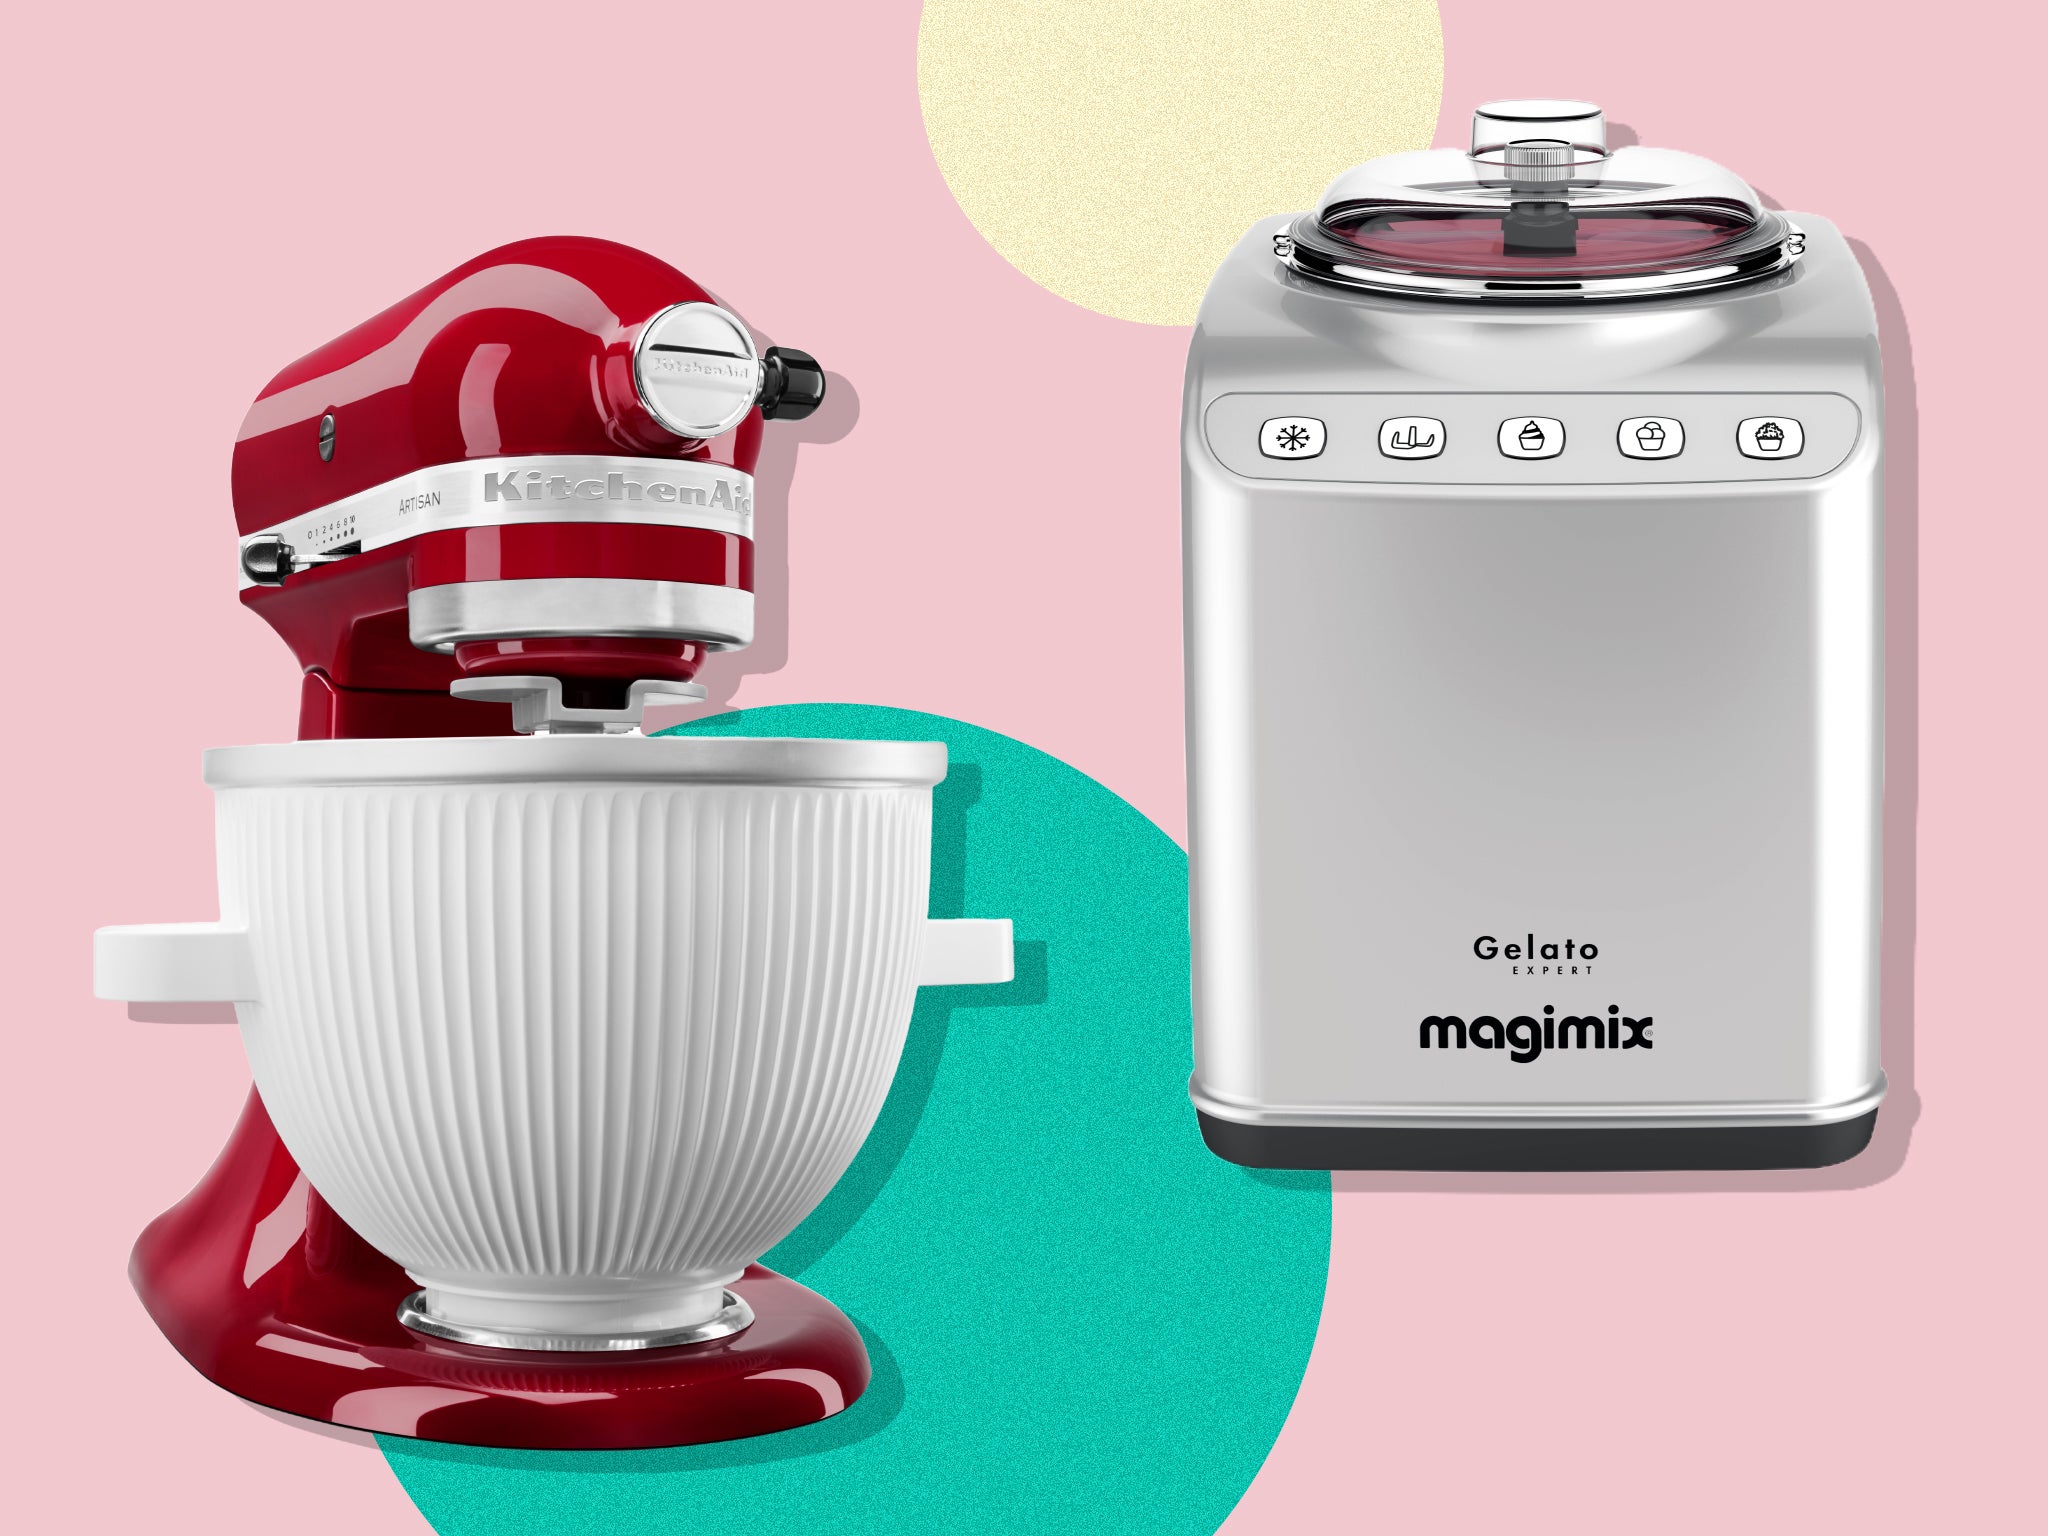
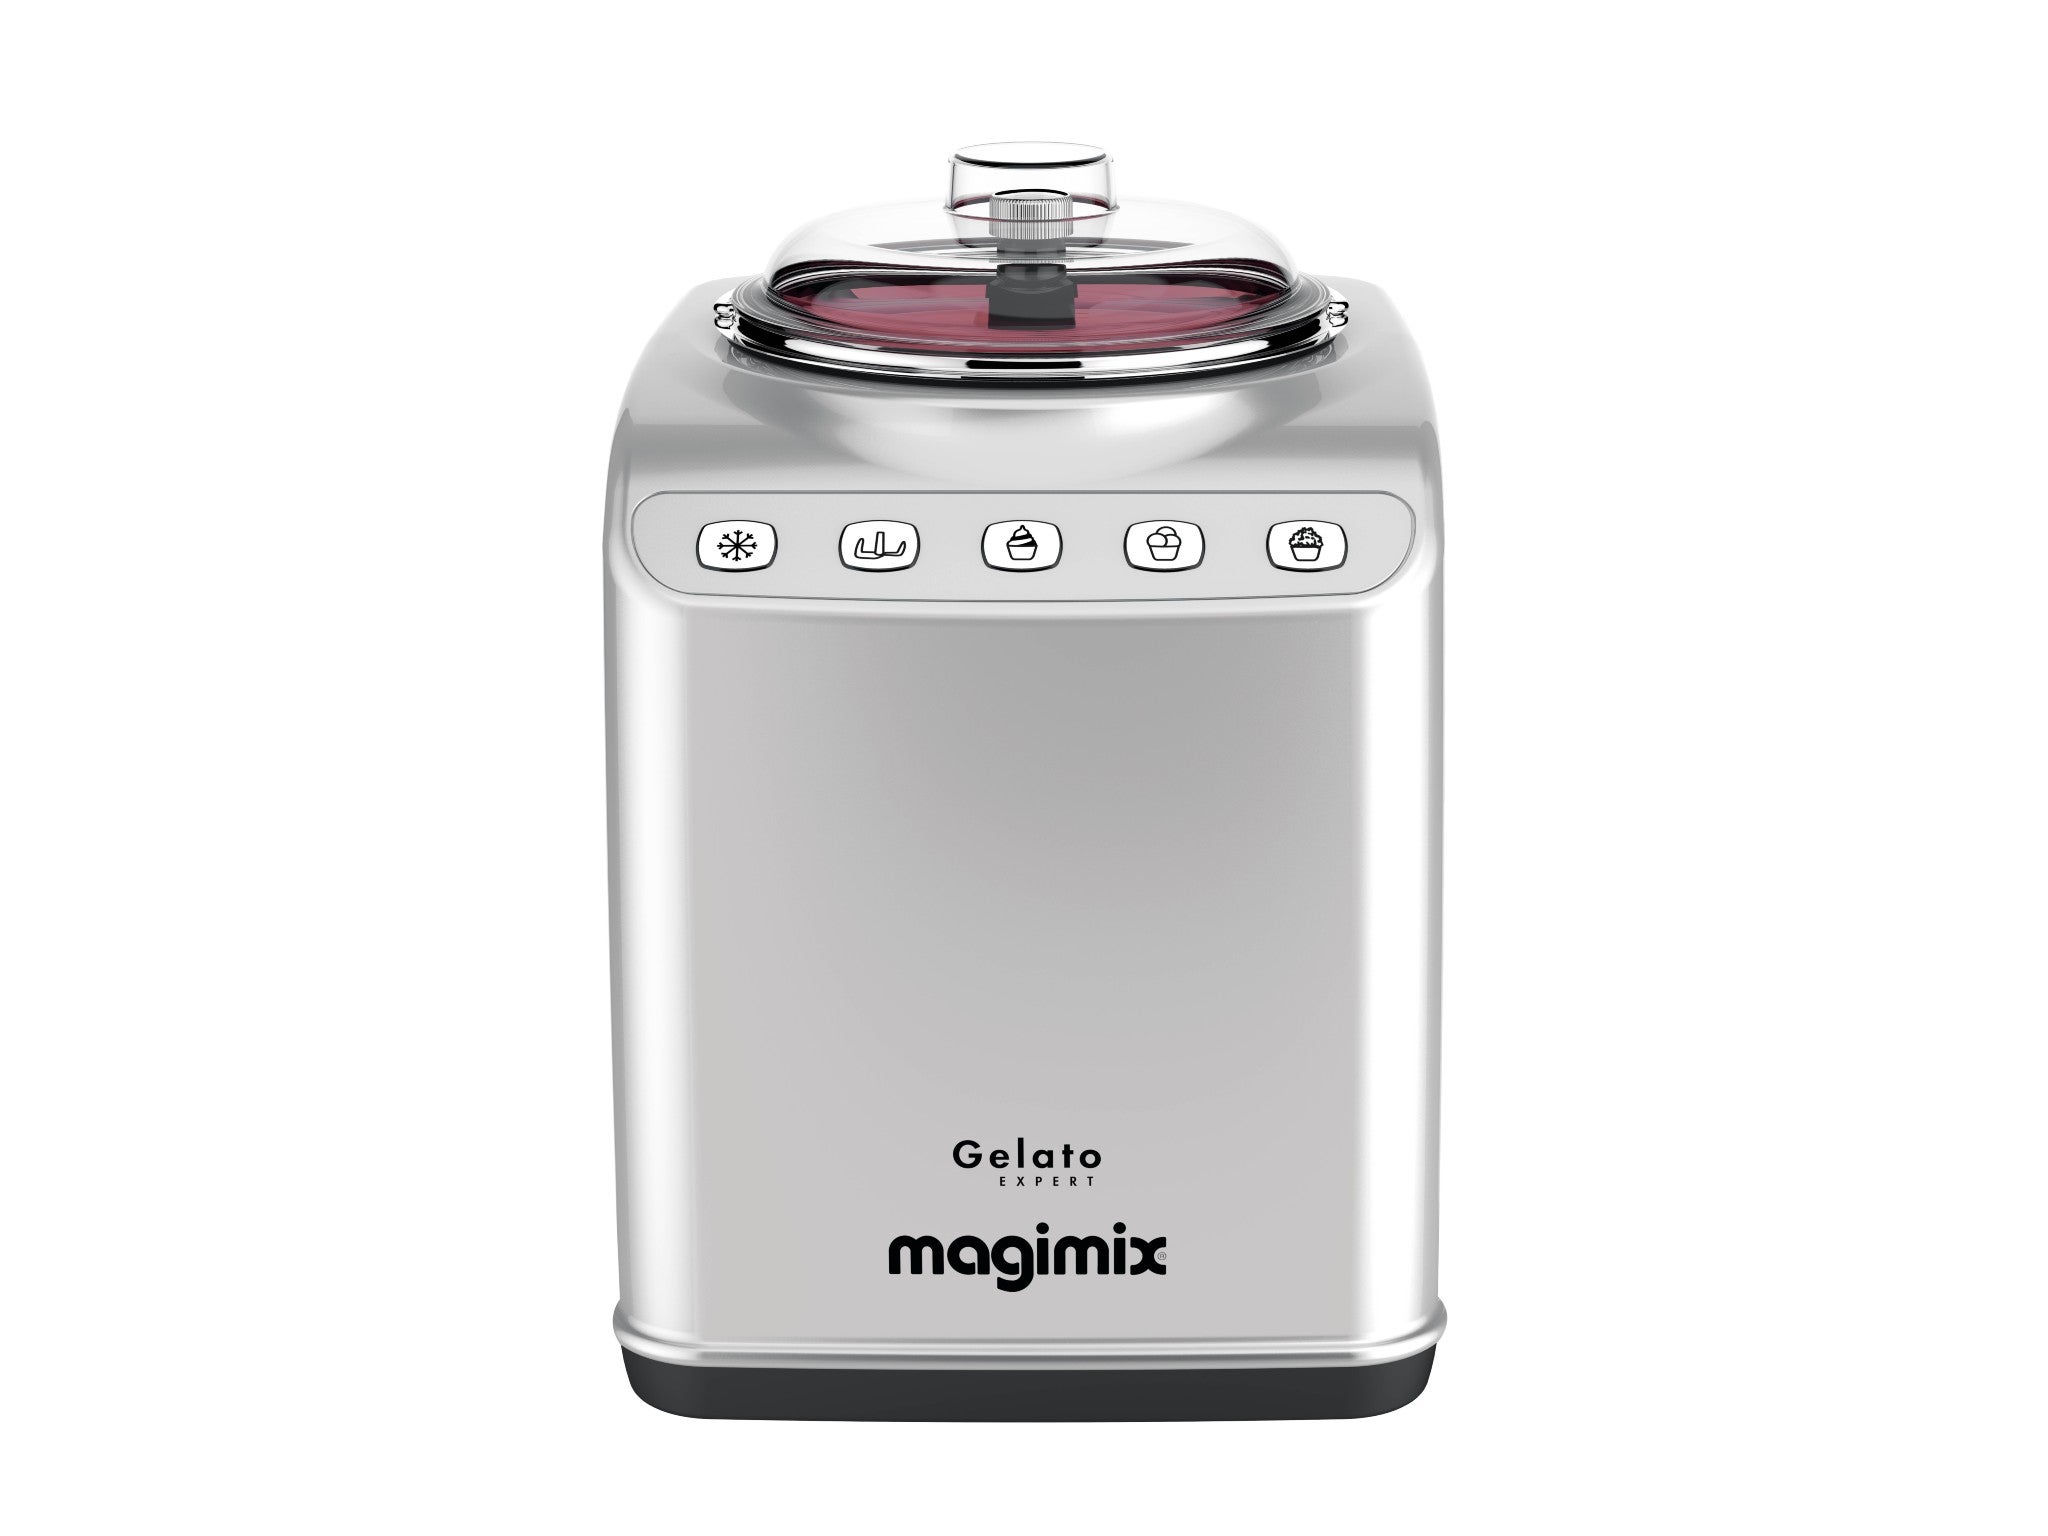
4Magimix gelato expert

- Best: Ice cream maker for entertaining
- Capacity: 2 x 2l
Magimix has gone all-out with its gelato expert machine, which is firmly pitched at fans of authentic ice cream, and has a price tag to match. It’s an all-in-one solution, so there’s no need to pre-freeze the bowl, and it’s got the biggest capacity of all the ice cream makers we tested with not one, but two 2l bowls.
The first bowl is removeable, so it’s the one we defaulted to in testing, as it’s easier to clean. But the fixed second bowl allows you to start whipping up a second batch of ice cream as soon as you’ve finished the first – making this an easy winner if you’re entertaining. On top of that, this model has a two-hour storage mode that will keep your ice cream or sorbet at just the right temperature once it’s churned.
There are automatic cycles for gelato, ice cream, and granita, as well as a manual function that gives you more control over getting the consistency you want. As the name suggests, this ice cream maker is ideal if you’re a fan of traditional gelato, which is denser than ice cream. It comes down to the way the machine incorporates less air than other ice cream makers, by use of a churning program that involves 10 minutes on, and four-minutes off.
The proof is in the pudding, of course, and the gelato expert did not disappoint. While there are lots of more-elaborate recipes to try on the Magimix app, we were pleased with our perfectly creamy vanilla ice cream that was ready in just half an hour. Design-wise, the stainless steel body is taller than it is wide, so it takes up less surface area on your worktop than similar machines we tried. It’s expensive, yes, but it’s worth it if only the real deal will do.
5Ninja creami ice cream and frozen dessert maker NC300UK

- Best: Ice cream maker for variety
- Capacity: 3 x 473ml
This ice cream maker works in a different way to the other machines on our shortlist, because it starts with a frozen base. That means you need to combine your ingredients, pop the ice cream mix in the freezer in one of the supplied tubs, and let it freeze for 24 hours. When you’re ready to eat, plug the tub into the Ninja creami, choose one of the preset programs, hit a button, and the machine’s blades mix the solid, frozen base into a soft dessert.
There are three small tubs supplied with the ice cream maker, and we like the way they don’t take up much space in the freezer. The fact there are three also means you can prepare several different mixes, chuck them in, and forget all about them until you’re in need of a quick dessert. Or, make up three tubs with the same mixture for an overall capacity of just over 1.4l. You can also buy the tubs separately.
The spin speed and duration are pre-set according to the program you choose, which takes out any guesswork. We used the ice cream setting to make the easy no-cook ice cream, which does in fact require a quick whiz in the microwave and, interestingly, calls for softened cream cheese. There’s also a mix-in function that lets you add in extras after the base itself has been mixed, and an extra spin option if it comes out a bit crumbly the first time round.
There are also settings for light ice cream, gelato, sorbet, smoothie bowls and milkshakes. The recipe book that comes with the machine has ideas for each setting, and we enjoyed making the frozen yoghurt and a super-simple no-cook Nutella-based pudding that has quickly become a hit.
The machine itself looks more like a coffee maker, with a vertical profile that saves space on the countertop. It’s the loudest of all the ice cream makers we tested while it’s spinning, but it’s also the quickest. You only need to bear the noise for about a minute, and the results are more than worth covering your ears for. It’s even gone viral on TikTok.
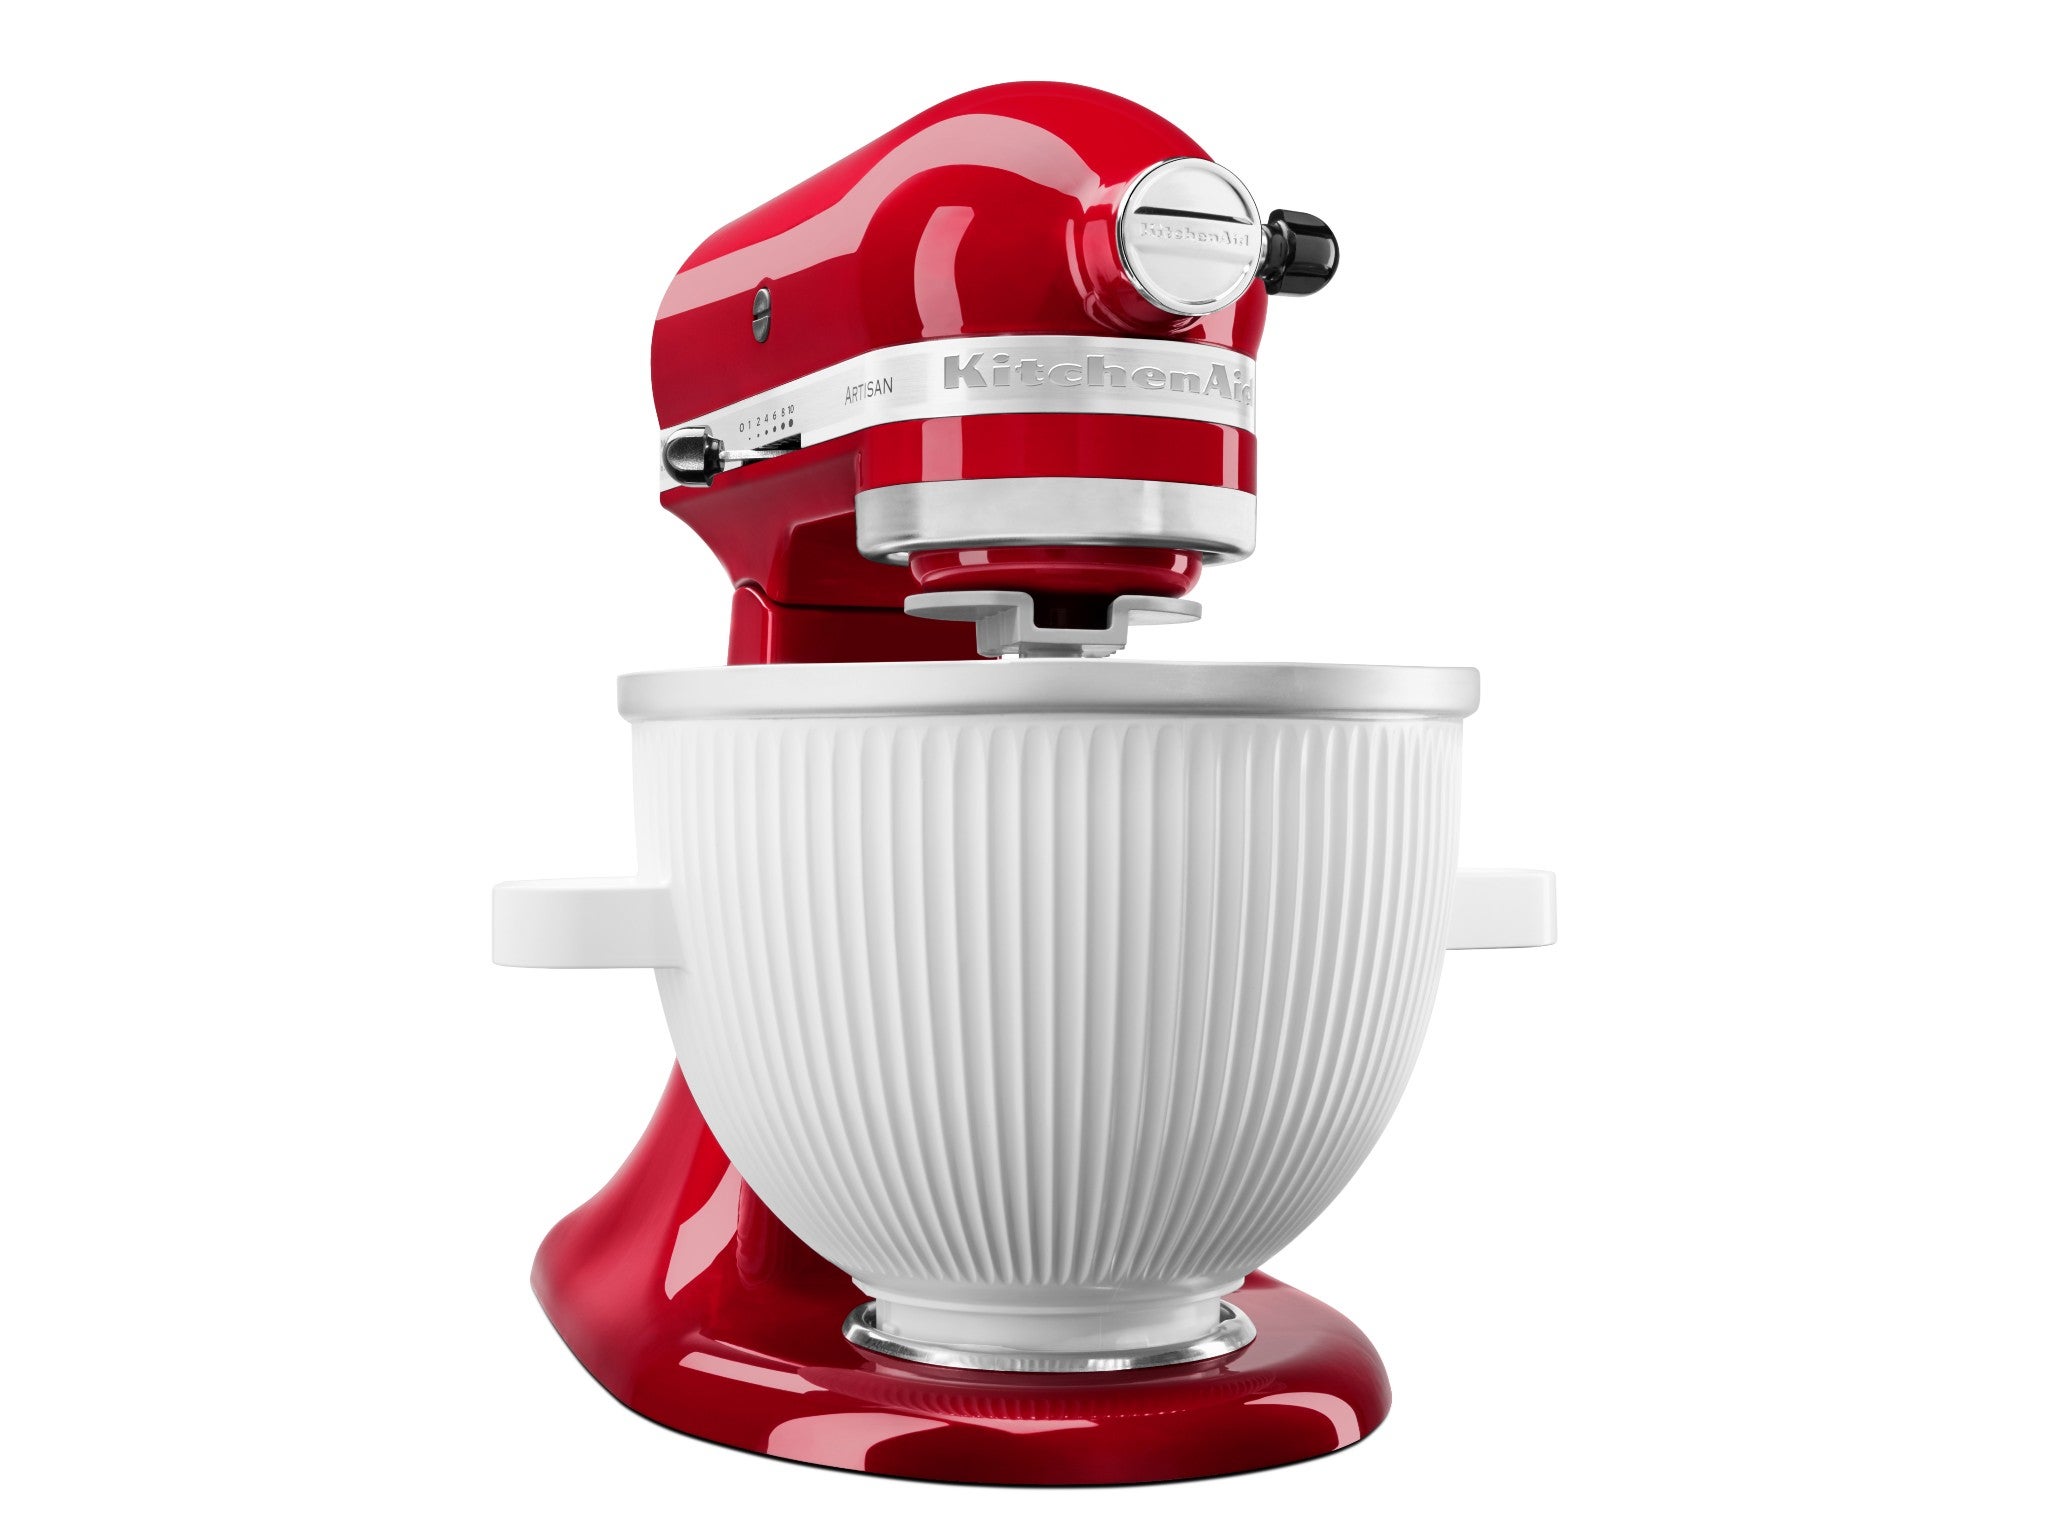
6KitchenAid ice cream maker 5KSMICM

- Best: KitchenAid ice cream maker
- Capacity: 1.9l
If you’ve got a KitchenAid stand mixer, or you need an excuse to buy one, this ice cream maker attachment is an ideal add-on. It’s essentially a giant, liquid-filled bowl with a special paddle – called a dasher – that replaces your usual mixer bowl and beater. It also comes with a drive assembly to connect the dasher to your KitchenAid. Freeze the bowl for at least 16 hours beforehand, pop it in your stand mixer base, and it churns your mixture using the dasher and the coldness of the bowl to gradually thicken it.
The vanilla recipe for this one uses a custard base, so as well as the 16-hours freezing time, you’ll need to factor in time to prep it on the hob. Once it’s fully chilled, just start the mixer on the slowest speed with the dasher attachment in place, then pour in the custardy base. Ours was the consistency of a soft-serve ice cream within 25 minutes on a hot day, and we dropped in a handful of raspberries five minutes before the end.
There’s no timer on this, so it’s very much a manual process and a case of setting a timer on your phone and keeping an eye on the mixture. Ours started to slow as the ice cream got thicker, which we took as our cue that it was ready to eat.
We love the fact that there’s no complicated setup – attaching the dasher is easy and there are no buttons or settings to get the hang of. We also found the generous 1.9l bowl, which measures 17.8cm x 27.9cm x 21.6cm, made for generous portions and we had leftovers to pop in the freezer. If you’ve already got a KitchenAid, this is a brilliant solution – just check it’s compatible with your particular model, as we weren’t able to use it with our KitchenAid mini.
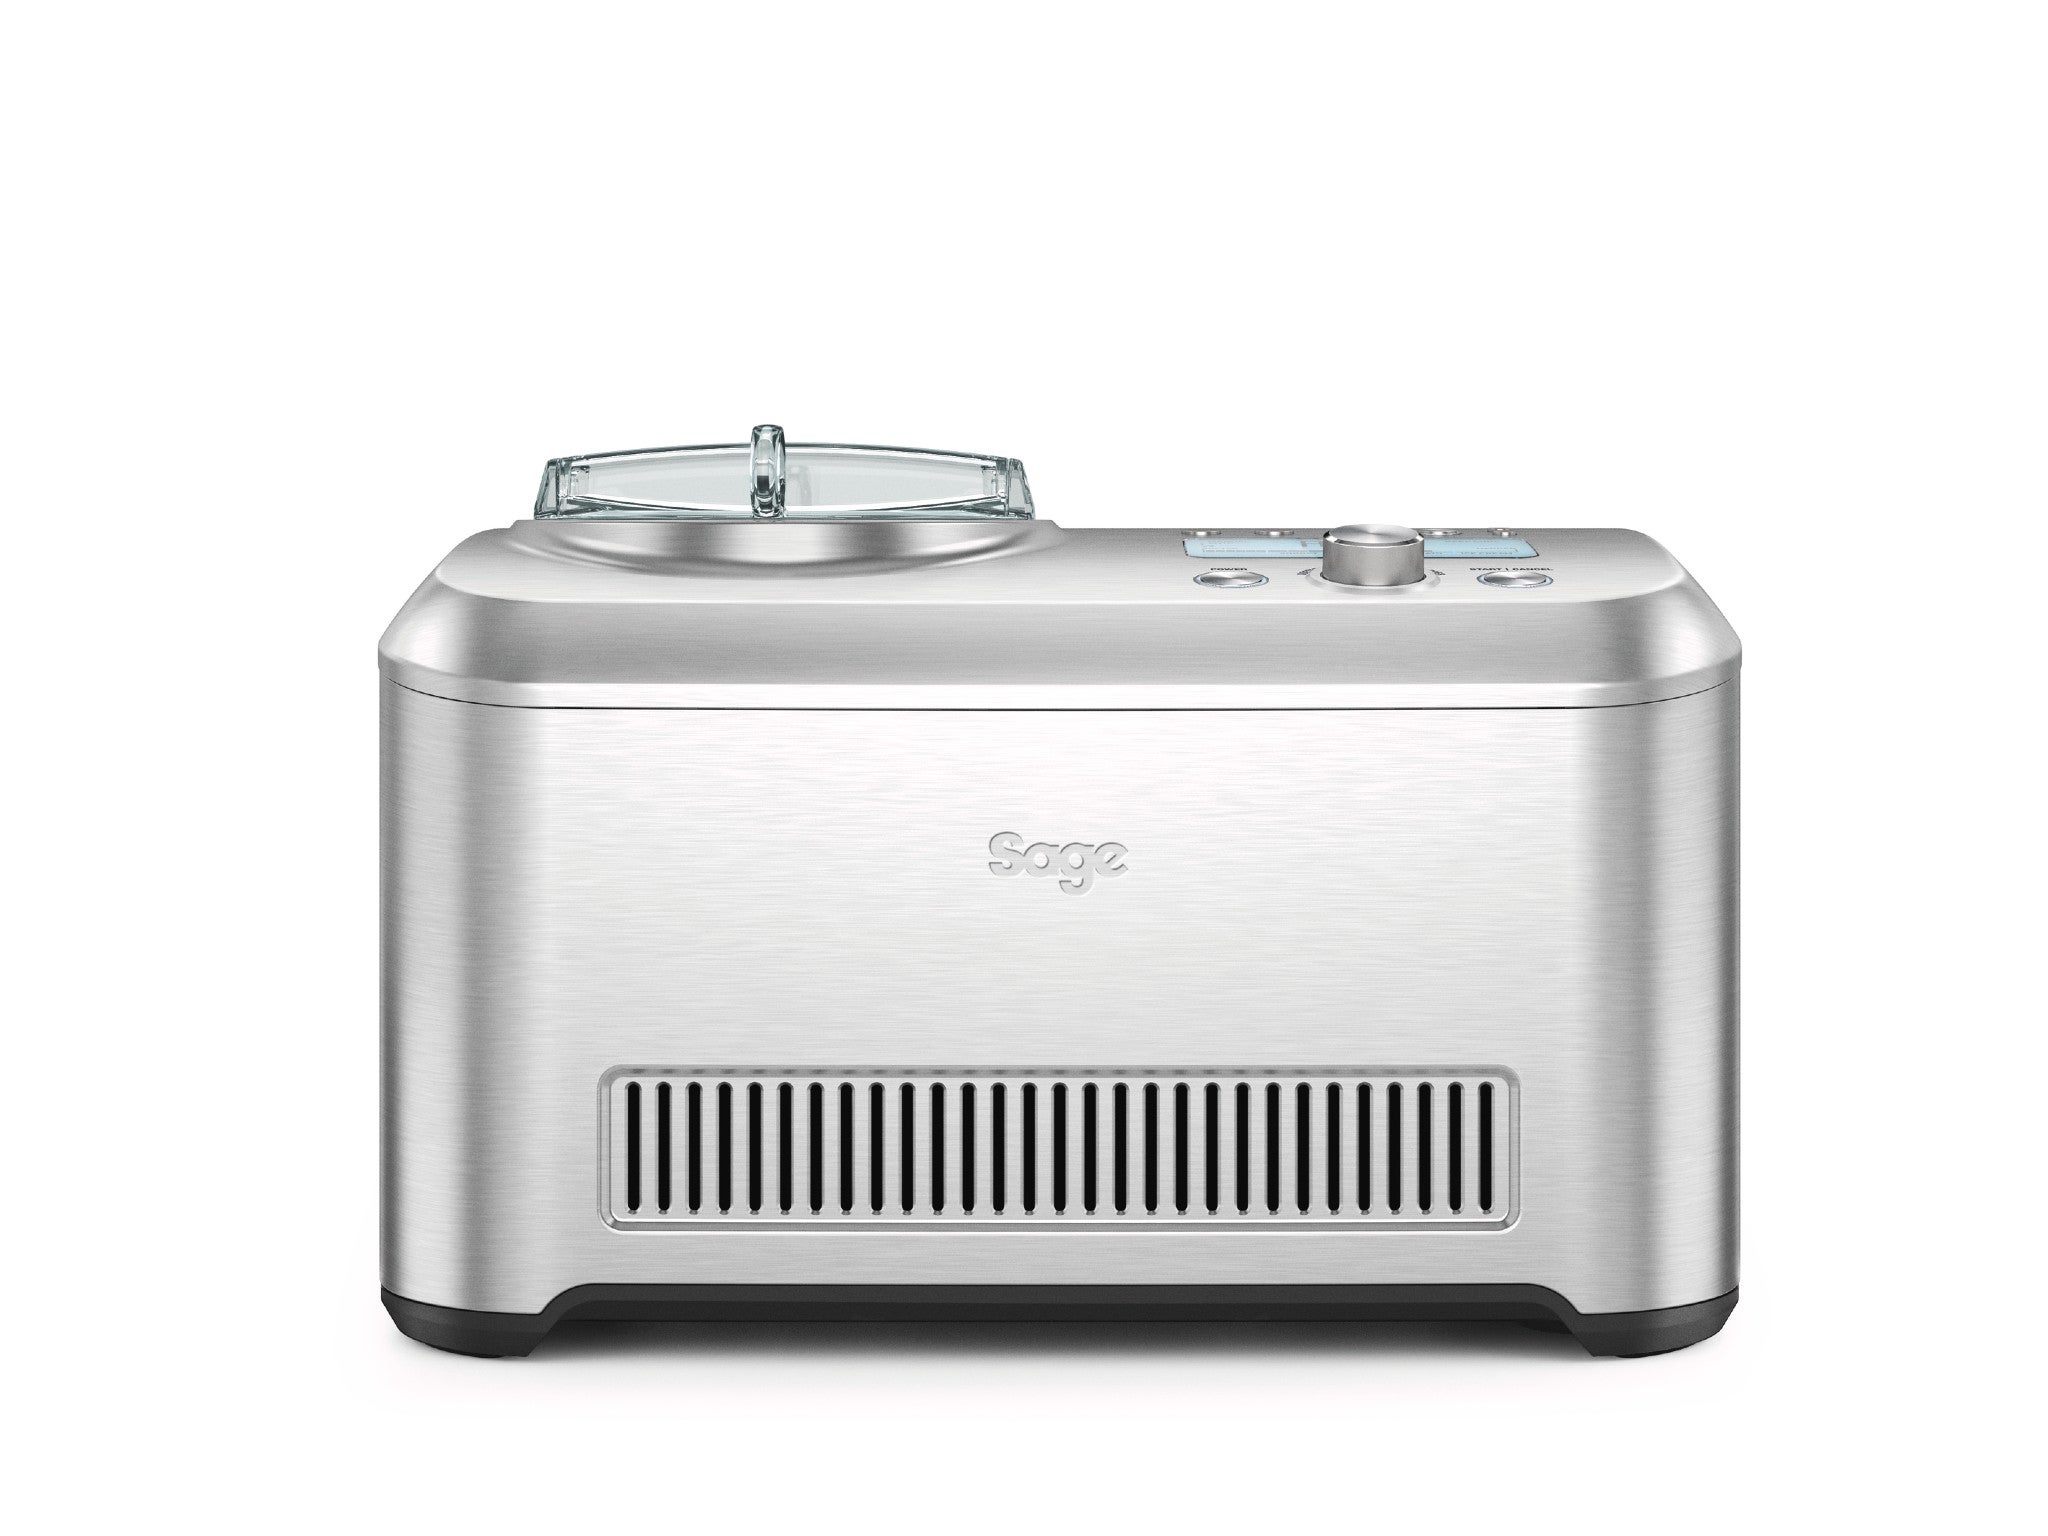
7Sage smart scoop

- Best: Ice cream maker for large families
- Capacity: 1l
The biggest of the ice cream makers we tested, the Sage smart scoop looks like a small microwave on the countertop – albeit a very pretty one. Conversely, it has one of the smaller bowl capacities of the machines we tested at 1l, although there was still enough ice cream for four people.
Size aside, this is a great all-in-one ice cream maker that produced consistently good results during testing. The basic vanilla bean ice cream recipe in the downloadable recipe book uses egg yolks cooked on the hob, but we found the quick-mix vanilla version – which doesn’t – to be just as tasty and much less faff. Both were churned within 40 minutes on a hotter-than-average day.
To use the machine, you either set the manual timer, or scroll through and choose one of the preset programs for sorbet, frozen yogurt, gelato, or ice cream using the hardness selection dial. The smart scoop is billed as the first ice cream maker to automatically sense the hardness of the mixture, so, rather than giving you a set duration, it stops when the consistency you’ve requested is reached. Our ice cream still came out quite soft even on the hardest setting, so it’s worth putting it in the freezer if you prefer a more solid scoop.
The machine has an optional pre-cool function, which took six minutes to get down from 23C to -30C during testing. Pop it on while you prep your mix and it’ll take your ice cream less time to churn – just don’t forget to put the lid on while it does this. The smart scoop also has a keep-cool function for up to three hours, which is the longest we found in testing, although we found out the hard way that you need to select it rather than assume it will happen automatically.
Overall, this machine gives you lots of freedom when it comes to achieving your preferred ice cream viscosity, and we found we got great results even when we started experimenting with our own hare-brained recipes. The ice cream van jingle is a nice touch too.
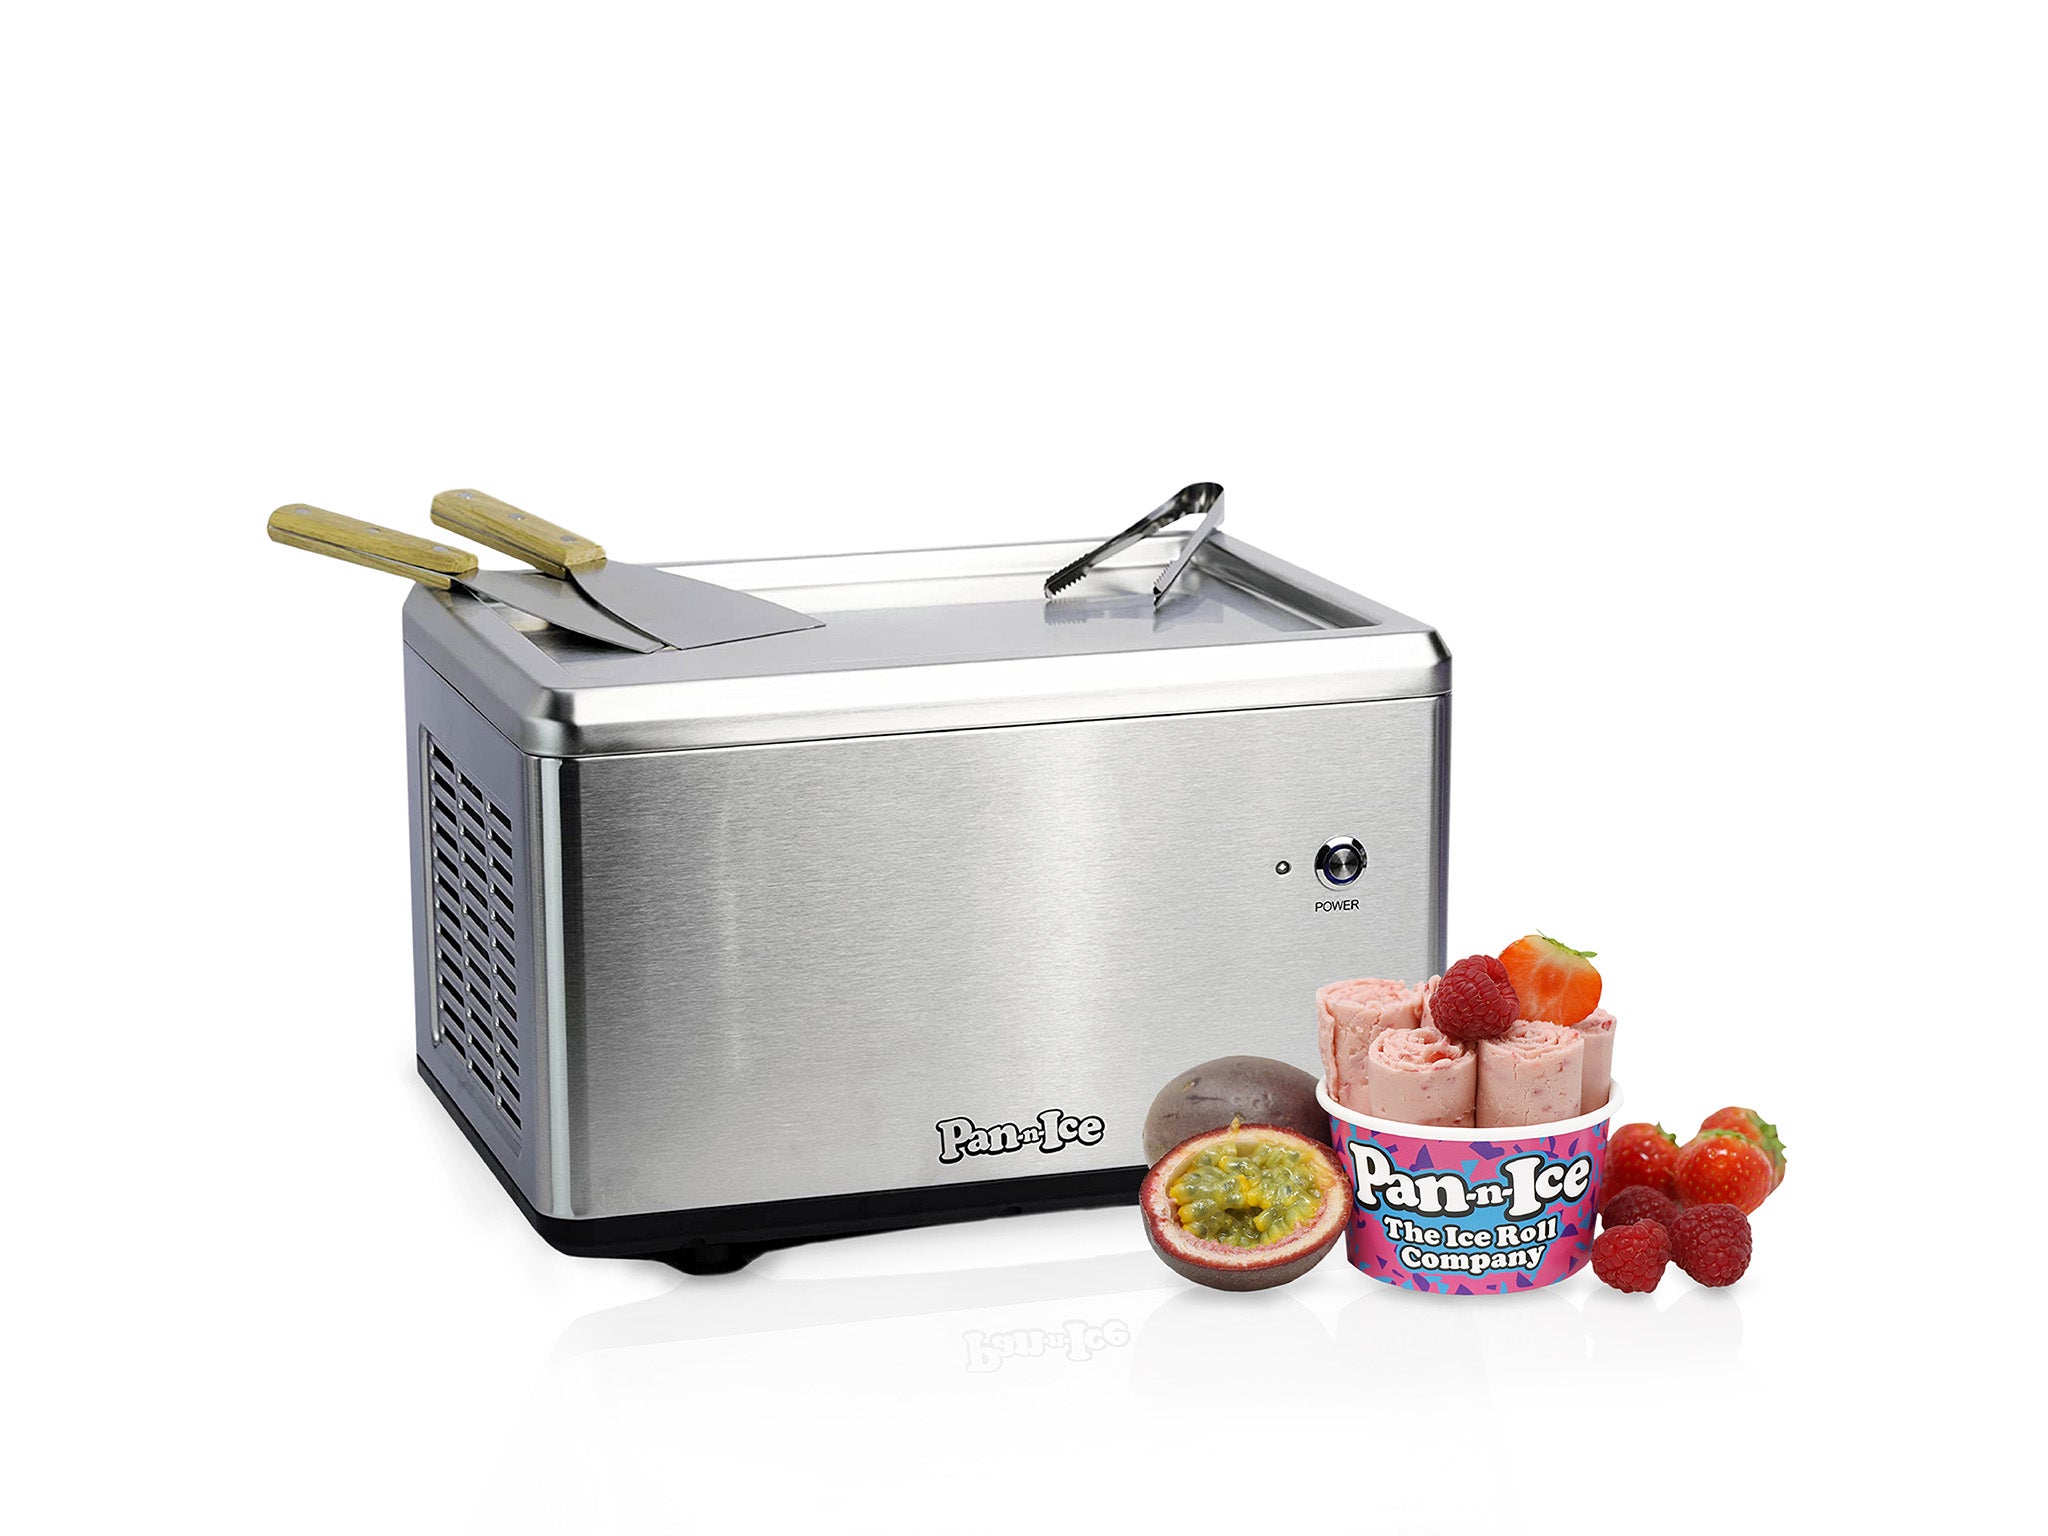
8Pan-N-Ice mini electric ice roll machine

- Best: Ice cream maker for kids
- Capacity: N/A
Unboxing the Pan-N-Ice machine was met with squeals of delight from our younger testers, who’d seen the brand’s ice cream roll creations on TikTok. First seen in Thailand, ice cream rolls are exactly that – rolled-up ribbons of cool, creamy joy. We weren’t convinced we’d be capable of recreating these perfect ice-cream curls at home but, with this clever bit of DIY kit, we were pleasantly surprised.
The machine is a smaller version of the one Pan-N-Ice use for catering events, and although it does take up a fair bit of space on the kitchen worktop, we were impressed at how quickly it was up and running. There’s no prep – just plug it in and switch it on, and within five minutes the top pan has chilled to freezing. That means you’re ready to mush your ice cream mix and ingredients together on top, spread it all out into a thin rectangle, then carefully peel it off again into a roll shape.
We soon got the knack of rolling the ice cream sheet and were amazed at how fuss-free the whole process was. A large part of that is down to the fact the ice cream base comes in a pre-mixed 1l carton (£19.95 for a triple pack, Pan-n-ice.co.uk). That’s the only downside to this machine, as it doesn’t feel quite as authentic, and the only reason it didn’t take our top spot. Having said that, as long as you stock up on mix, it doesn’t have to be a downside at all – and certainly speeds up the whole process.
9Cuisinart ice cream deluxe

- Best: Ice cream maker for less than £100
- Capacity: 2l
Looking for an ice cream maker for less than £100? Cuisinart’s ice cream deluxe ticks a lot of boxes for a reasonable price, particularly as it offers a generous 2l capacity. You’ll need to pre-freeze the bowl for this one, so clear some freezer space and a 12-hour window before starting to make your ice cream. But, once that’s done, this simple machine whips up delicious dessert in as little as 25 minutes – we found ours took 45 on a hot day – without a million complicated settings and buttons (there’s literally an on/off switch).
The easiest recipes in the booklet don’t require you to make a custard first, so you can simply mix and chill the ingredients, pour them in the top opening and watch as your ice cream thickens. Having said that, the custard-based recipes create the tastiest end results, so it’s worth putting the extra effort in if time allows.
Another great feature of this machine is the upright design, which means it has a smaller footprint on the countertop than rectangular machines. All in all, it’s our top choice for a sub-£100 machine that’s big enough for the whole family.
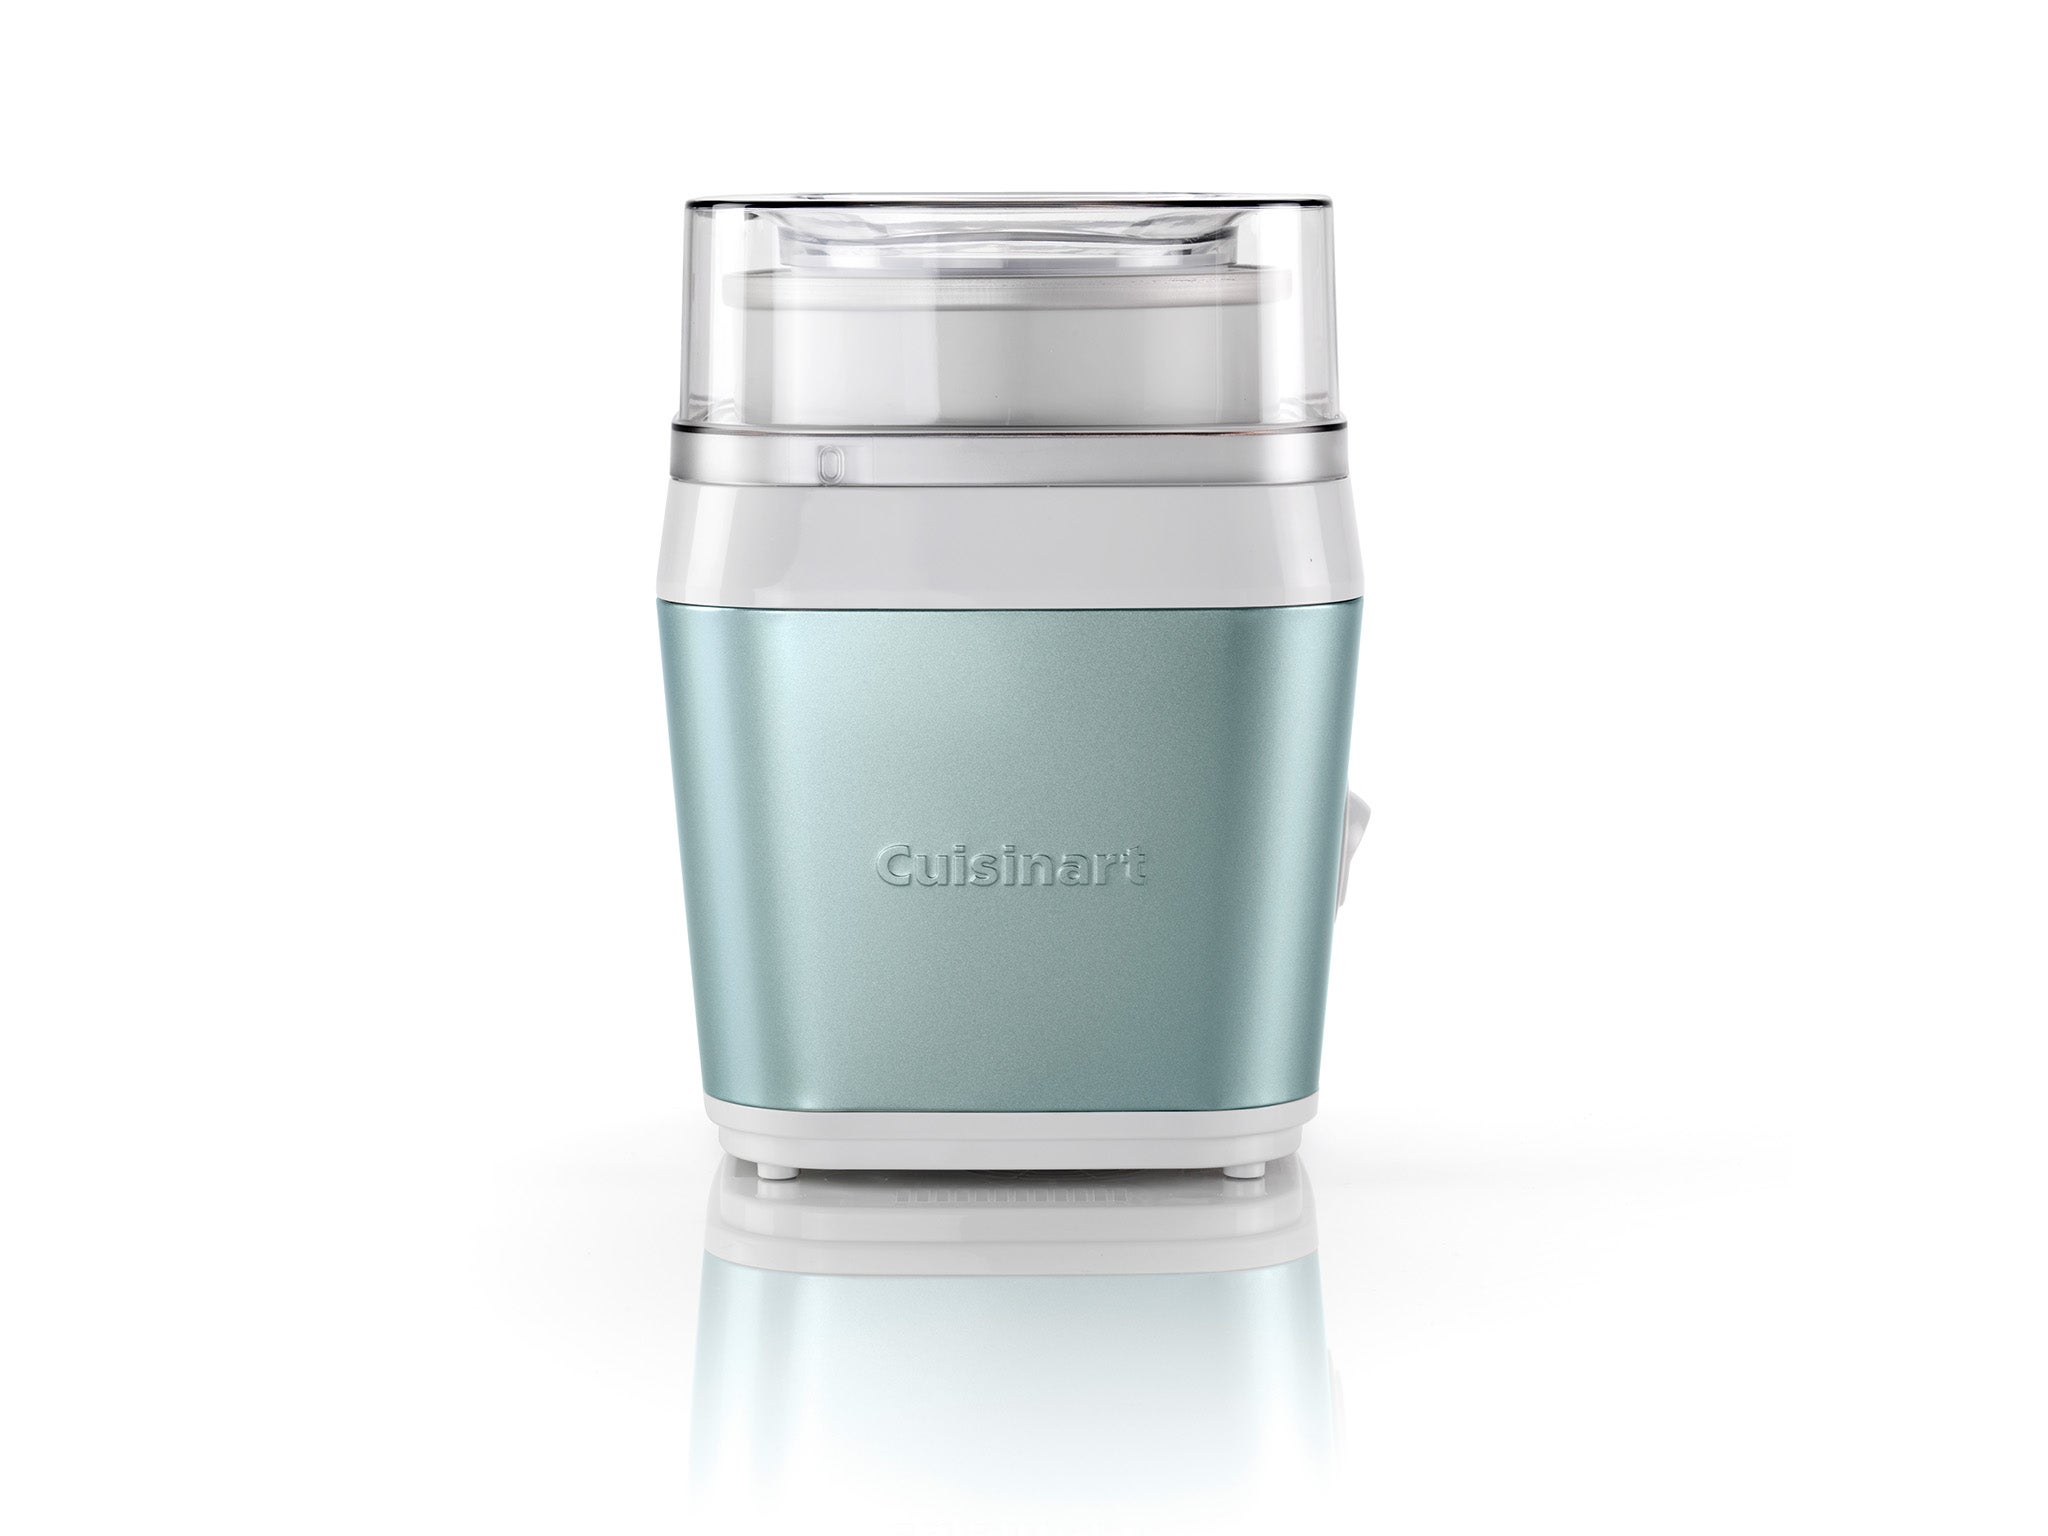
10Cuisinart iced dessert maker

- Best: Ice cream maker for aesthetics
- Capacity: 1.4l
If you don’t need to feed a crowd, Cuisinart’s iced dessert maker is similar to the ice cream deluxe mentioned above, but with a smaller 1.4l capacity. It’s a freeze-the-bowl model, and you get the same high-quality machine, simple setup and very similar results after 25 minutes. Just as we found with the ice cream deluxe, our ice cream needed closer to 45 minutes to firm up on a hot day.
While this model also has an upright design, the smaller capacity means it takes up even less room, and it’s compact enough to store on a shelf or worktop. It’s also so good-looking you’ll want to display it proudly, with a minty green metallic base and simple, sleek design.
As well as an ice cream paddle, this one comes with a fresh fruit paddle, so you can quickly create frozen desserts with soft fruits such as banana and mango. The wide opening in the lid makes it nice and easy to pour in last-minute additions such as chocolate chips and nuts, if you fancy a final flourish.
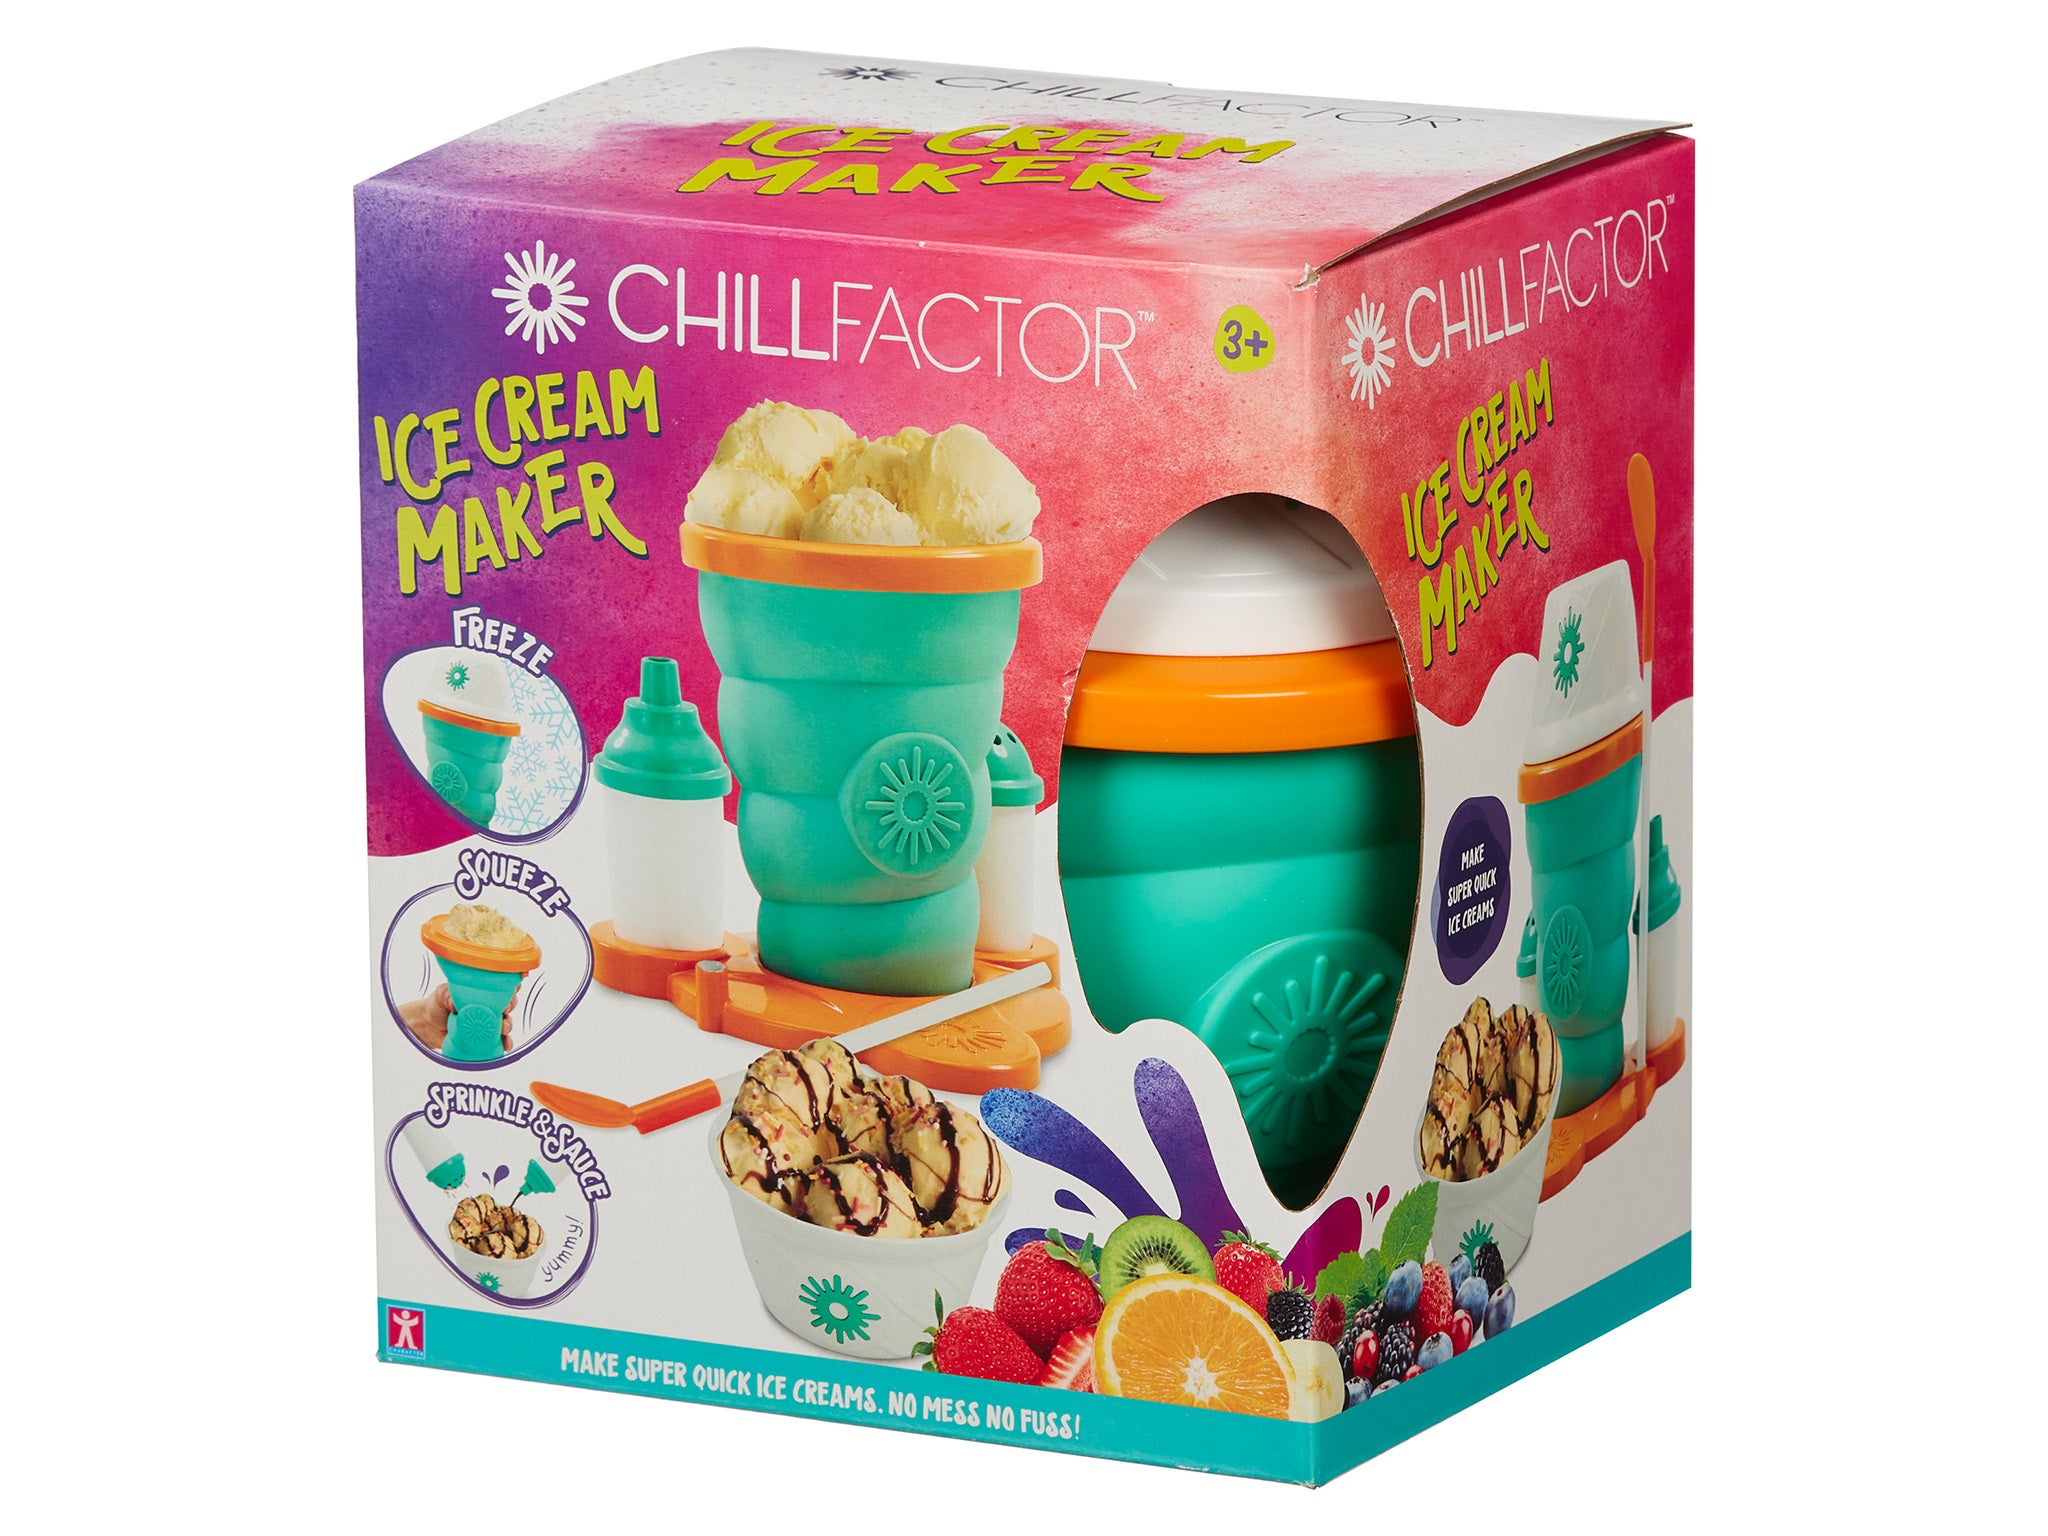
11Chill Factor ice cream maker

- Best: Pocket money ice cream maker
- Capacity: N/A
OK, so we can hardly call Chill Factor’s ice cream maker a machine, but it’s great fun if you’ve got little ones who want to make their own ice cream. There are no blades, no need to use the hob, and no need to plug in anything. Plus, it makes a super sweet birthday party gift.
You first need to chill the squishy cup in the freezer for five to six hours and, once it’s frozen, add ingredients to it and get ready to start squeezing. The coolness from the cup chills the contents as you do, and eventually creates an ice cream-style concoction – albeit a bit thinner and not entirely authentic-tasting.
The recipe for classic vanilla, for example, is made from 100ml of fresh milk, 50ml of condensed milk and a bit of vanilla essence. We found frozen yogurt with finely chopped fruit worked well as a healthy alternative. Our young tester loved being able to choose her ingredients, although the little sprinkle and sauce pots seemed a bit unnecessary. Chill Factor also stock a slushie maker (£10, Argos.co.uk) that works in the same way, if your kids want to broaden their frozen dessert repertoire.
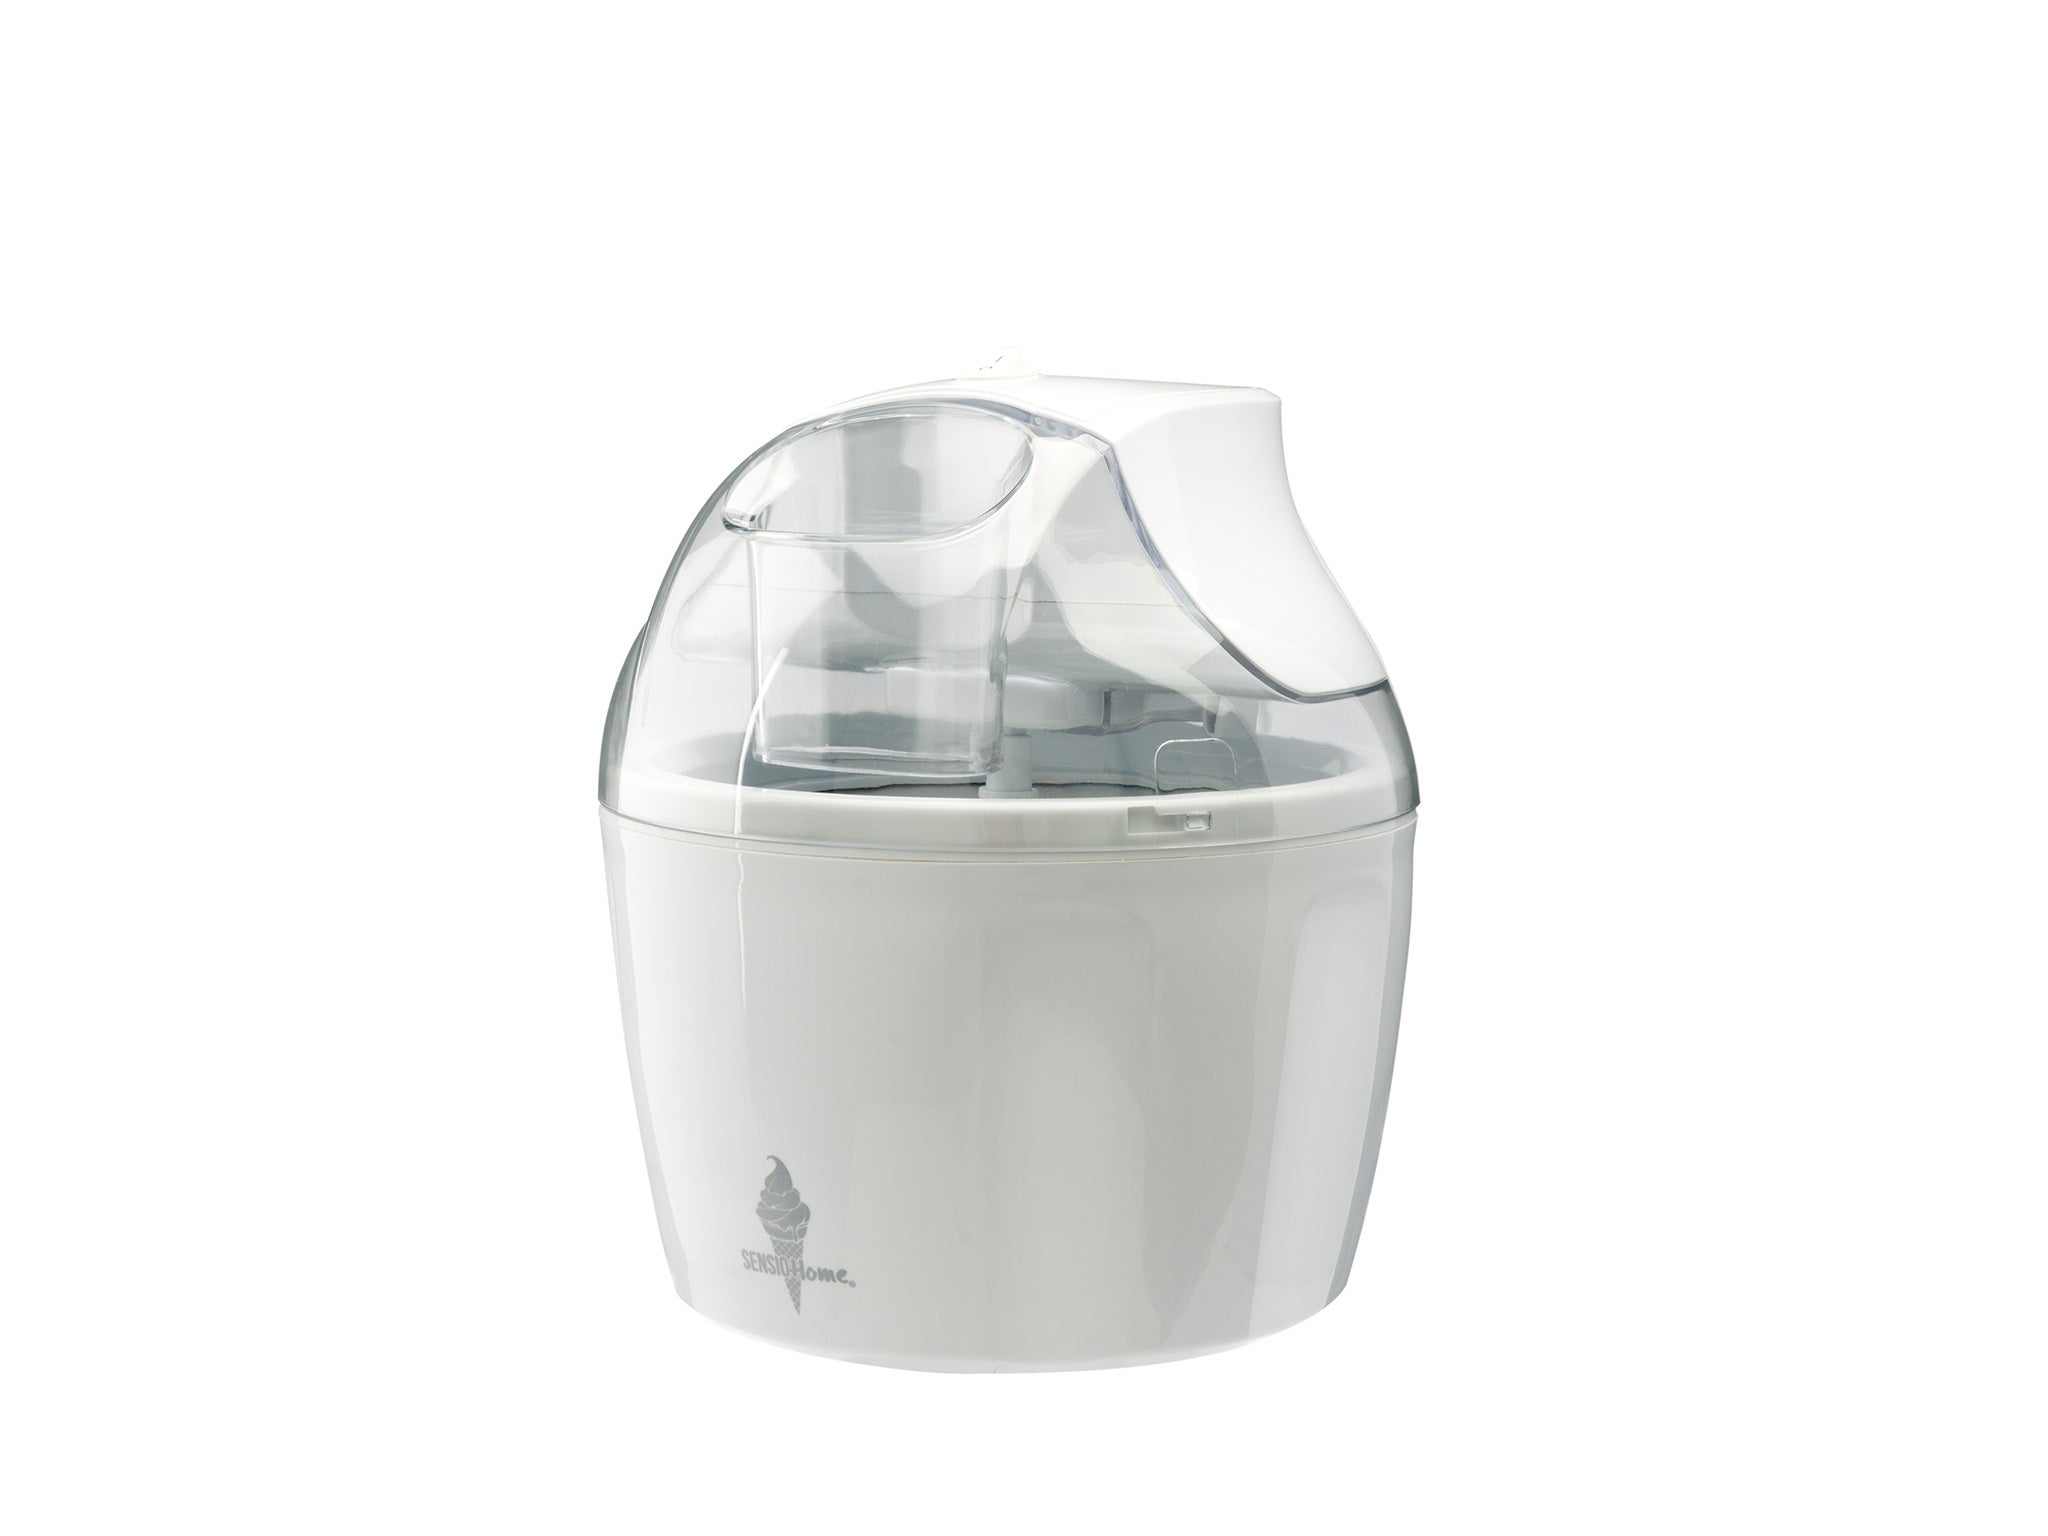
12Sensio Home ice cream maker

- Best: For soft-serve ice cream
- Capacity: 1.4l
The Sensio Home ice cream maker is another budget-friendly machine that also ticks the box for being relatively compact. That makes it a strong contender if you’re just testing the water when it comes to ice cream making, as it doesn’t require too much of a commitment.
This is a freeze-the-bowl model, so the base needs to chill in the freezer for at least 12 hours before use. It cools rapidly once it’s out, so prep your recipe beforehand and make sure the paddle is attached to the motor unit ready to go. This clicks into place on top of the bowl, then you just switch the machine on and pour your mix through the top. If you’ve got extra ingredients to add, pop them in towards the end, once your mix has thickened.
Speaking of thickening, although it made ice cream with a soft consistency within about 20 minutes, the machine struggled to churn beyond that point – so bear in mind you may need to add time for your ice cream to set in the freezer to achieve a more solid texture. As for the recipes provided, there’s a classic vanilla ice cream using the custard-making method, and a non-cook strawberry version made with strawberries, caster sugar, lemon juice and double cream.
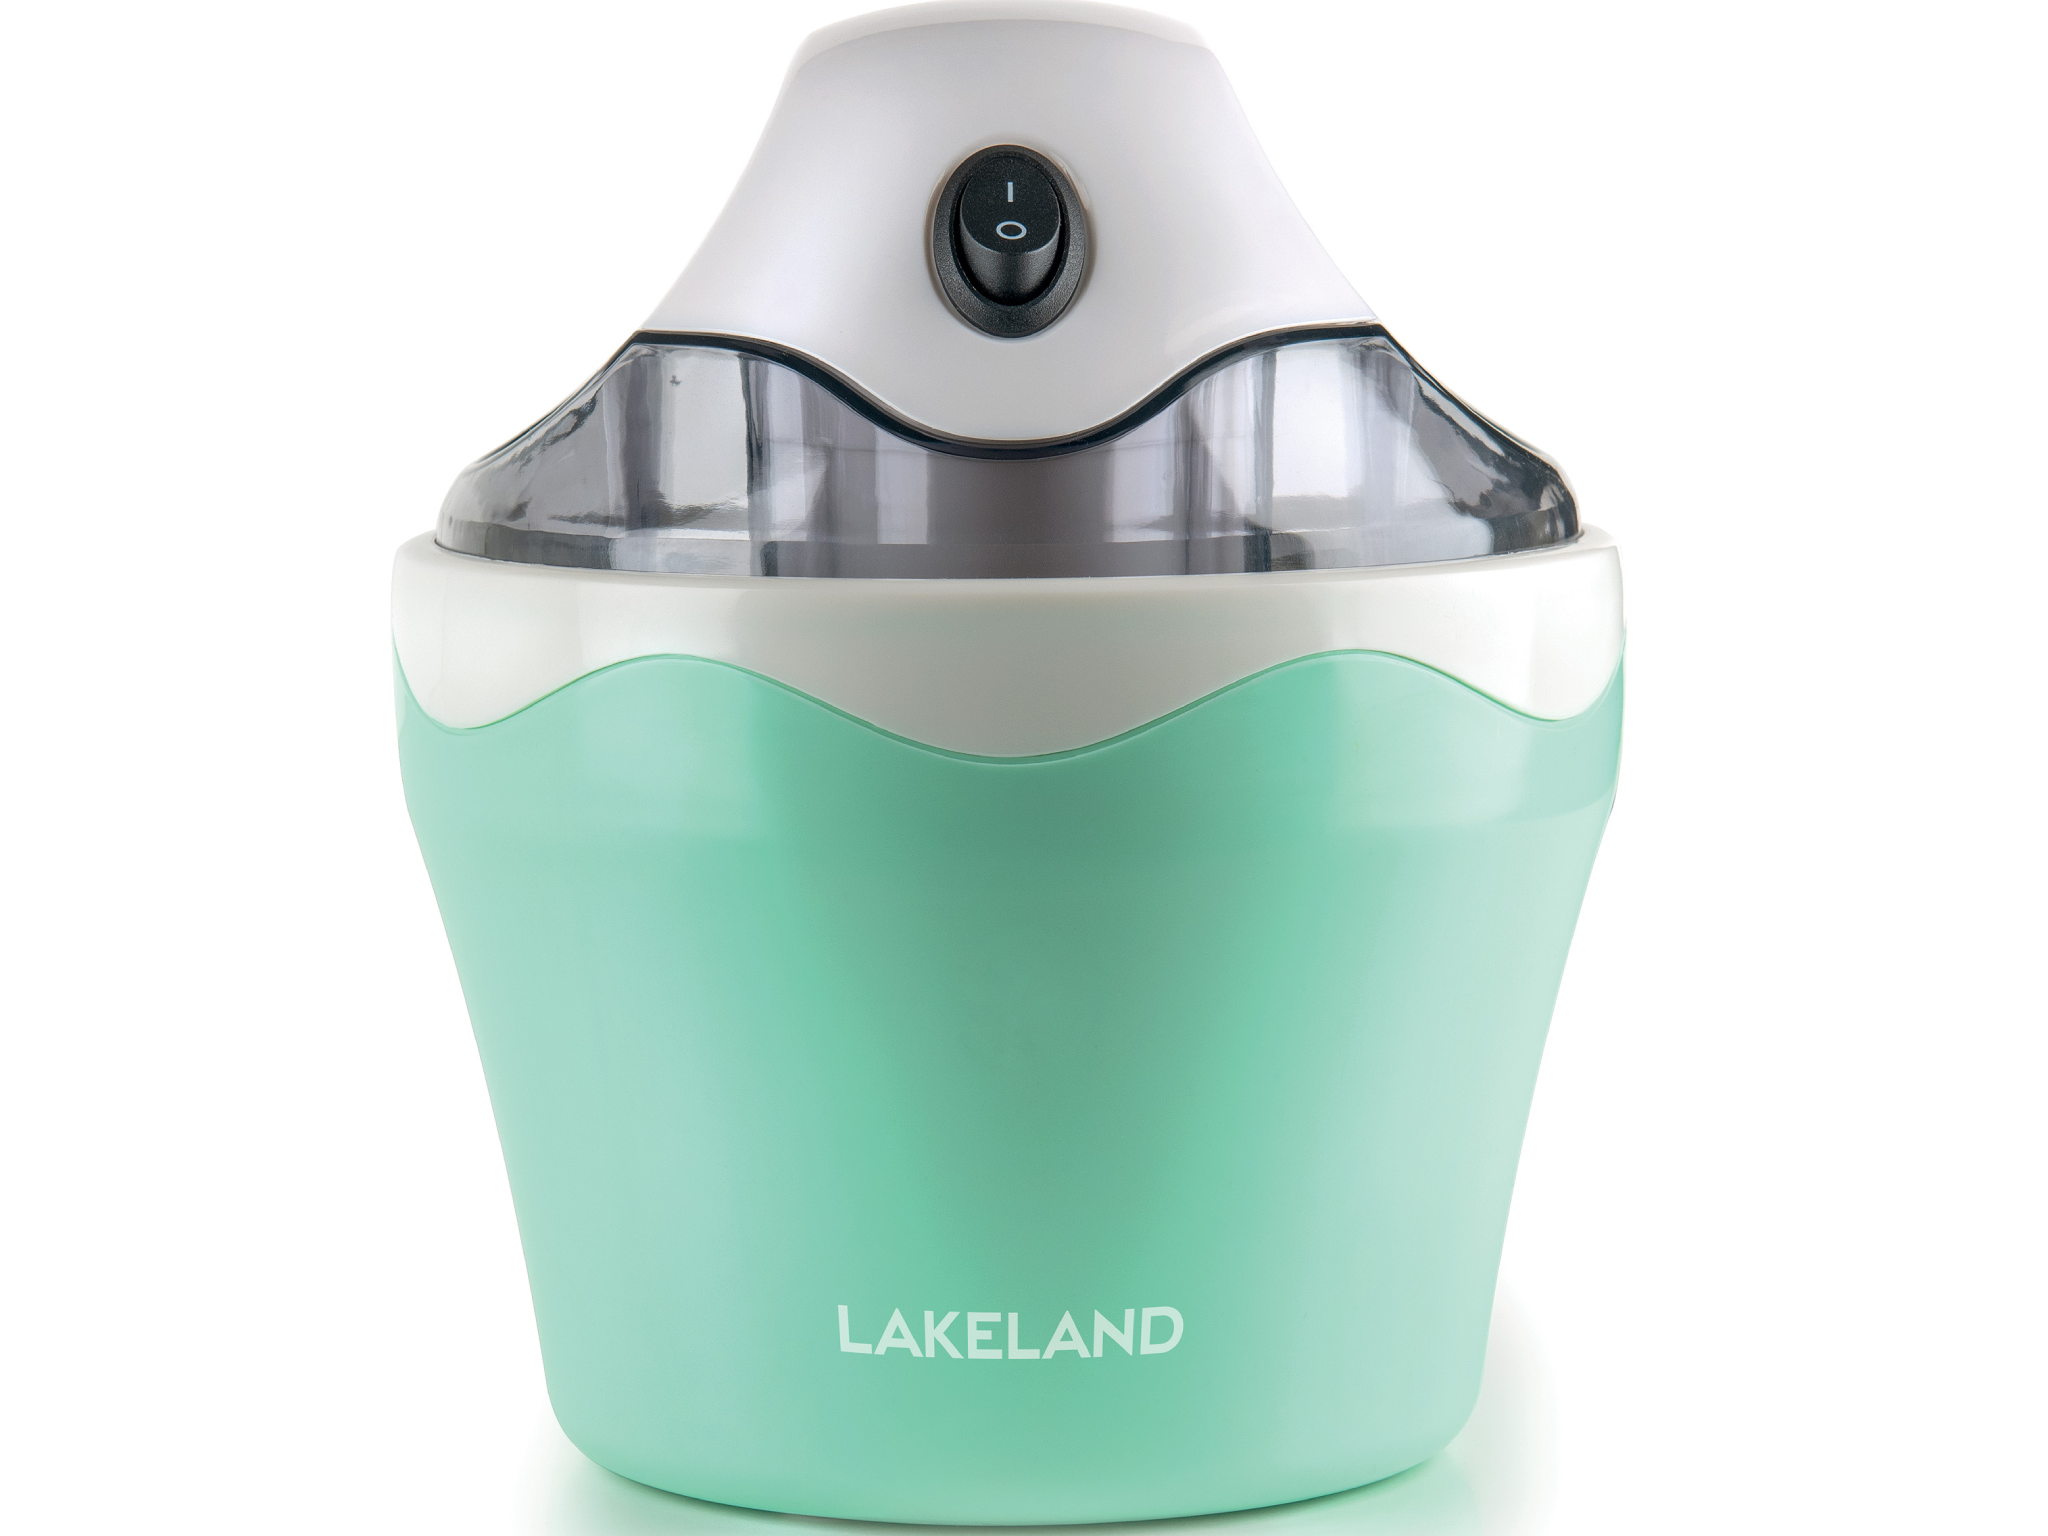
13 Lakeland mini digital ice cream maker

- Best: Mini ice cream maker
- Capacity: 0.5l
Making ice cream for one? Lakeland’s mini digital ice cream maker is a sweet choice for solo sugar cravings. Plus, the neat size means the 500ml bowl takes up far less space in the freezer, so you’re more likely to be able to leave it in there permanently.
It also means the bowl freezes more quickly and can be ready to go in eight hours rather than the usual 12. The basic recipe provided does involve making a custard first but a non-cook, egg-free recipe would work just as well. Just bear in mind this machine can only take up to 350ml of mixture in the bowl, to allow it to expand, so adapt your favourite recipe accordingly.
In terms of operation, there are no bells and whistles – it’s as simple as connecting the lid and the paddle to the bowl and using an on/off switch to start it churning. That does mean you need to keep a close eye on the consistency of your ice cream, to determine when it’s ready and switch it off before the motor packs in. That said, we like the cute ice cream-inspired design, the mini pudding portions, and the equally mini price tag – and our ice cream was ready in just over half an hour.
Ice cream makers FAQs
What type of ice cream maker should I buy?
A freeze-first ice cream maker uses a double-walled bowl filled with a freezing agent – like a massive ice pack. Once you’ve frozen the bowl, you re-attach it to the ice cream maker and it cools the mixture as a paddle churns it in the bowl. With this type of machine, you’ll need space in your freezer, and you’ll need to prep and chill your ice cream base for several hours before you want to make it.
This type of machine can be a good option if you have lots of freezer space and can leave the bowl in there permanently, so it’s ready to go when you want it. It’s less than ideal if your freezer is so full that things tend to fall out when you open it, or you want to be able to whip up a batch of soft-serve on a whim.
The other most common type of ice cream maker is an all-in-one machine that does the freezing for you as it churns the mixture. Self-freezing ice cream makers are generally more expensive than the first option because they cut out the need to pre-freeze a bowl beforehand, which allows you to be more spontaneous. They also tend to be quite bulky to allow for the integrated freezer compressor, but some of these machines look so smart they can take pride of place on the countertop if you’ve got the space to spare.
You’ll also find some ice cream makers that require you to freeze the mixture itself before it’s churned. The machine then whips up the mixture from frozen, using metal blades. While super quick, these are usually best for creating ice-cream-style desserts rather than authentic, creamy ice-creams. As such, they’re less popular with ice cream aficionados.
What to consider when buying an ice cream maker
- Freeze first or self freezing? – If you’re shopping on a budget or plan to use your ice cream maker just occasionally, freeze-first models are a great option, but they can be more time-consuming, as they require you to pre-freeze the bowl and therefore have room in your freezer. Self-freezing models are much higher in price but create professional-quality results and are better suited if you want to make multiple batches a day.
- Capacity – Ice cream makers are available in a range of sizes, so consider your needs before investing. You can buy from an individual-serving-sized maker to up to 2l.
- Size – Take into account your kitchen workspace or cupboard size before committing to an ice cream maker. It’s also worth noting the space in your freezer, as bulkier designs can need pre-freezing, taking up a lot of room.
- Affordability – As with any home appliance, there’s a range of ice cream makers to cater to all budgets. Smaller, freeze-first models are cheaper, as are individual makers, beginning from as little as £24.99, whereas more expensive self-freezing machines cost hundreds of pounds.
- Ease of use – Depending on the machine, some require you to simply throw in your ingredients and let it get to work with the click of a button. Many have a clear screen, so you can check on progress. Others are more fiddly, especially if you’re using an attachment connected to an existing stand mixer.
- Timings – Some ice cream makers can whip up gelato, sorbet and more in a matter of 10 minutes, while others can take hours of preparation time, especially freeze-first designs that require as long as 16 hours in the freezer before you actually make the ice cream.
- Ease of cleaning – Most ice cream attachments need to be hand-washed – check if the model you’re interested in is safe for the dishwasher before you buy.
- Noise level – If you have flatmates or young children, and want to use an ice cream maker in the evenings or early morning, opt for a quieter mixer to suit your surroundings.
What else can I make with an ice cream maker?
The basic ingredients needed for most ice cream recipes we tested are double cream, whole milk and sugar – and you’ll need plenty of each. Many recipes also call for four or five egg yolks, and these require you to heat the mixture on the hob beforehand, to make a thin, custard base, then chill for several hours – or overnight – before you can churn your ice cream.
With every ice cream maker we tested, we found the longer this base mixture chilled, the better the end result. We also found the recipes with egg yolks made a richer, creamier ice cream that the adults enjoyed, while the kids preferred the egg-free options. Ice cream makers can also make sorbets, which are even easier to prepare, as well as granita, smoothie bowls, frozen yoghurts, and milkshakes.
When you’re choosing an ice cream maker, pay close attention to the capacity, which is usually in litres. Bowl sizes vary, so consider a larger bowl size – or a machine with two bowls – if you’re making ice cream for a larger family or using it for entertaining. We found all the ice cream makers we tested made enough for four people, but there were some that produced far more than this. Whatever you do, check the dimensions of the bowl itself before you buy, to check you can squeeze it in your freezer.
The verdict: Ice cream makers
Ultimately our best buy went to Cuisinart’s ice cream and gelato professional, because it did everything well at a palatable price. But the Magimix gelato expert only very narrowly missed out to the top spot due to the higher price. Special mention also goes to the Ninja creami for its impressive versatility.
If you’re more of a savoury snacker, read our guide to the best indoor pizza ovens, for a slice of Italy at home
